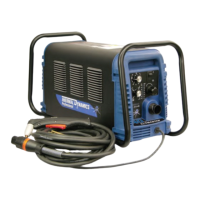
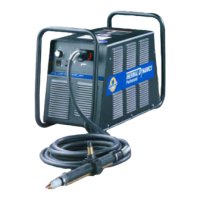
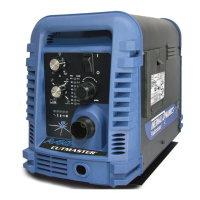
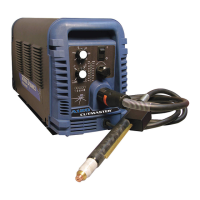
cutmaster 102
Manual 0-4998 5-15 SERVICE
K. AC LED on, TEMP, GAS, DC LED's are off,
FAULT Indicator is flashing. MIN PRESSURE
LED is flashing.
1. Gas supply not connected to unit.
a) Connect gas supply to unit.
2. Gas supply not turned on.
a) Turn gas supply on.
3. Gas supply pressure too low.
a) Set gas supply pressure to 95-120psi.
4. Air Pressure Control Regulator set too low.
a) Adjust AIR PRESSURE CONTROL to set
pressure as specified in section 4.02 Setting
Operational Pressure.
5. Faulty Pressure Transducer.
a) a) Adjust pressure Regulator to maximum.
Measure voltage on Logic PCB 1 beween J3-1
to J3-2 If voltage is more than 2VDC Replace
Pressure Transducer.
6. Faulty Logic PCB 3.
a) Replace Logic PCB 3.
L. INTERNAL ERROR
FAULT Indicator and 90 PSI Indicator flashing.
1. There has been a microprocessor problem.
a) Turn ON/OFF SWITCH to OFF position and
then turn to ON position to clear the error.
1. Faulty Logic PCB 3.
a) Replace Logic PCB 3.
M. MAX PRESSURE ERROR
MAX Pressure LED is lit.
1. Gas pressure set too high.
a) Reduce gas pressure.
2. Pressure Regulator set too high.
a) Adjust Pressure Reulator.
2. Defective Pressure Transducer.
a) Adjust pressure Regulator to minimum. Mea-
sure voltage on Logic PCB 1 beween J3-1 to
J3-2 If voltage is more than 4 VDC Replace
Pressure Transducer.
3. Defective Logic PCB
a) Replace Logic PCB.
N. AC LED on, TEMP LED off, GAS LED on,
Gas flows. DC LED & FAULT indictor off.
W1 contactor does not energize.
1. Defective W1 Contactor.
a) Measure for 24VAC between wire #5 to wire #
6 on W1. If voltage is present replace W1.
2) Defective Logic PCB 3.
a) Measure voltage on Main PCB 3 between J2-9
to GND1. If voltage is 12VDC, Replace the Logic
PCB 3.
3) Defective Main PCB 1.
a) Replace Main PCB 3.
O. AC LED on, TEMP LED off, GAS LED on,
Gas does not flow in SET mode using a
hand torch or a machine torch without
remote solenoid.
1. Defective gas solenoid (SOL1)
a) Measure voltage on Main PCB 1 between
J5-1 to J5-3 for 12 VDC. If voltage is present,
change SOL 1
2. Defective Logic Pcb
a) Measure on Main PCB between J2-12 to test
point GND1 for 12VDC. If voltage is present,
replace Main PCB.
3. Defective Main PCB.
a) Replace Main PCB.
P. AC LED on, TEMP LED off, GAS LED on,
Gas does not flow in SET mode using a
machine torch with remote solenoid.
Disconnect the gas solenoid SOL1 from the back of
the ATC connector.
If Gas DOES NOT flow out of SOL1 when the unit is
in SET mode :
1. Defective gas solenoid (SOL1)
a) Measure voltage on Main PCB between J5-1 to
J5-3 for 12 VDC. If voltage is present, change
SOL 1
2. Defective Logic PCB 3.
a) Measure on Main PCB between J2-12 to test
point GND1 for 12VDC. If voltage is present,
replace Main PCB 1.

 Loading...


