EasyManuals Logo

TomTom Bandit Reference Guide

TomTom Bandit
103 pages
To Next Page IconTo Next Page
To Previous Page IconTo Previous Page
Page #12 background imageLoading...
Page #12 background image
12
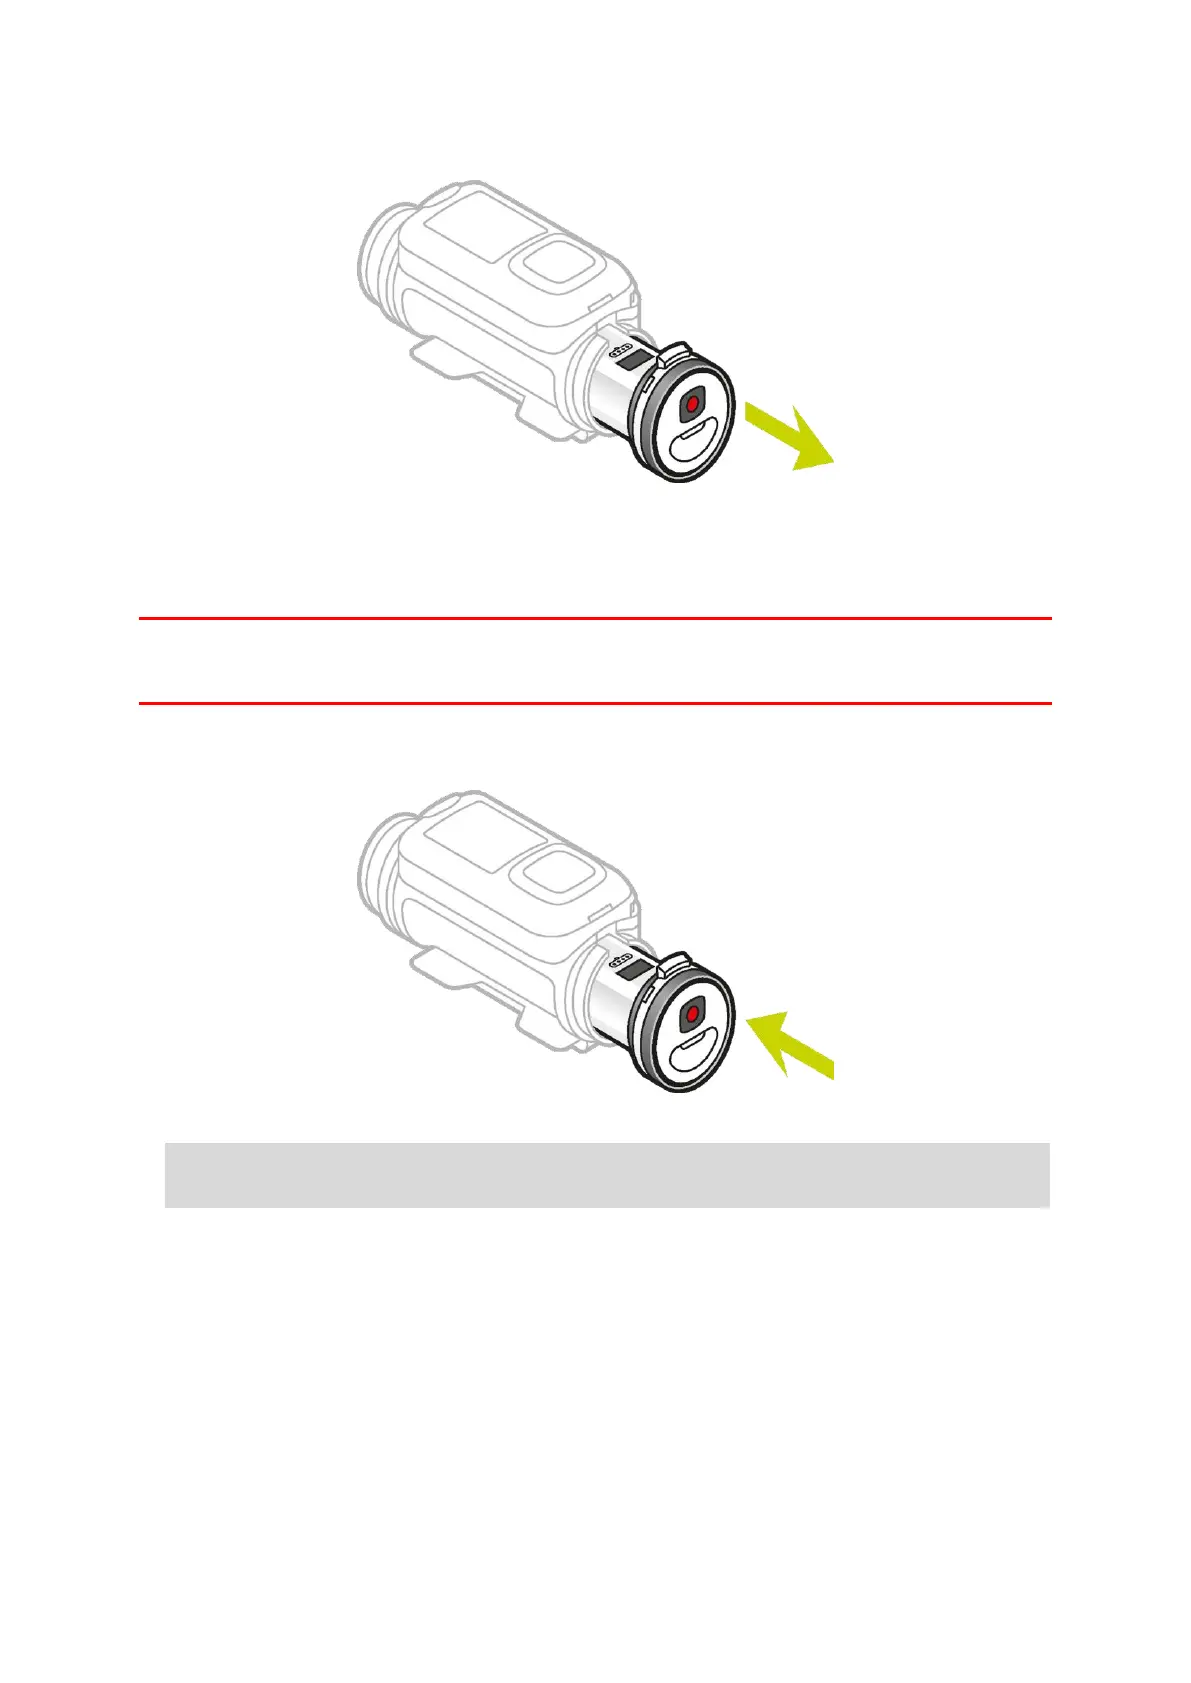
3. Pull the Batt-Stick out.
Installing the Batt-Stick
Inserting the Batt-stick
Important: If you remove the Batt-Stick or lens cover be extra careful not to let dirt or water enter
the TomTom Bandit or the Batt-Stick. Only remove the Batt-Stick or lens cover in clean and dry
conditions.
To insert the Batt-Stick, follow these steps:
4. Insert the Batt-Stick into the camera.
5. Make sure the two dots align and are close together.
Important: If you see only one dot when the Batt-Stick is inserted do not try to turn it. You
must first put the Batt-Stick in the unlocked position before you can insert it correctly.

Table of Contents

Other manuals for TomTom Bandit

Questions and Answers:

Question and Answer IconNeed help?

Do you have a question about the TomTom Bandit and is the answer not in the manual?

TomTom Bandit Specifications

General IconGeneral
Photo Resolution16 MP
SensorCMOS
Battery1900 mAh
Battery LifeUp to 3 hours
GPSYes
Resolution4K
Image Sensor Size1/2.3-inch
Field of View160°
StorageMicroSD card (up to 128GB)
ConnectivityWi-Fi, Bluetooth
SensorsAccelerometer, Gyroscope
Dimensions94 x 38 x 52 mm
Weight190 grams
Frame Rate30fps (4K), 60fps (1080p), 120fps (720p)
WaterproofIPX7 (without additional housing), IP68 with optional lens cover