16
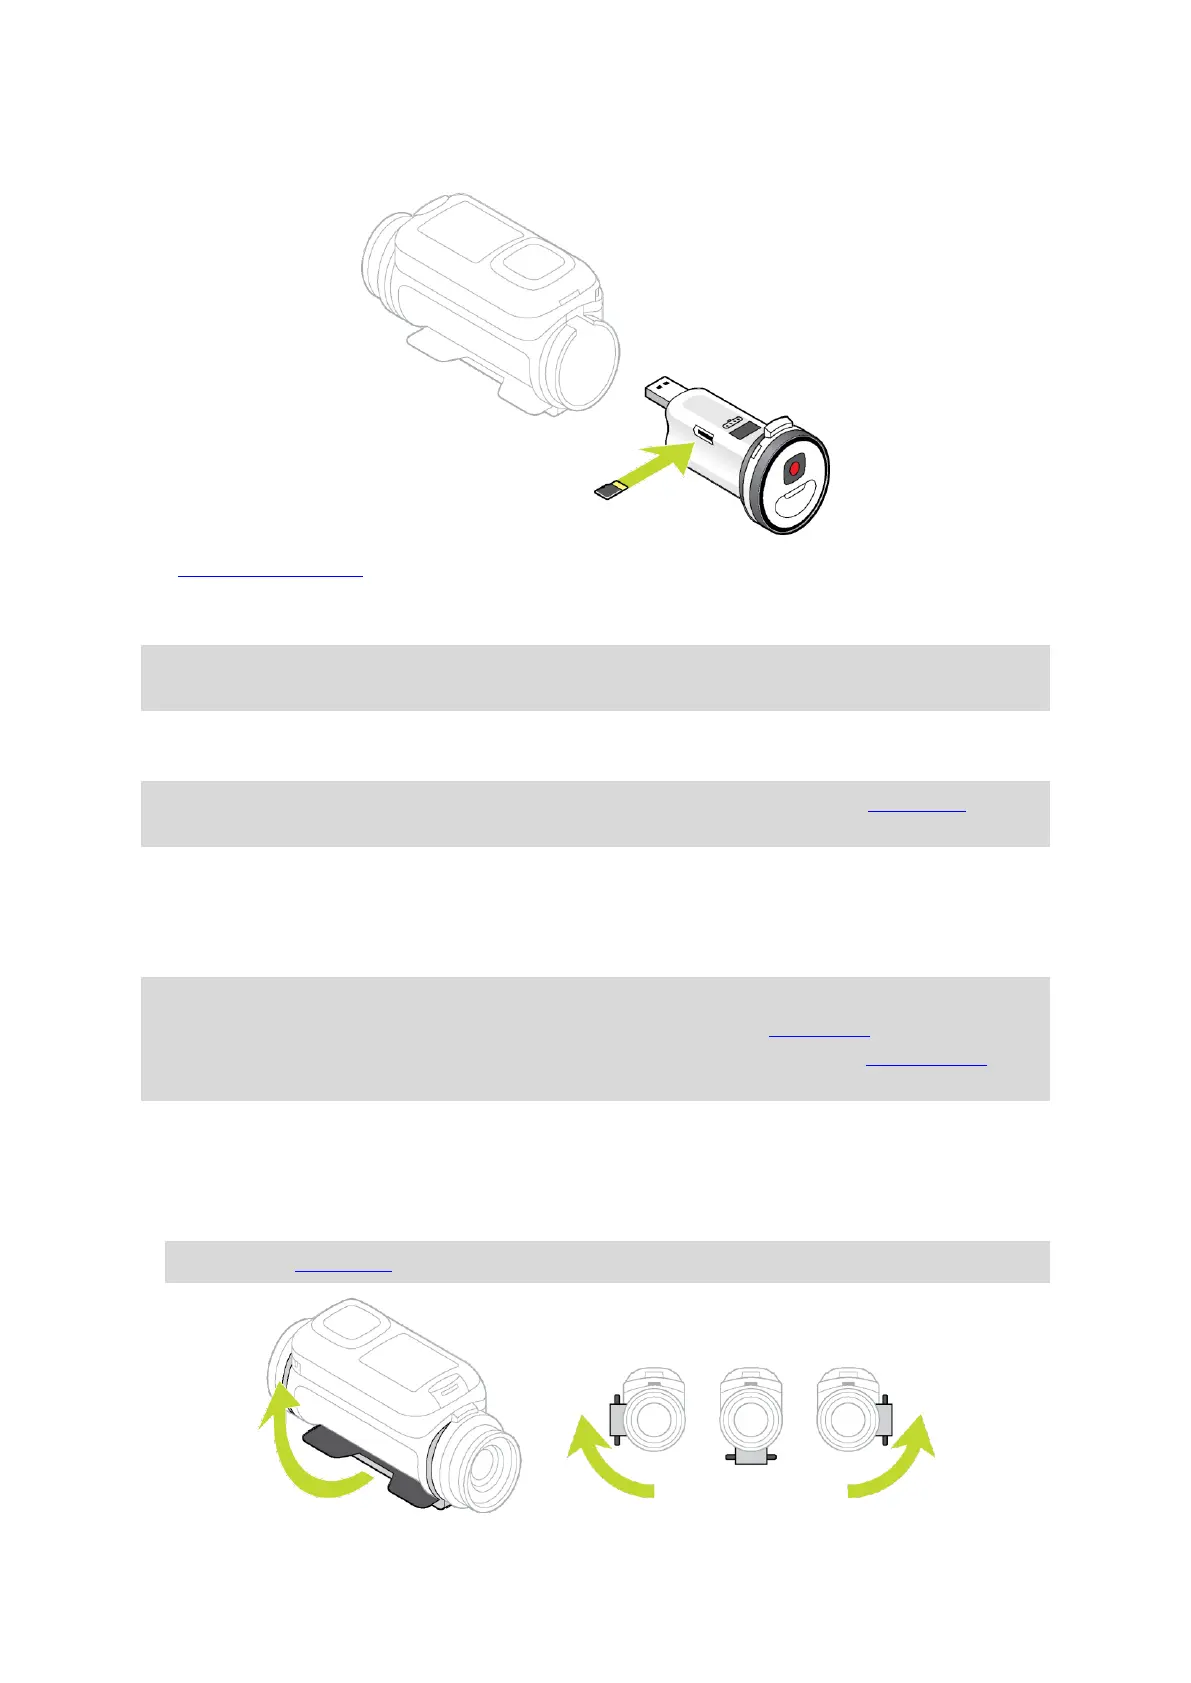
3. Install the Batt-Stick into the TomTom Bandit.
Setting up
Note: The language you choose will be used for all text on the screen. You can always change the
language later in Language in the Camera settings menu.
When you first switch on your TomTom Bandit, you have to answer a few questions to set it up.
Answer the questions by pressing the button to move up, down, left or right on the screen.
Tip: You do not need to connect your TomTom Bandit to the internet or to the Mobile app to set
it up for first use.
Installing the basic mount
The basic mount kit lets you mount your TomTom Bandit on a helmet or other flat or slightly curved
surface. Flat and curved basic mounts are supplied.
Tip: Additional mounts are available as accessories.
Tip: To install your TomTom Bandit on handlebars, use the optional bike mount.
Tip: You can also install your TomTom Bandit upside down. Set the ROTATION image setting to
180 to turn the image 180 degrees.
1. Before you install a mount, find the best position for your TomTom Bandit.
Only attach the mount to a smooth, hard surface. The mount won't securely attach to porous,
textured or soft surfaces.
To mount the TomTom Bandit at different angles and on the left or right side of a helmet, you
can turn the TomTom Bandit's base more than 180 degrees around the body.
Tip: Use the Mobile app live viewfinder to set the TomTom Bandit to the correct view.
 Loading...