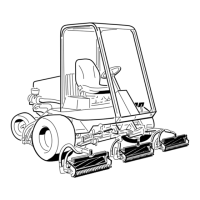
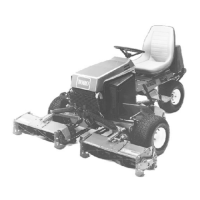
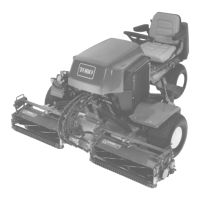
Figure 48
• 1 fitting on the fan shaft ( Figure 49 ).
Figure 49
Engine Maintenance
Servicing the Air Cleaner
General Air Cleaner Maintenance
• Chec k the air cleaner body for damag e whic h
could cause an air leak. R e place it if it is
damag ed. Chec k the whole intak e system for
leaks , damag e , or loose hose clamps .
• Ser vice the air cleaner filter only when the
ser vice indicator requires it (tur ns red).
Changing the air filter before it is necessar y
only increases the c hance of dir t entering the
engine when the filter is remo v ed.
• Be sure the co v er is seated cor rectly and seals
with the air cleaner body .
Servicing the Air Cleaner Precleaner
Bowl
Nor mally , inspect the precleaner bo wl daily . W hen
conditions are extremely dusty and dir ty , inspect
it more frequently . Do not let dust or debris build
up abo v e the lev el mark ed on the precleaner bo wl.
1. R emo v e the thumb screw and se parate the
co v er from the precleaner bo wl ( Figure 50 ).
Figure 50
1. Air cleaner indicator
3. Dust cap
2. Precleaner bowl
2. Empty the precleaner bo wl and wipe it clean.
3. Assemble and install the precleaner bo wl,
co v er , and thumb screw .
Note: W hen operating the mac hine in extremely
dusty conditions , an optional extension tube
(T oro P ar t No . 43-3810), whic h raises precleaner
bo wl abo v e the hood, thus , lengthening the time
betw een precleaner bo wl ser vicing, is a v ailable
from y our local authorized T oro Distributor .
Servicing the Air Cleaner
Only ser vice the air cleaner when the ser vice
indicator on the air cleaner housing tur ns red
( Figure 50 ).
1. R elease the latc hes and remo v e the co v er from
the air cleaner body ( Figure 50 ).
2. Before remo ving the filter , use lo w pressure
air (40 psi, clean and dr y) to help remo v e larg e
accum ulations of debris pac k ed betw een the
outside of the primar y filter and the canister .
Important: A v oid using high pr essur e
air which could f orce dir t thr ough the filter
into the intak e tract. T his cleaning pr ocess
pr ev ents de bris fr om mig rating into the
intak e when the primar y filter is r emo v ed.
3. R emo v e and re place the primar y filter
( Figure 51 ).
Cleaning of the used element is not
recommended due to the possibility of damag e
to the filter media.
44

 Loading...


