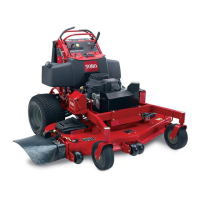
Figure82
1.SailAreaofBlade3.Curvedwasher
2.Blade4.BladeBolt
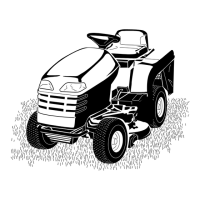
SharpeningtheBlades
1.Usealetosharpenthecuttingedgeatbothendsof
theblade(Figure83).Maintaintheoriginalangle.The
bladeretainsitsbalanceifthesameamountofmaterial
isremovedfrombothcuttingedges.
Figure83
1.Sharpenatoriginalangle
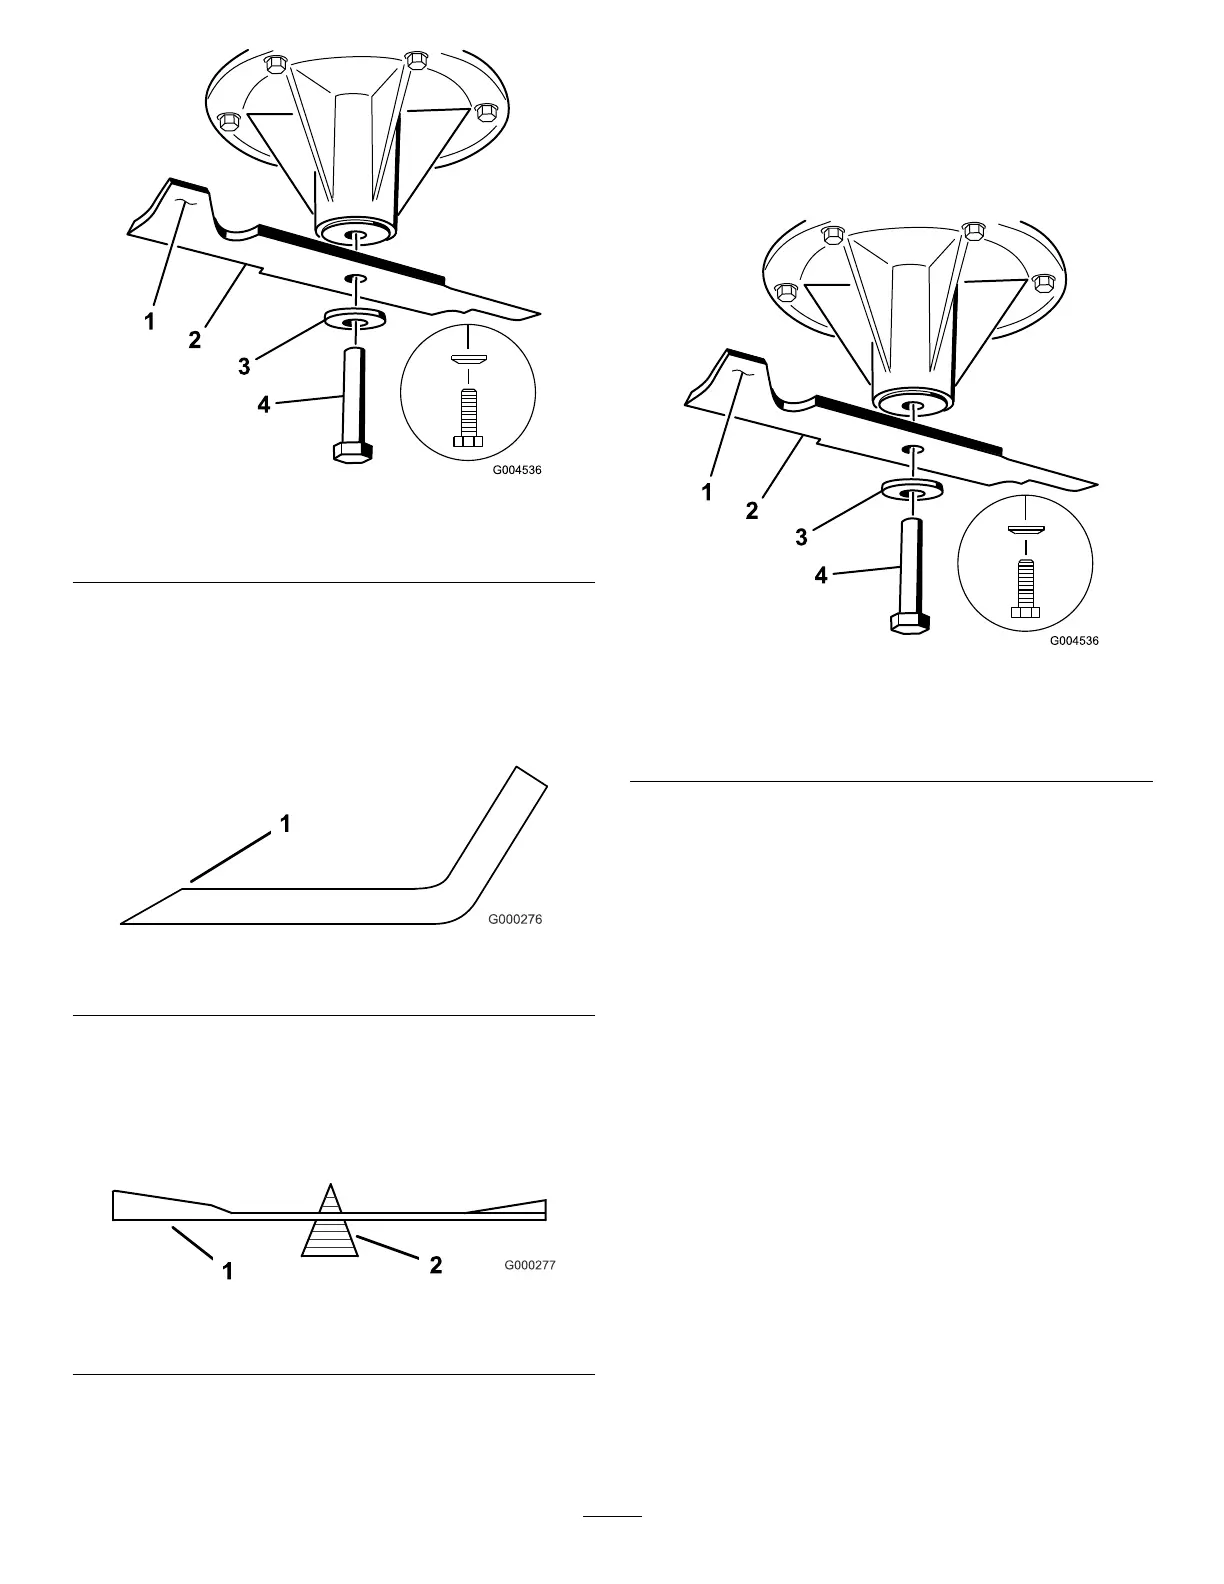
2.Checkthebalanceofthebladebyputtingitonablade
balancer(Figure84).Ifthebladestaysinahorizontal
position,thebladeisbalancedandcanbeused.Ifthe
bladeisnotbalanced,lesomemetalofftheendof
thesailareaonly(Figure82).Repeatthisprocedure
untilthebladeisbalanced.
Figure84
1.Blade2.Balancer
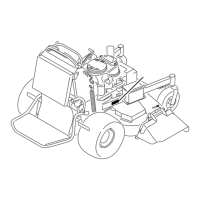
InstallingtheBlades
1.Installthebladeontothespindleshaft(Figure85).
Important:Thecurvedpartoftheblademustbe
pointingupwardtowardtheinsideofthemowerto
ensurepropercutting.
2.Installthespringdiskandbladebolt.Thespringdisk
conemustbeinstalledtowardthebolthead(
Figure85).
Torquethebladeboltto85-110ft-lb(115-150N-m).
Figure85
1.SailAreaofBlade
4.BladeBolt
2.Blade
5.ConeT owardsBoltHead
3.SpringDisk
CorrectingtheMowerQuality
ofCut
Ifonedeckbladecutslowerthantheother,correctasfollows.
Note:Tireairpressureiscriticalintheseprocedures.Make
surethereartireshavecorrectpressure.
1.DisengagethePTOandsettheparkingbrake.
2.Stoptheengine,removethekey,andwaitforall
movingpartstostopbeforeleavingtheoperating
position.Disconnectthesparkplugwire(s)fromthe
sparkplug(s).
3.Adjustthetirepressureinthereartiresto12-14psi
(83-97kPa).
4.Checkthatthebladesandspindleshaftsarenotbent.
RefertoCheckingforBentBlades.
5.Settheheight-of-cuttothe3inch(7.6cm)position.
RefertoAdjustingtheHeight-Of-CutinOperation.
6.Performthestepsinthefollowingproceduresinorder.
CheckingtheMowerDeckSide-to-Side
Height
1.Adjustthereartirepressure.
54