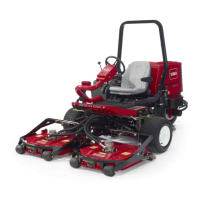
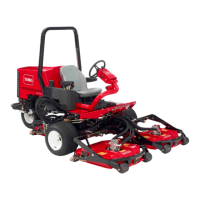
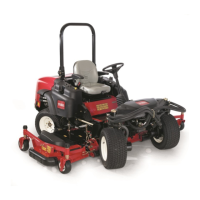
g031340
Figure45
ServicingtheAir-CleanerFilter
ServiceInterval:Every200hours(Morefrequentlyin
extremedustyordirtyconditions)
1.Beforeremovingthelter,usecleananddry,
low-pressureair(275kPaor40psi)tohelp
removelargeaccumulationsofdebrispacked
betweentheoutsideoftheprimarylterandthe
canister.
Important:Avoidusinghigh-pressureair
thatcouldforcedirtthroughthelterand
intotheintaketract,causingdamage.This
cleaningprocesspreventsdebrisfrom
migratingintotheintakewhenyouremove
theprimarylter.
2.Removetheprimarylter(Figure46).
Important:Donotcleantheusedelementto
preventthepossibilityofdamagingthelter
media.Inspectthenewlterforshipping
damage,checkingthesealingendofthe
lterandthebody.Donotuseadamaged
element.
Important:Donotattempttocleanthe
safetylter.Replacethesafetylterafter
every3primary-lterservices(Figure47).
g032050
Figure46
1.Rubberoutletvalve4.Air-cleanerbody
2.Air-cleanerlatch5.Air-cleaner-restriction
sendingunit
3.Aircleanerprimarylter
6.Rubberintakehose
g008861
Figure47
1.Safetylter
3.Replacetheprimarylter(Figure46).
4.Insertthenewlterbyapplyingpressuretothe
outerrimoftheelementtoseatitinthecanister.
Note:Donotapplypressuretotheexible
centerofthelter.
5.Cleanthedirt-ejectionportlocatedinthe
removablecover.
6.Removetherubberoutletvalvefromthecover,
cleanthecavity,andreplacetheoutletvalve.
7.Installthecover,orientingtherubberoutletvalve
inadownwardpositionbetweenthe5o’clockto
7o’clockpositionswhenviewedfromtheend,
andsecurethelatch(Figure46).
41

 Loading...


