5 SCAN FUNCTIONS
164 Scan Settings
Continuing the scanning
When you scan with the Reversing Automatic Document Feeder (RADF), you can select whether you
continue scanning the next originals after the last loaded original is scanned.
1
Press [SCAN].
2
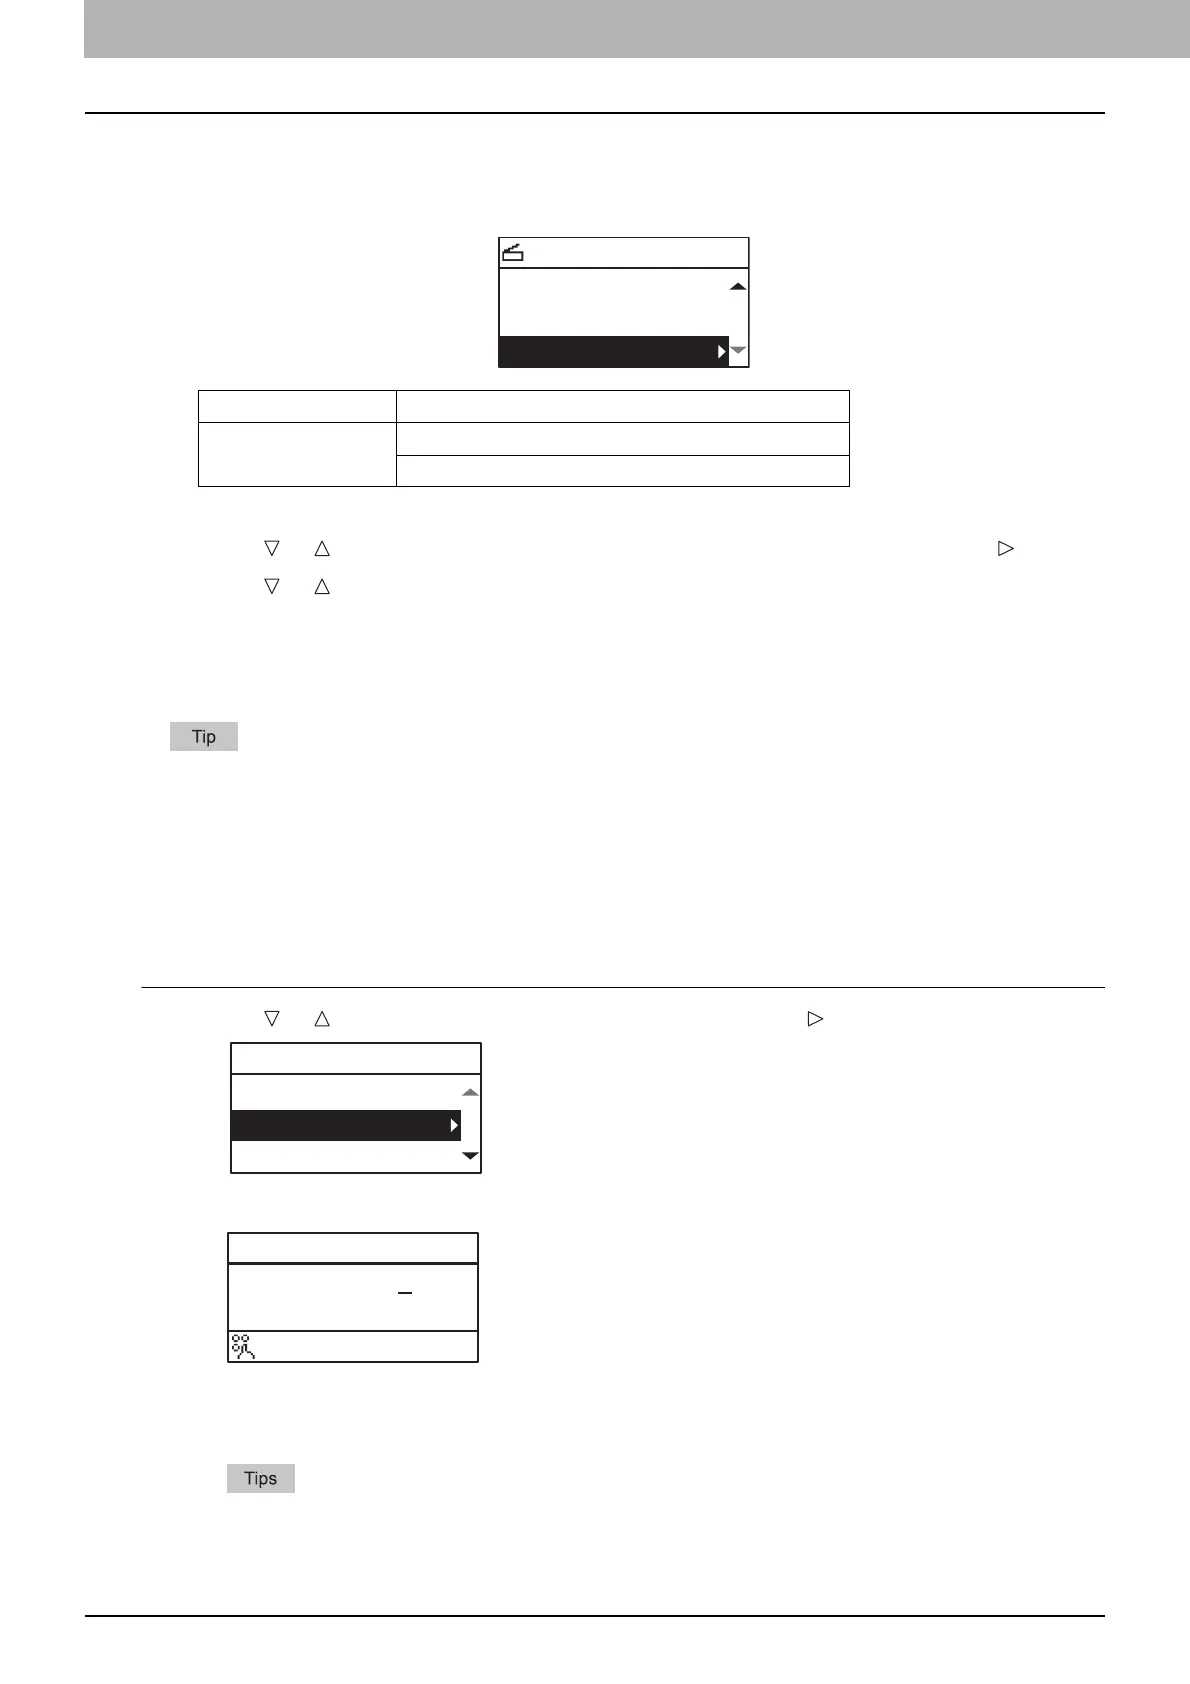
Press or to select the item displayed on the LCD screen, and then press .
3
Press or to select the setting item, and then press [OK].
Specifying E-mail Addresses
To specify e-mail addresses for the Scan to E-mail function, you have the following options:
Up to 220 addresses can be specified.
P.164 “Entering an e-mail Addresses”
P.165 “Selecting from the address book”
P.165 “Searching the address book with single numbers”
P.166 “Searching the address book with group numbers”
P.166 “Viewing/Deleting specified e-mail addresses”
Entering an e-mail Addresses
1
Press or to select “INPUT ADDRESS”, and then press .
2
Enter an e-mail address using the digital keys.
P.167 “Character entry”
3
Press [OK].
You can enter up to 220 addresses in total for “TO (ADDRESS)” and “CC (ADDRESS)”.
If you want to view or delete the specified e-mail addresses, see the following page.
P.166 “Viewing/Deleting specified e-mail addresses”
Menu Functions Settings
CONTINUE SCAN OFF
ON
SELECT SCAN TYPE
CONTINUE SCAN:ON
AUTO EXPOSURE
OMIT BLANK:OFF
TO(ADDRESS)
REVIEW LIST
INPUT ADDRESS
SEARCH
TO:ADDRESS
abC@example.com
:Aa
 Loading...


