8
© 2009 TOSHIBA TEC CORPORATION All rights reserved e-STUDIO205L/255/305/355/455
FIRMWARE UPDATING
8 - 29
8.3.3 Hole punch unit firmware (MJ-6101)
Important:
• Be sure to shut down the equipment before installing and removing the download jig.
• Do not shut down the equipment during the update. The data could be damaged and not be
operated properly.
[A] Checking the hole punch position
Follow the procedure below to check the stopping position of the paper transport during the punching
operation before updating the firmware, as the value for the position is defaulted when the firmware is
updated.
(1) Press the [ON/OFF] button on the control panel to shut down the equipment and turn the power
OFF using the main power switch.
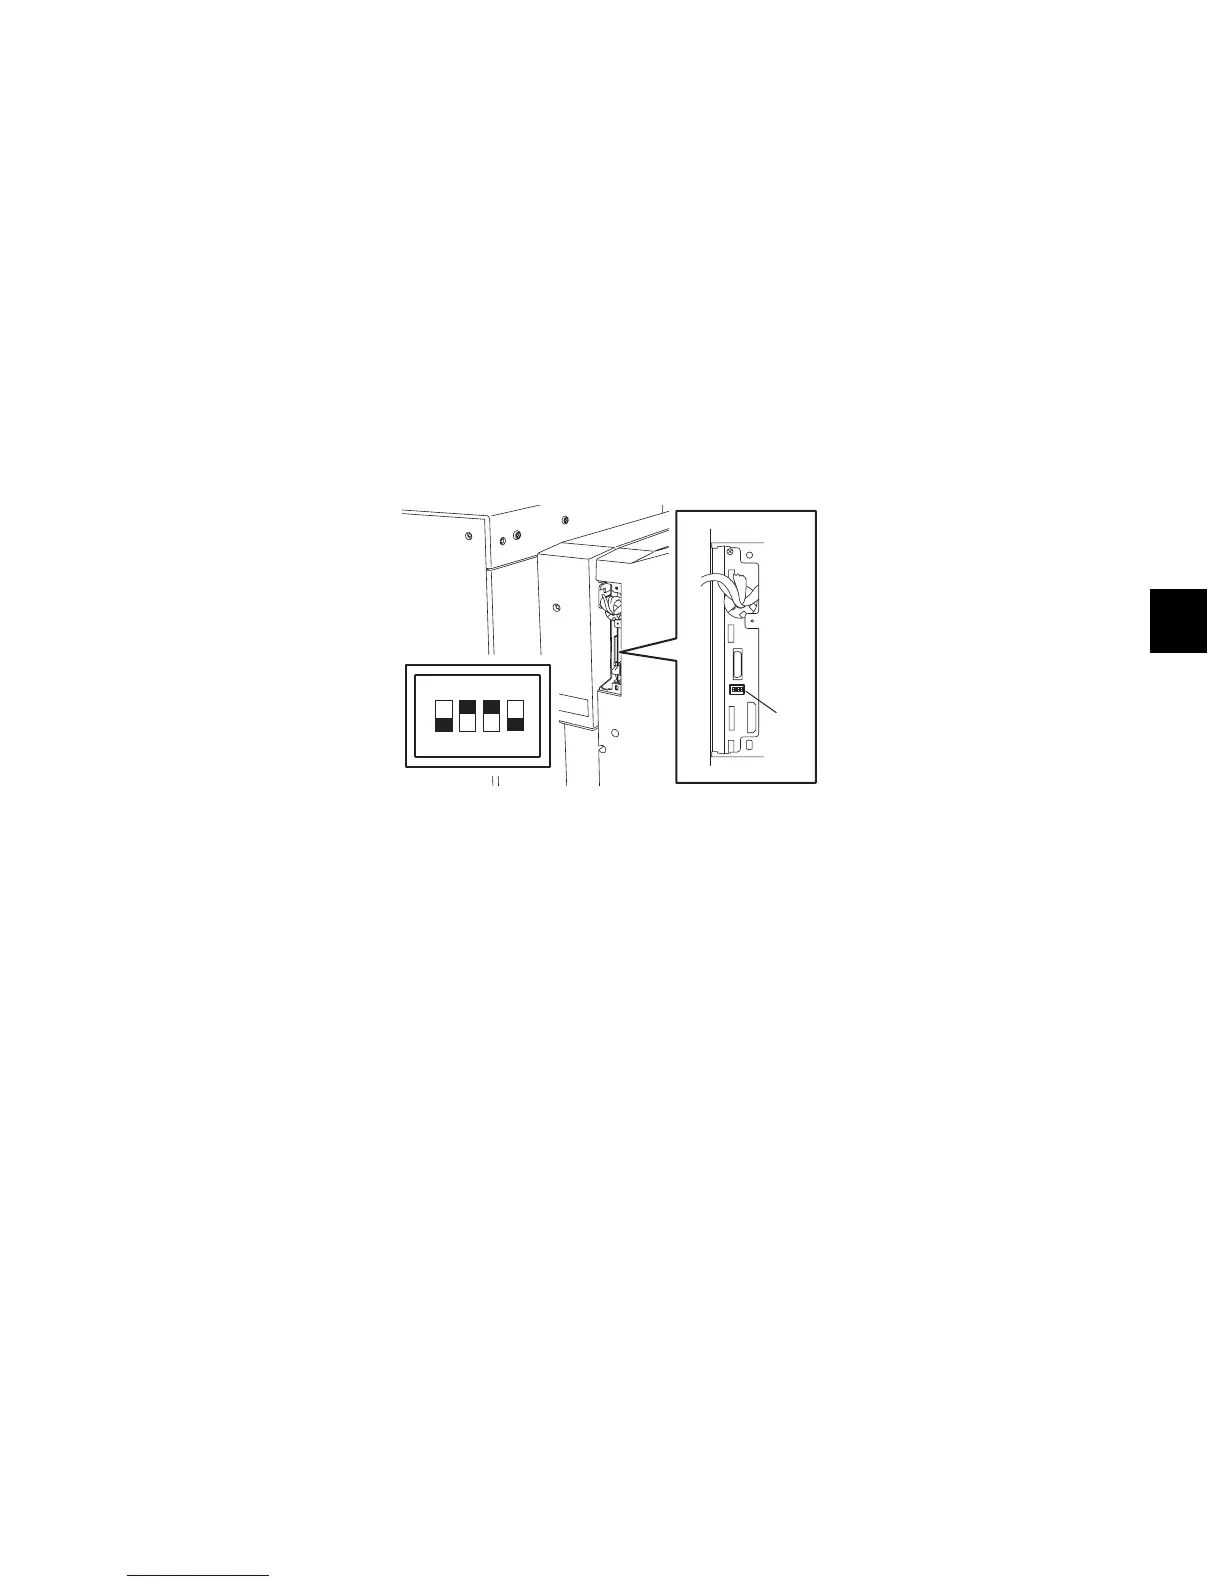
(2) Remove the finisher board access cover and change the setting of the DIP-SW1 (SW1) on the
finisher control PC board as shown in the figure below.
Fig. 8-24
(3) Turn the power ON using the main power switch while simultaneously holding down the [0] and
[8] buttons. The [LED1] on the finisher control panel starts blinking. Count the number of times it
blinks. If the number of blinks is “6”, this indicates that the value for the stopping position is the
default. If the number is other than “6”, record it because the value needs to be reset after the
firmware is updated.
(4) Return the DIP-SW1 to the status before checking.
SW1
ON
1234

 Loading...


