© 2005 - 2007 TOSHIBA TEC CORPORATION All rights reserved e-STUDIO520/523/600/603/720/723/850/853
ADJUSTMENT
3 - 33
3
3.6 Measurement at Replacement of High-Voltage Transformer
The high-voltage transformer does not need to be adjusted, however, when you check each value of
the main charger bias and the developer bias, it needs to be measured.
Note: Note:
When carrying out the operation, be careful not to touch the electronic section because it is high
voltage.
3.6.1 Measurement
[ 1 ] Preparation
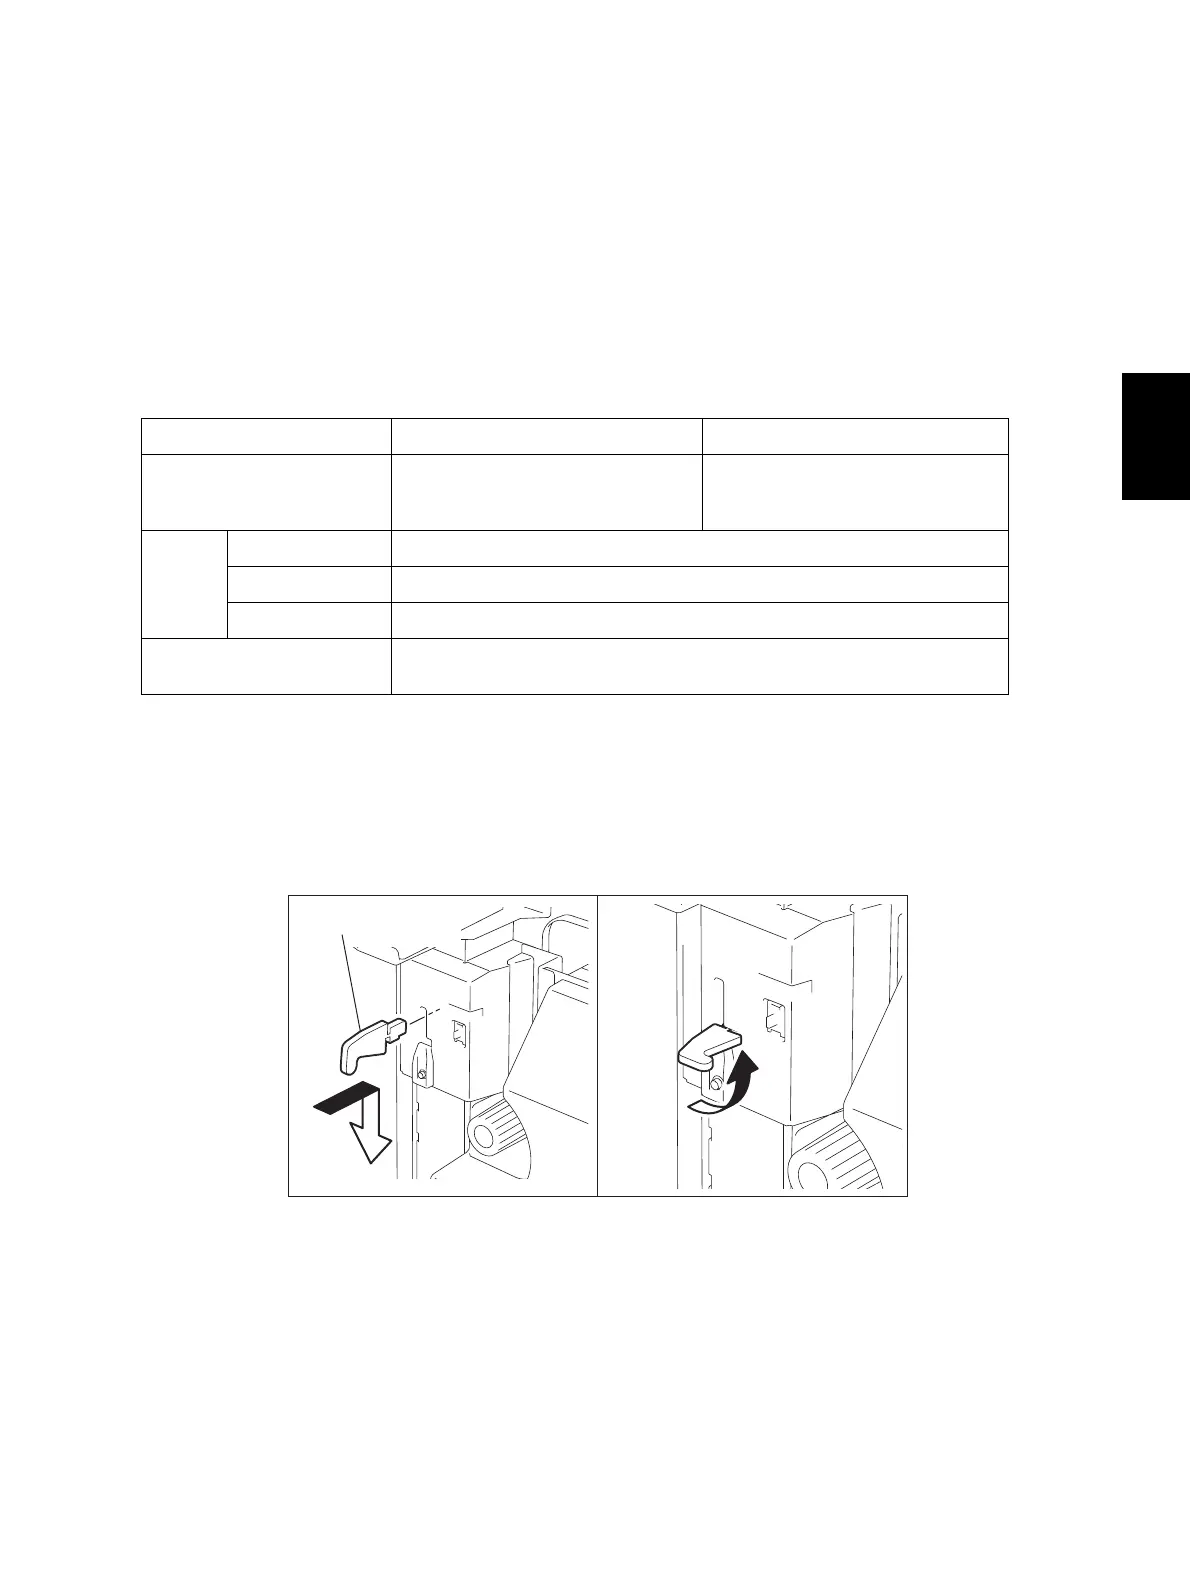
[ 2 ] Installing Jig
(1) Put in the door switch jig and slide it down.
(2) Rotate the jig counterclockwise by 90 degrees.
Fig. 3-23
Items to check Main Charger Developer Bias
Process Unit Take off from the equipment Remove the connector of the auto
toner sensor, and release the devel-
oper unit from the drum.
Digital
Te s ter
Function switch DC
Full-scale (range) 1000 V
Remarks Use a digital tester with an input resistance of 10 MΩ (RMS value) or higher.
How to turn ON the power Attach the door switch jig and start with the adjustment mode [05] while the
front cover opened.
Door switch jig
05/04

 Loading...


