© 2005 - 2007 TOSHIBA TEC CORPORATION All rights reserved e-STUDIO520/523/600/603/720/723/850/853
ADJUSTMENT
3 - 87
3
3.16 Adjustment of LCF (MP-4004)
3.16.1 Sheet sideways deviation adjustment
When the center of the printed image shifts to the front side or rear side, adjust the tray position taking
the following procedure.
<Procedure>
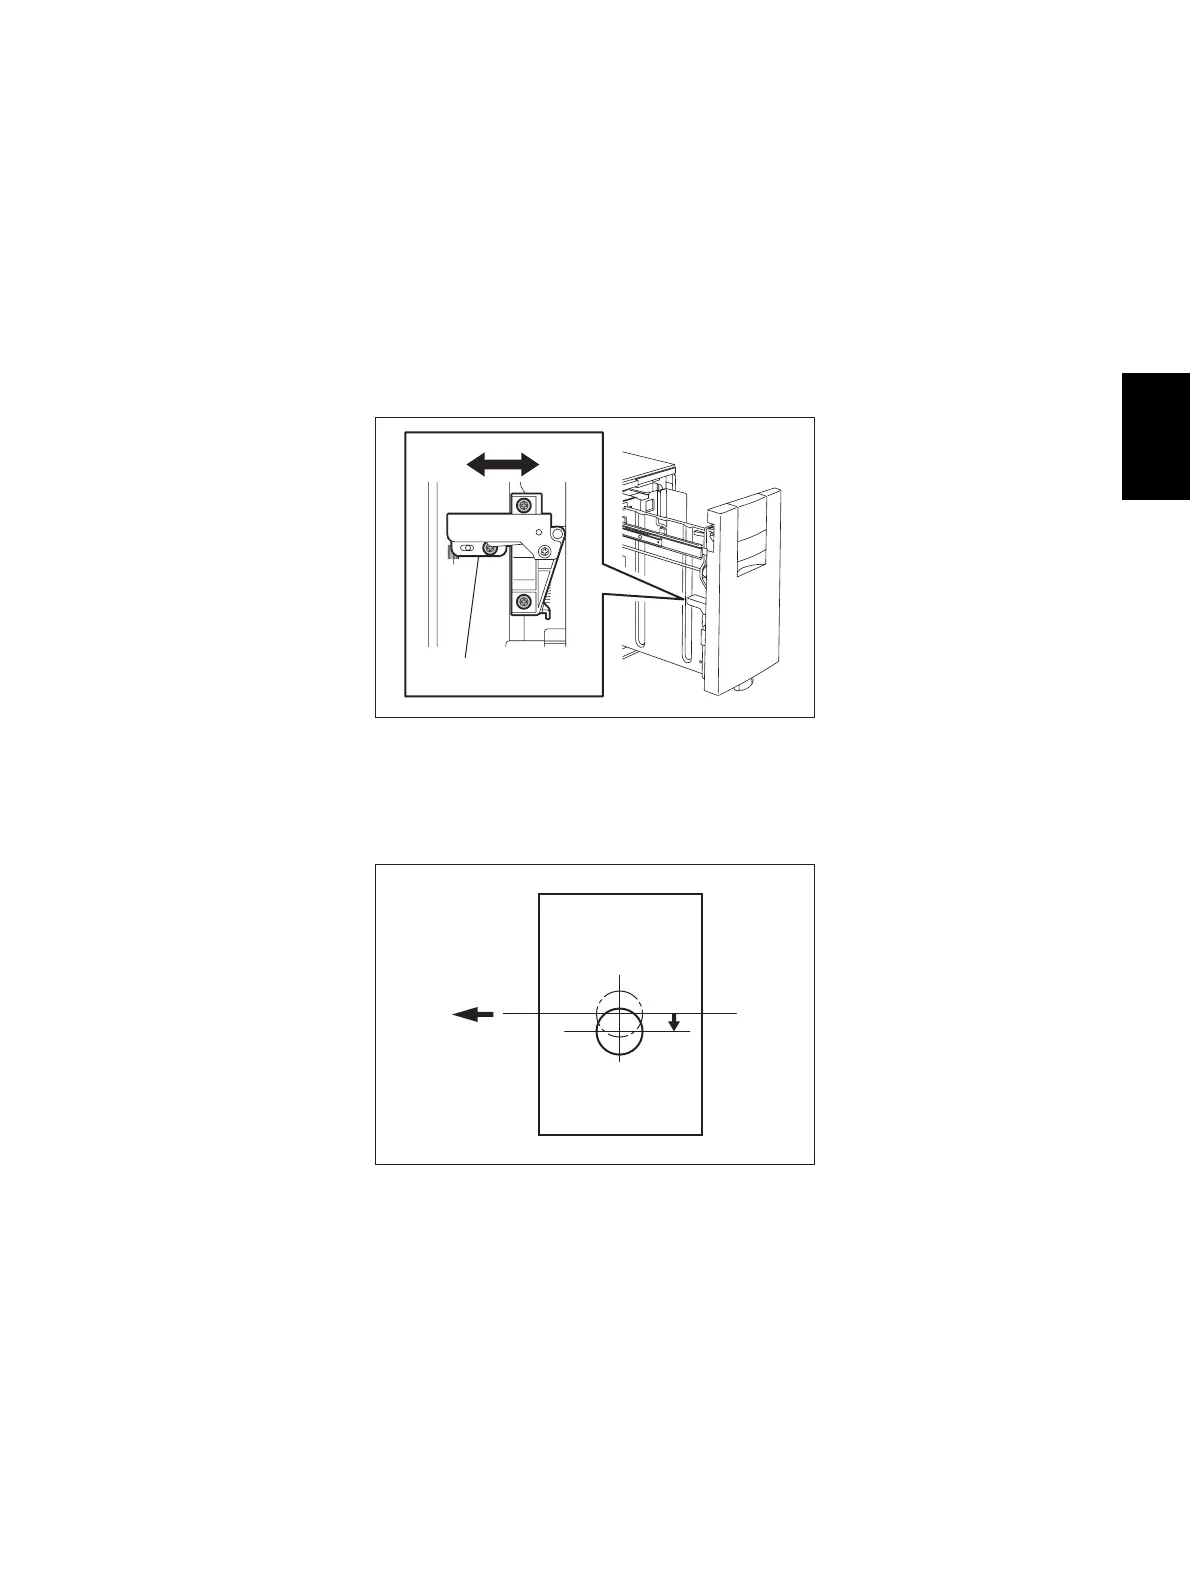
(1) Pull out the tray unit.
(2) Loosen 3 screws and move the adjustment board to the right position. Then screw it shut.
Fig. 3-95
• The center of the printed image shifts to the front side:
Move the adjustment board to the front side (Arrow (B) in the upper figure).
Fig. 3-96
AB
Adjustment board
Feeding direction
Center
[
Rear
]
[
Front
]

 Loading...


