e-STUDIO520/523/600/603/720/723/850/853 © 2005 - 2007 TOSHIBA TEC CORPORATION All rights reserved
ADJUSTMENT
3 - 70
3.12.3 Adjusting the Staple Position (stapler movement range)
Adjust as follows if you have replaced the finisher controller PCB. Performing the steps will affect all
paper sizes and all stapling positions.
(1) Remove the rear cover from the finisher unit.
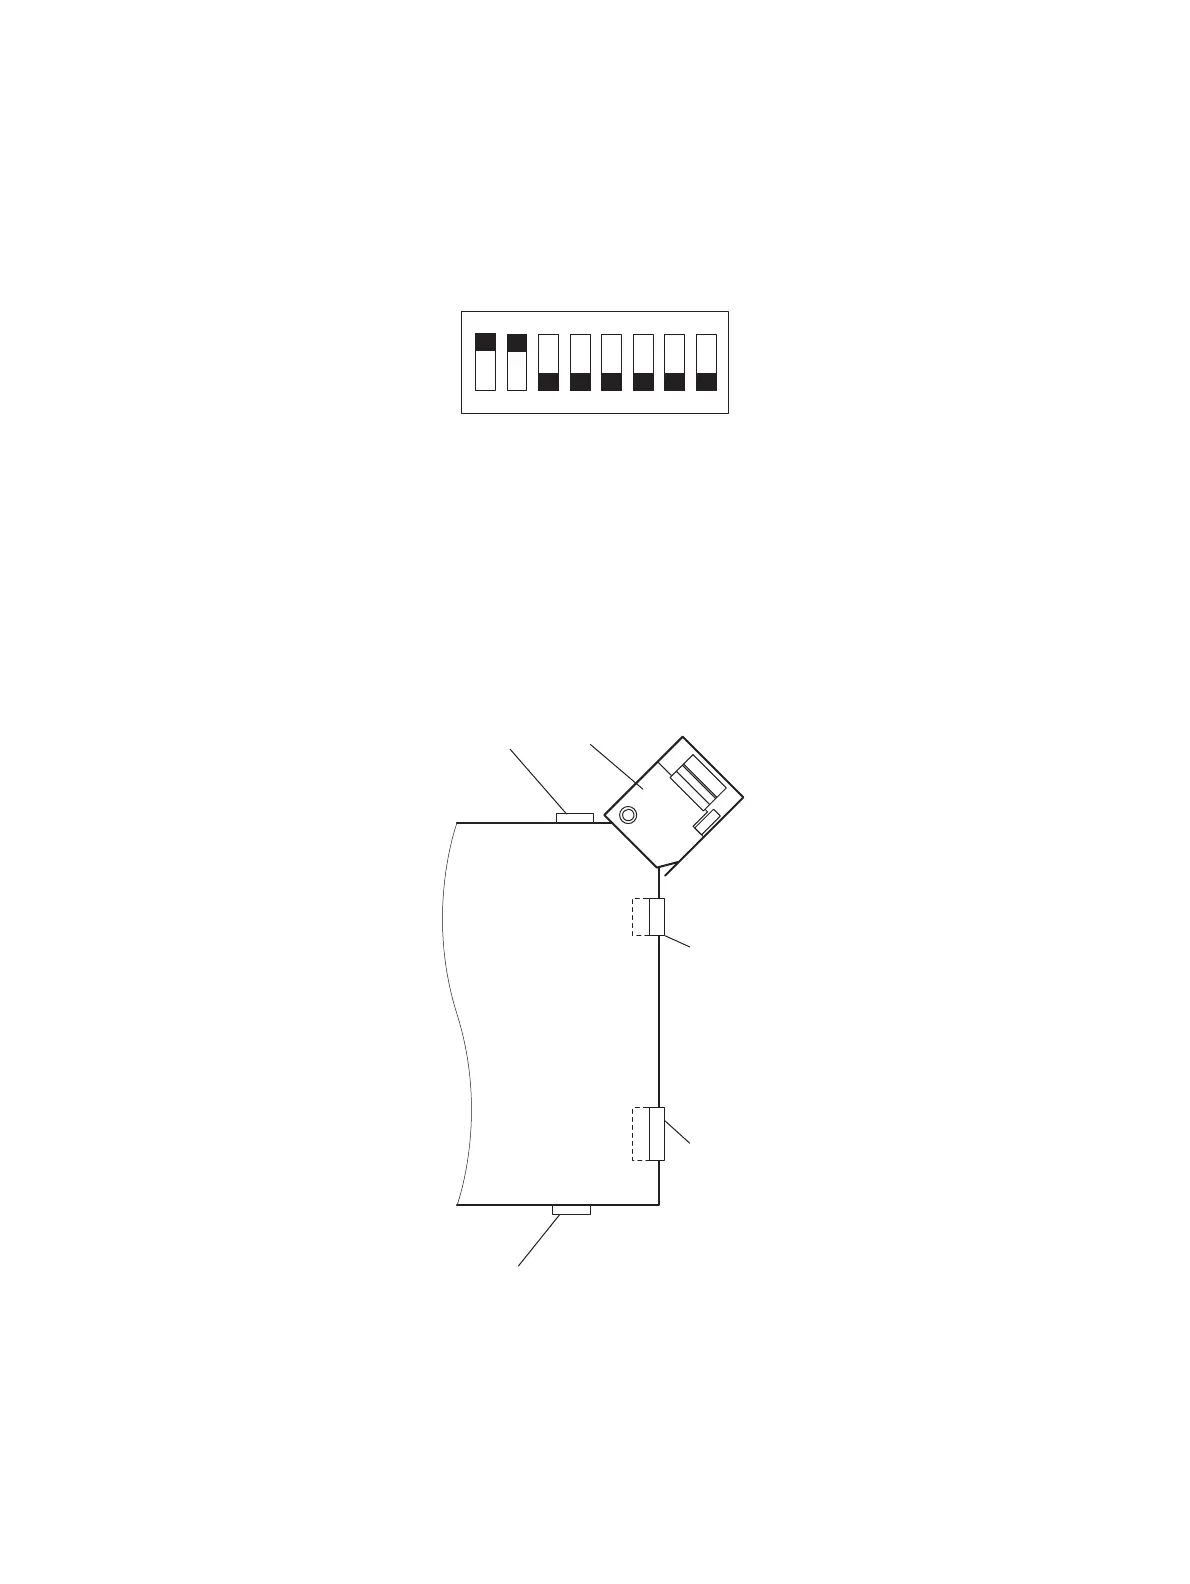
(2) Set SW3 on the finisher controller PCB as indicated.
Fig. 3-80
(3) If you are using A4 paper, press SW1 on the finisher controller PCB. If you are using LT paper,
press SW2 on the finisher controller PCB.
• Pressing SW1/2 will open the swing guide and cause the feed belt to rotate.
(4) Within 5 seconds after pressing the switch, place one sheet of A4/LT paper between the align-
ment plate and the guide plate, butting it against the stoppers.
• When the finisher detects the paper, it will lower the swing guide and execute stapling (rear, 1-
position). Take out the stapled paper manually as delivery will not be executed.
Fig. 3-81
(5) If the stapling position is correct, set all bits on SW3 to OFF to end the adjustments. If you need
to change the stapling position,on the other hand, go to the next step.
ON
12345678
Stopper
Guide plate
Alignment
plate
Stopper
Stapler

 Loading...


