© 2005 - 2007 TOSHIBA TEC CORPORATION All rights reserved e-STUDIO520/523/600/603/720/723/850/853
ADJUSTMENT
3 - 71
3
(6) To suit the position of the staple on the paper, press SW1 or SW2 on the finisher controller PCB
as many times as necessary.
• Pressing SW1 will shift the stapling position to the front in 0.3 mm increments.
• Pressing SW2 will shift the stapling position to the rear in 0.3 mm increments.
Fig. 3-82
(7) Press SW1 and SW2 simultaneously.
• This will open the swing guide, and cause the feed belt to rotate. Placement of one sheet of
A4/LT paper will cause the finisher to start stapling.
(8) Check the stapling position. If good, set all bits of SW3 to OFF. If re-adjustments are necessary,
go back to Step 6.
Caution:
The settings held by the finisher controller PCB are changed as soon as SW1 or SW2 is pressed.
As such, to recover the previous settings after the press, you must press the other of the two
switches as many times as you pressed previously.
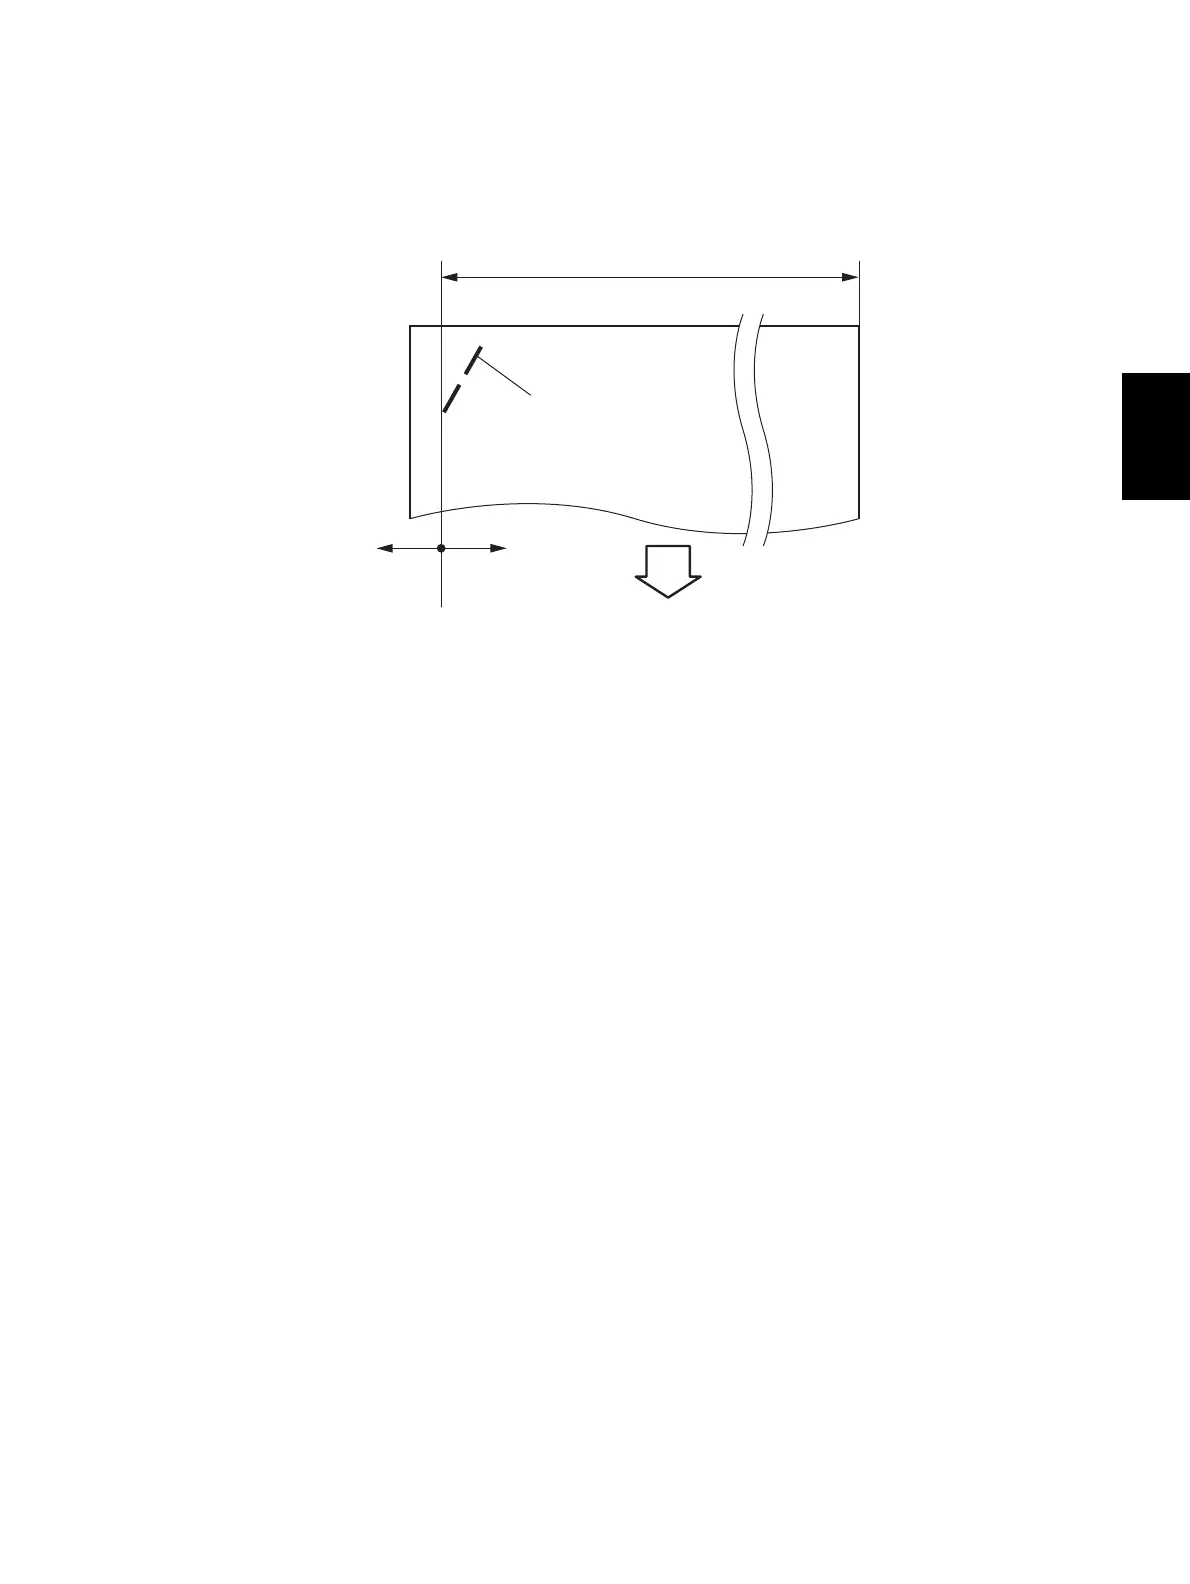
291±2mm
(
A4
)
/
273±2mm
(
LT
)
Shift by SW2 Shift by SW1
Feeding direction
Paper
Staple

 Loading...


