Installing/Charging the Batteries
To charge the unit, proceed as follows:
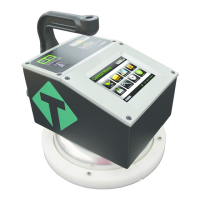
1) Turn the SDG 200 unit OFF.
2) Connect the charger to the charger connector located on the back of the SDG 200.
3) Plug the charger into a standard AC outlet.
4) The red indicator lamp will turn green to indicate that the batteries are charged.
5) Unplug the charger from the power source before disconnecting the charger from the SDG 200.
9
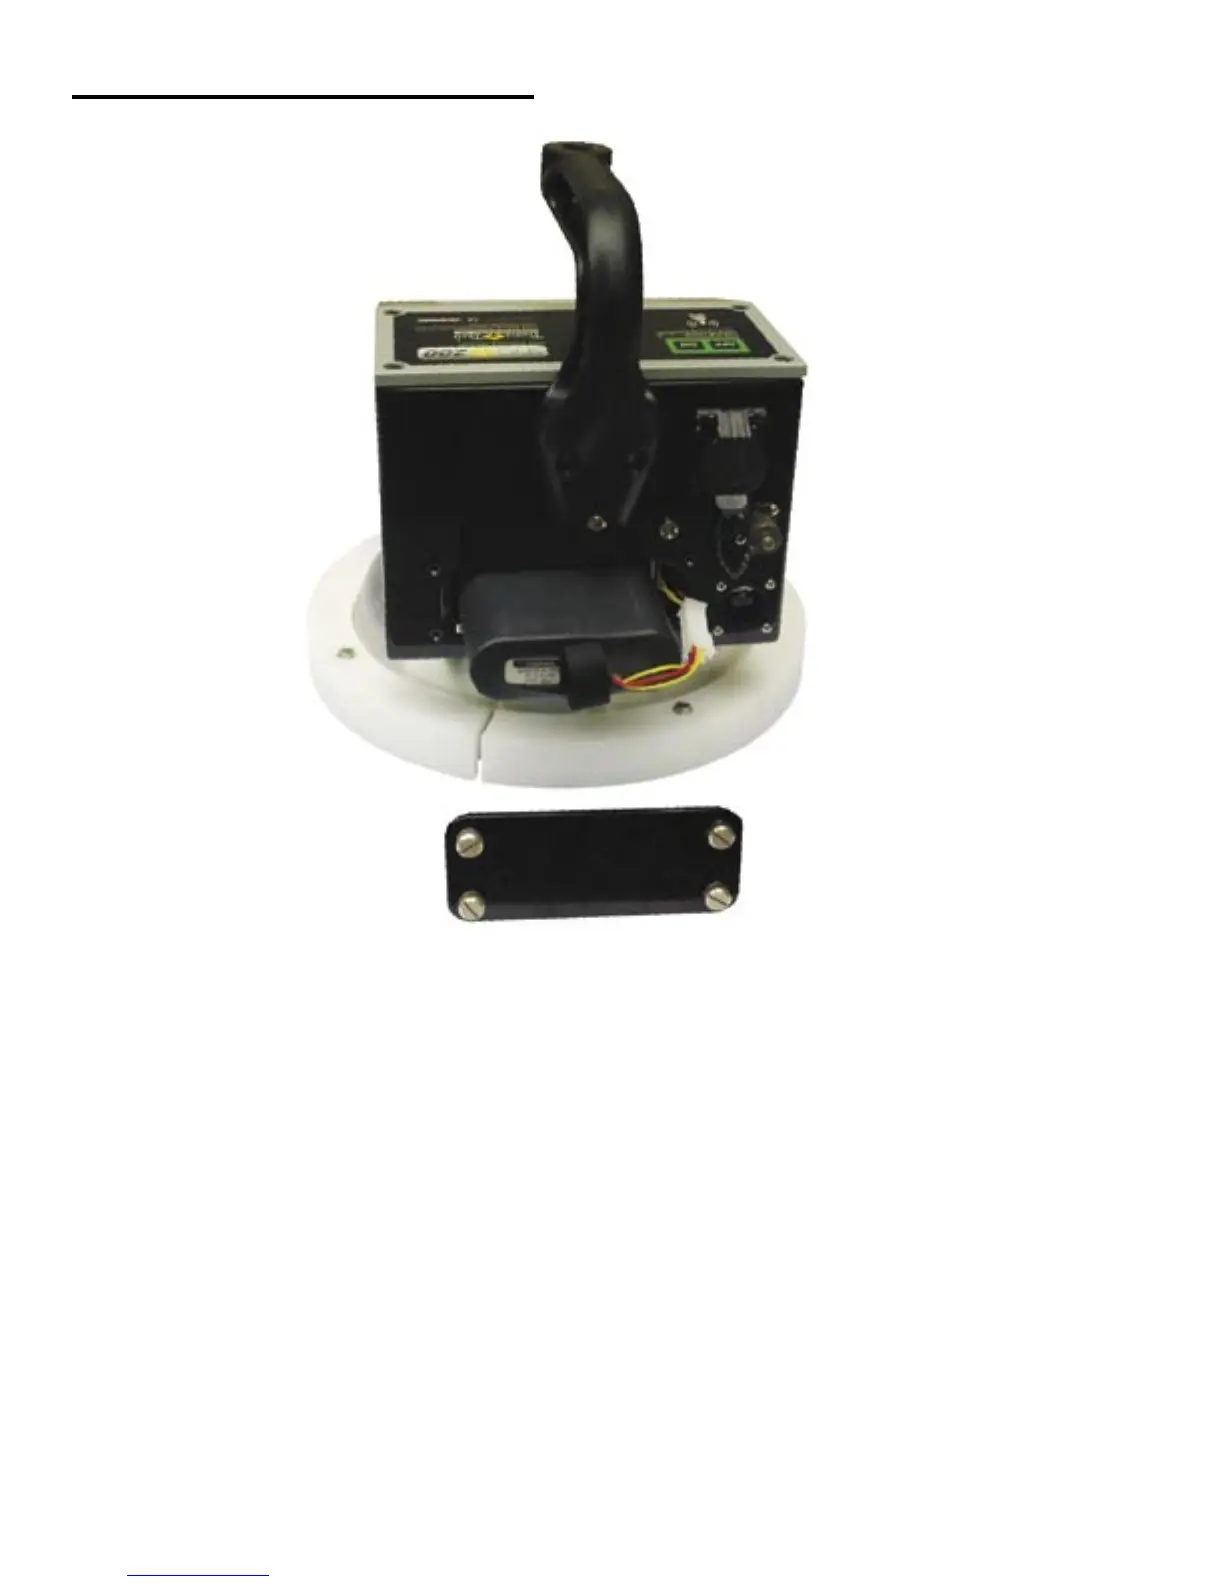
You will find a plate on the back of the SDG 200 with 4 spring loaded bolts.
• Turn each bolt approx. 2 full turns until the spring releases
• Remove the plate from the gauge
• Next you will find a wire with a connector, disconnect the battery from the gauge
• Then pull the nylon strap to slide the battery out of the compartment.
(Do Not pull the battery by the connector wire, doing so could cause damage to the battery)
Plug the gauge in and allow the LED to go from red to green for a full charge.
Approximate charge time is 4 hours.