12
T60X
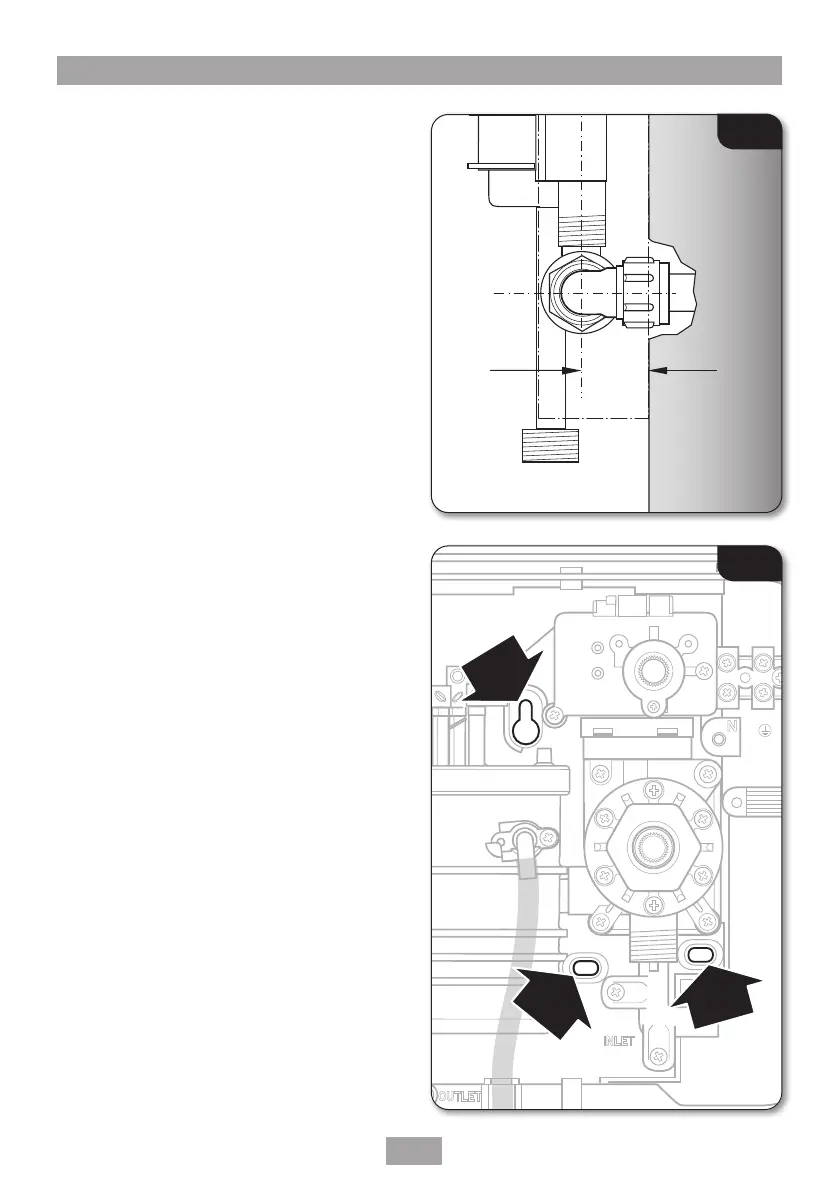
NOTE: Deviations from the designated entry
points will invalidate product approvals.
If installing a feed pipe from the back or bottom,
the centre of the inlet valve to the wall surface is
20mm (fig.9).
NOTE: If entry is from the back, the nut of the
compression fitting will be partially behind the
surface of the wall (fig.9). This area MUST be
left clear when plastering over the pipework
in order to make the nut accessible for future
adjustments.
After choosing the site for the shower, use the
backplate as a template and mark the top fixing
hole and one of the lower holes (fig.10).
Drill and plug the wall. An appropriate drill bit
should be used. If the wall is brick, plasterboard
or a soft building block, appropriate wall plugs
and screws should be fitted.
Screw top fixing screw into position leaving the
base of the screw head protruding 6mm out
from the wall.
Hook the backplate over the top screw and fit the
bottom fixing screw into position.
NOTE: Do not fully tighten the screws
at this stage, as the fixing holes are
elongated to allow for out of square
adjustment after the plumbing
connections have been completed.
Fig.10
Fig.9
 Loading...