13
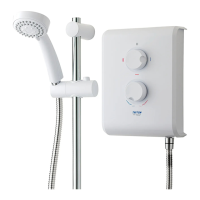
T60X
WARNING!
The outlet of the shower acts as a
vent and must not be connected to
anything other than the hose and
shower head supplied.
PLUMBING CONNECTIONS
Plumbing to be carried out before wiring.
DO NOT use jointing compounds on any pipe
fittings for the installation.
DO NOT solder fittings near the area of the
shower unit as heat can transfer along the
pipework and damage components.
Compression fittings MUST be used to connect
to the inlet of the shower.
NOTE: An additional stopvalve (complying with
Water Regulations) MUST be fitted in the mains
water supply to the shower as an independent
means of isolating the water in order to carry out
maintenance or servicing. If this isolator is fitted
in a loft space, the loft must have a fixed access
ladder and be boarded, with appropriate lighting
from the access point to the isolator.
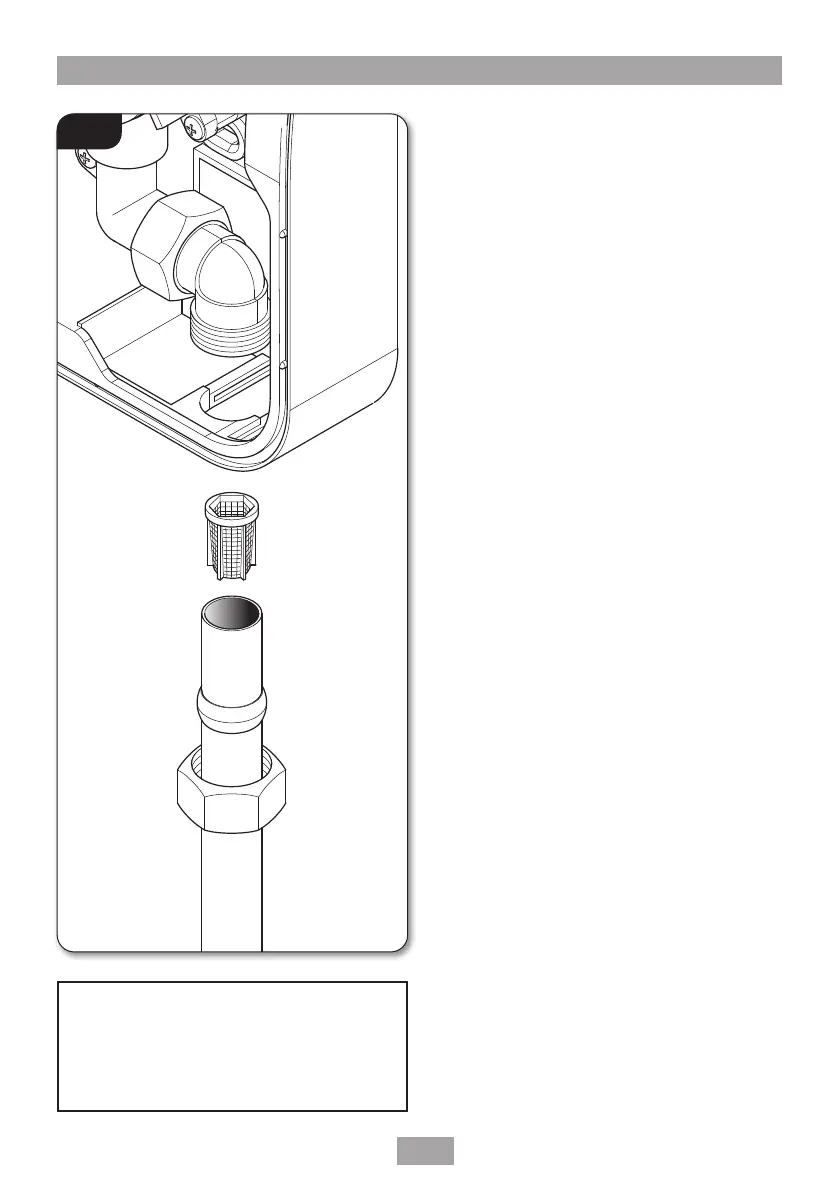
Procedure
Turn off the water supply either at the mains
stopvalve or the isolating stopvalve. Insert the
plastic inlet filter into the 15mm piping
(fig. 11) and connect the mains water supply
to the inlet of the shower via 15mm copper,
stainless steel or plastic pipe using a 15mm x
15mm brass compression fitting.
NOTE: The inlet fitting is designed to enter a
compression fitting only. DO NOT use push
fit connectors as full engagement cannot be
guaranteed. DO NOT use excessive force when
making these connections.
Make sure the backplate is square on the wall
and tighten the two retaining screws which hold
it to the wall.
Before turning on the mains water supply, the
stabilising valve should be fully closed. To make
sure that it is, replace the cover temporarily to
engage the splines and rotate the temperature
control fully clockwise until a ‘stop’ is felt. the
valve is now in the closed position. Remove the
cover.
Turn on the mains water supply and check for
leaks in the pipework connection to the shower.
NOTE: At this stage no water can flow through
the unit.
Fig.11
Plastic lter
Water inlet pipe
 Loading...