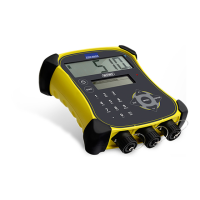
EziWeigh5i, EziWeigh6i, EziWeigh7i, WOW2, DAS WOW2
Issue 2, 7/2017 25
6:
4 Tighten screws using a torque-limited screwdriver set to 0.9 Nm (8 lbf-in), or hand screwdriver.
The screws must be tightened in the same order as shown in Figure 7 in order to obtain a
consistent pressure on the o-rings.
Do NOT use a variable speed drill to tighten or undo the screws.
Figure 7:
Required order of
tightening screws on the
case back in order to
obtain consistent screw
torque and hence
consistent o-ring
compression.
5 (EziWeigh6i and EziWeigh7i only) Refit the rubber corner bumpers by pressing in the back locking
peg first then lining up the top peg and pressing firmly into the hole. The inside of each bumper is
marked with its correct location on the case LB (left bottom), LT (left top), RB (right bottom) and
RT (right top).
 Loading...