EziWeigh5i, EziWeigh6i, EziWeigh7i, WOW2, DAS WOW2
Issue 2, 7/2017 37
Press to select (kg or pounds), (kg only) or
(pounds only).
Factory Calibration screen
The factory calibration screen allows the indicator to be recalibrated with factory settings. This
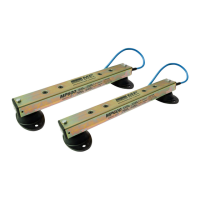
procedure requires the use of calibration plugs (0 mV/V and 2 mV/V).
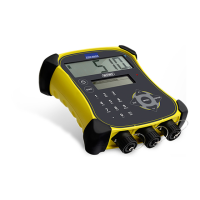
Performing factory calibration procedure – EziWeigh5i only
1 Use an EziWeigh6i or EziWeigh7i overlay on top of EziWeigh5i overlay. Hold and press .
The indicator displays cALib (factory calibration).
2 Press to display 0.PLuG .
3 Connect the 0 mV/V calibration plug to a load bar connector.
4 Press to display buSY , then 2.PLuG .
5 Connect the 2 mV/V calibration plug to the other load bar connector and remove the 0 mV/V
calibration plug.
6 Press to display busy, then donE .
7 Press to exit the Factory Calibration screen once changes have been made.
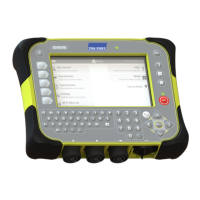
Performing factory calibration procedure – EziWeigh6i, EziWeigh7i, WOW2 and DAS WOW2 only
1 Hold and press to access the Factory Calibration screen .
2 Press
to display .
3 Connect the 0 mV/V calibration plug to a load bar connector.
4 Press
to display , then .
5 Connect the 2 mV/V calibration plug to the other load bar connector and remove the 0 mV/V
calibration plug.
6 Press
to display , then .
7 Press
to exit the Factory Calibration screen once changes have been made.
 Loading...