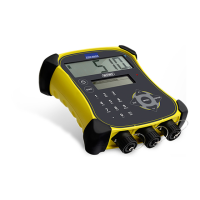
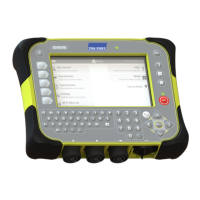
EziWeigh5i, EziWeigh6i, EziWeigh7i, WOW2, DAS WOW2
Issue 2, 7/2017 32
3 Remove the four screws holding the PCA to the case front (see Figure 14: PCA retaining screws).
4 Lift the PCA out of the case.
14: PCA
Refitting the PCA
1 EziWeigh5i – if necessary, replace the foam block which sits between the case front and the PCA.
This prevents unwanted movement inside the case.
2 Position the PCA in the case front..
Hint: EziWeigh6i, EziWeigh7i, WOW2 and DAS WOW2 - It is easier to fit the LCD FPCs to the
PCA before fitting the PCA into the case.
3 Fit the four screws to fasten the PCA to the case front. If available, use a torque limited
screwdriver set to 0.5 Nm (4 lbf-in).
4 Connect the FPCs and looms (see Figure 13: PCA connections).
5 Reassemble the indicator.
Note: Ensure that the case back is correctly installed. See page 24
.
 Loading...