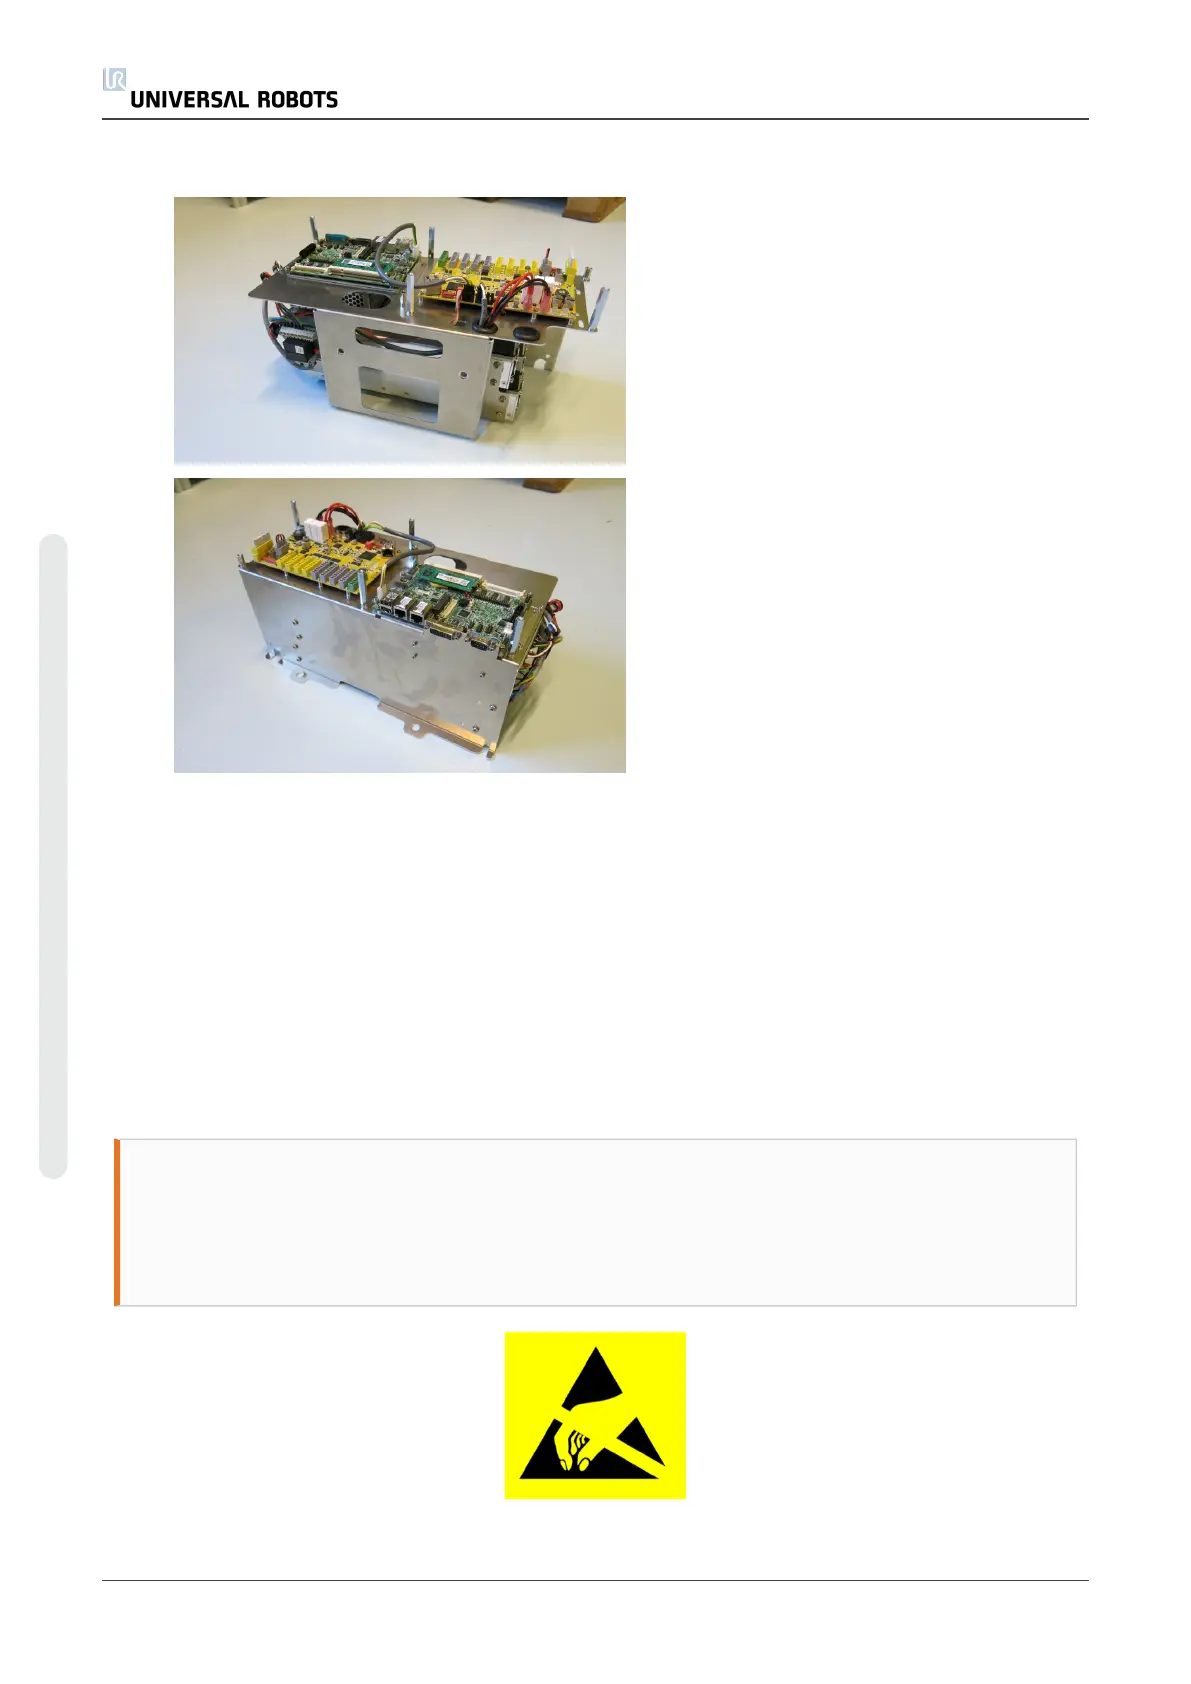
10. Remove the screws keeping the defective 48V power supply in place from the side of the
rack.
11. Replace the defect 48V power supply with the new one.
12. Reconnect the wires for the 48V power supply.
13. Reinstall controller module in reverse order attached all wire and mount the 4 bolts with
2,25 Nm.
14. Carefully put back the aluminum cover plate, making sure to mount it correctly and fix into
place with the screws.
15. Connect power and verify that teach pendant works properly.
5.3.5. Replacement of 12V power supply
WARNING
Before replacing ANY components inside the control box, it is IMPORTANT to do
a complete shutdown.
Follow the first 3 steps in section Complete rebooting sequence.
UR3 76 Service Manual
5.Service and Replacement of Parts
Copyright © 2009–2021 by UniversalRobotsA/S. All rights reserved.