3. Press the base and base mounting bracket together gently to align the screw holes in the
two parts before inserting the screws.
4. Gently tighten the screws, and then tighten in cross order with 3.0Nm.
5. Slide the black Teflon ring into place and gently put the flat ring back on top of the Teflon
ring.
6. Proceed to Dual Robot Calibration for instructions on how to calibrate the robot.
5.2.7. Shoulder joint – Base joint
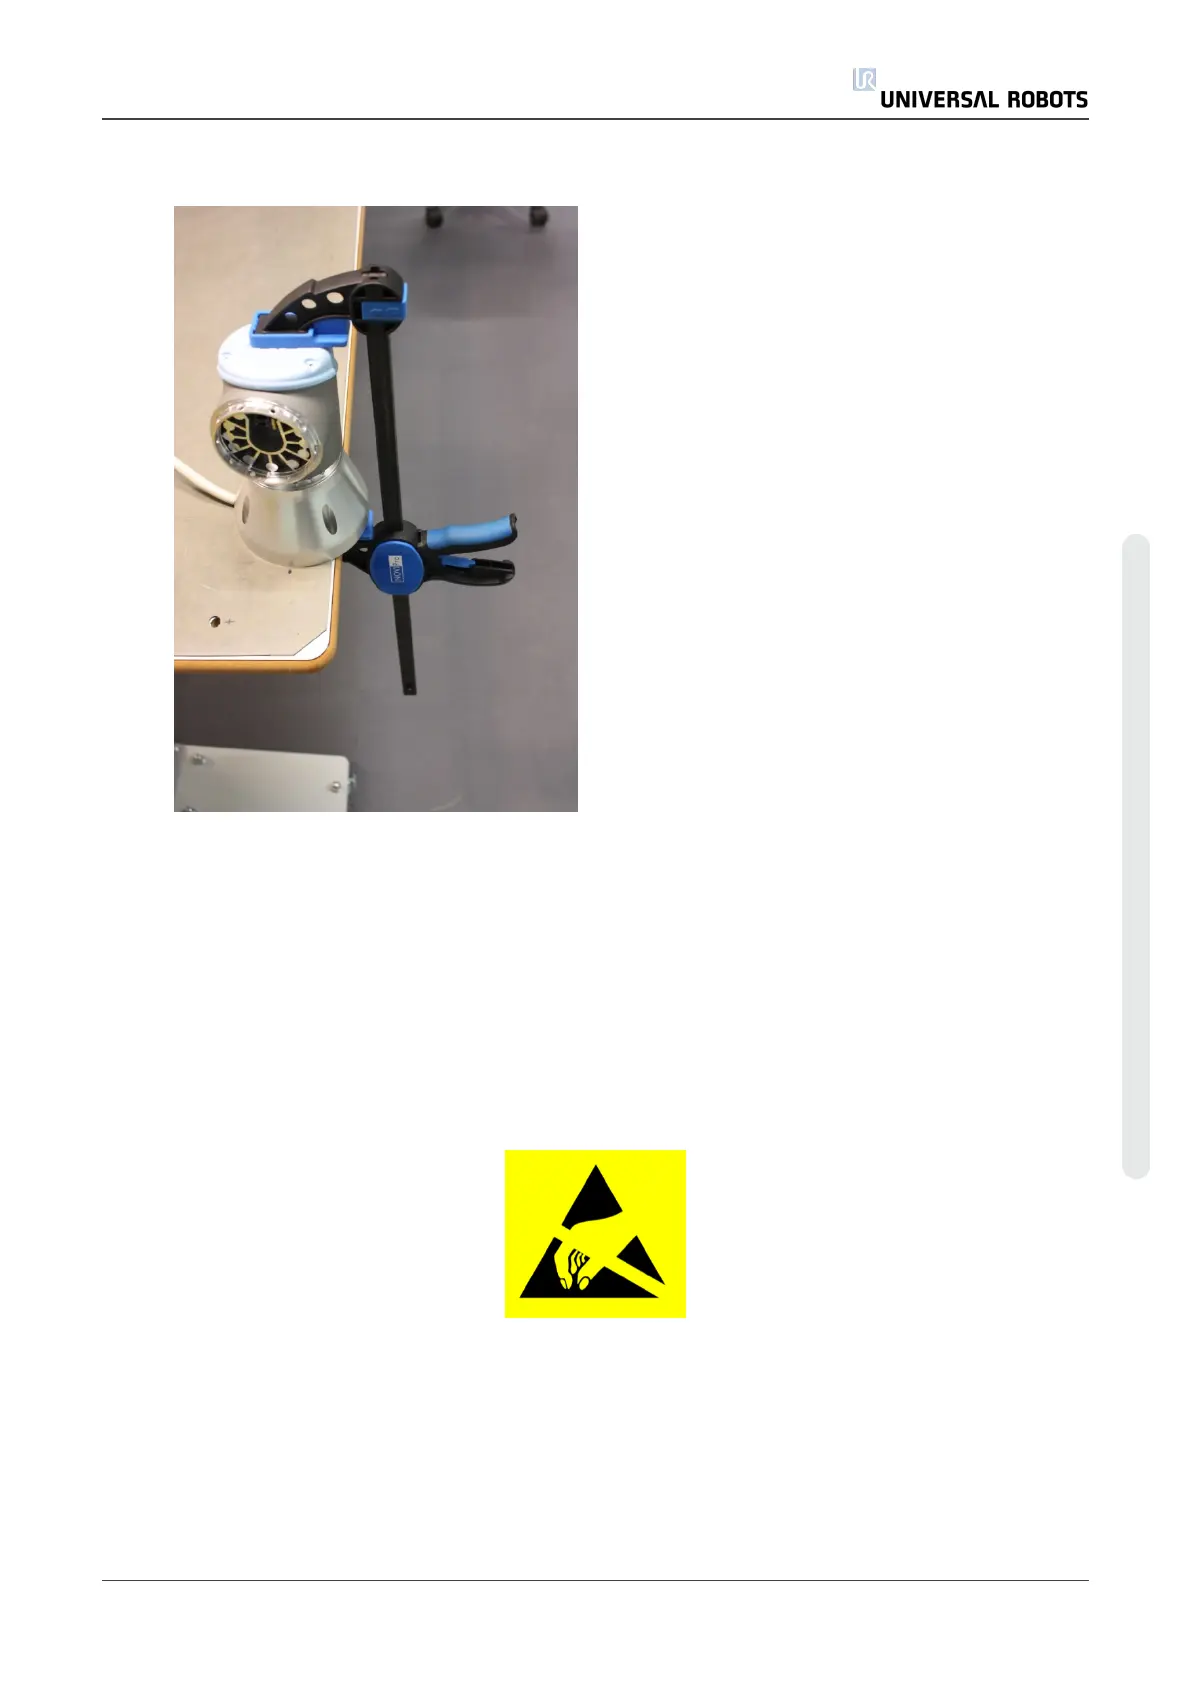
Disassemble
For details and photos please see: General Guidance to Separate Joint from Counterpart
1. Shut down the controller.
2. Remove blue lid on Base joint and connect ESD wristband.
3. Disconnect wires between Base joint and Shoulder joint.
Without bending the printed circuit board.
Service Manual 29 UR3
5.Service and Replacement of Parts
Copyright © 2009–2021 by UniversalRobotsA/S. All rights reserved.