6. Gently tighten the screws, and then tighten in cross order with 1.3Nm.
7. Slide the black Teflon ring into place and gently put the flat ring back on top of the Teflon
ring.
8. Proceed to Dual Robot Calibration for instructions on how to calibrate the robot.
5.2.14. Instructions for Calibrating a Joint
After replacement, calibration of the new joint is required in order to find the correct zero
position.
If it is possible (a dual robot calibration kit and second robot of the same model are available)
and necessary (highest possible positional accuracy, and minimal deviation from positions
taught prior to joint replacement are required), perform the Dual Robot Calibration Alternatively
perform a simple joint calibration as shown below.
Instructions for calibrating a joint:
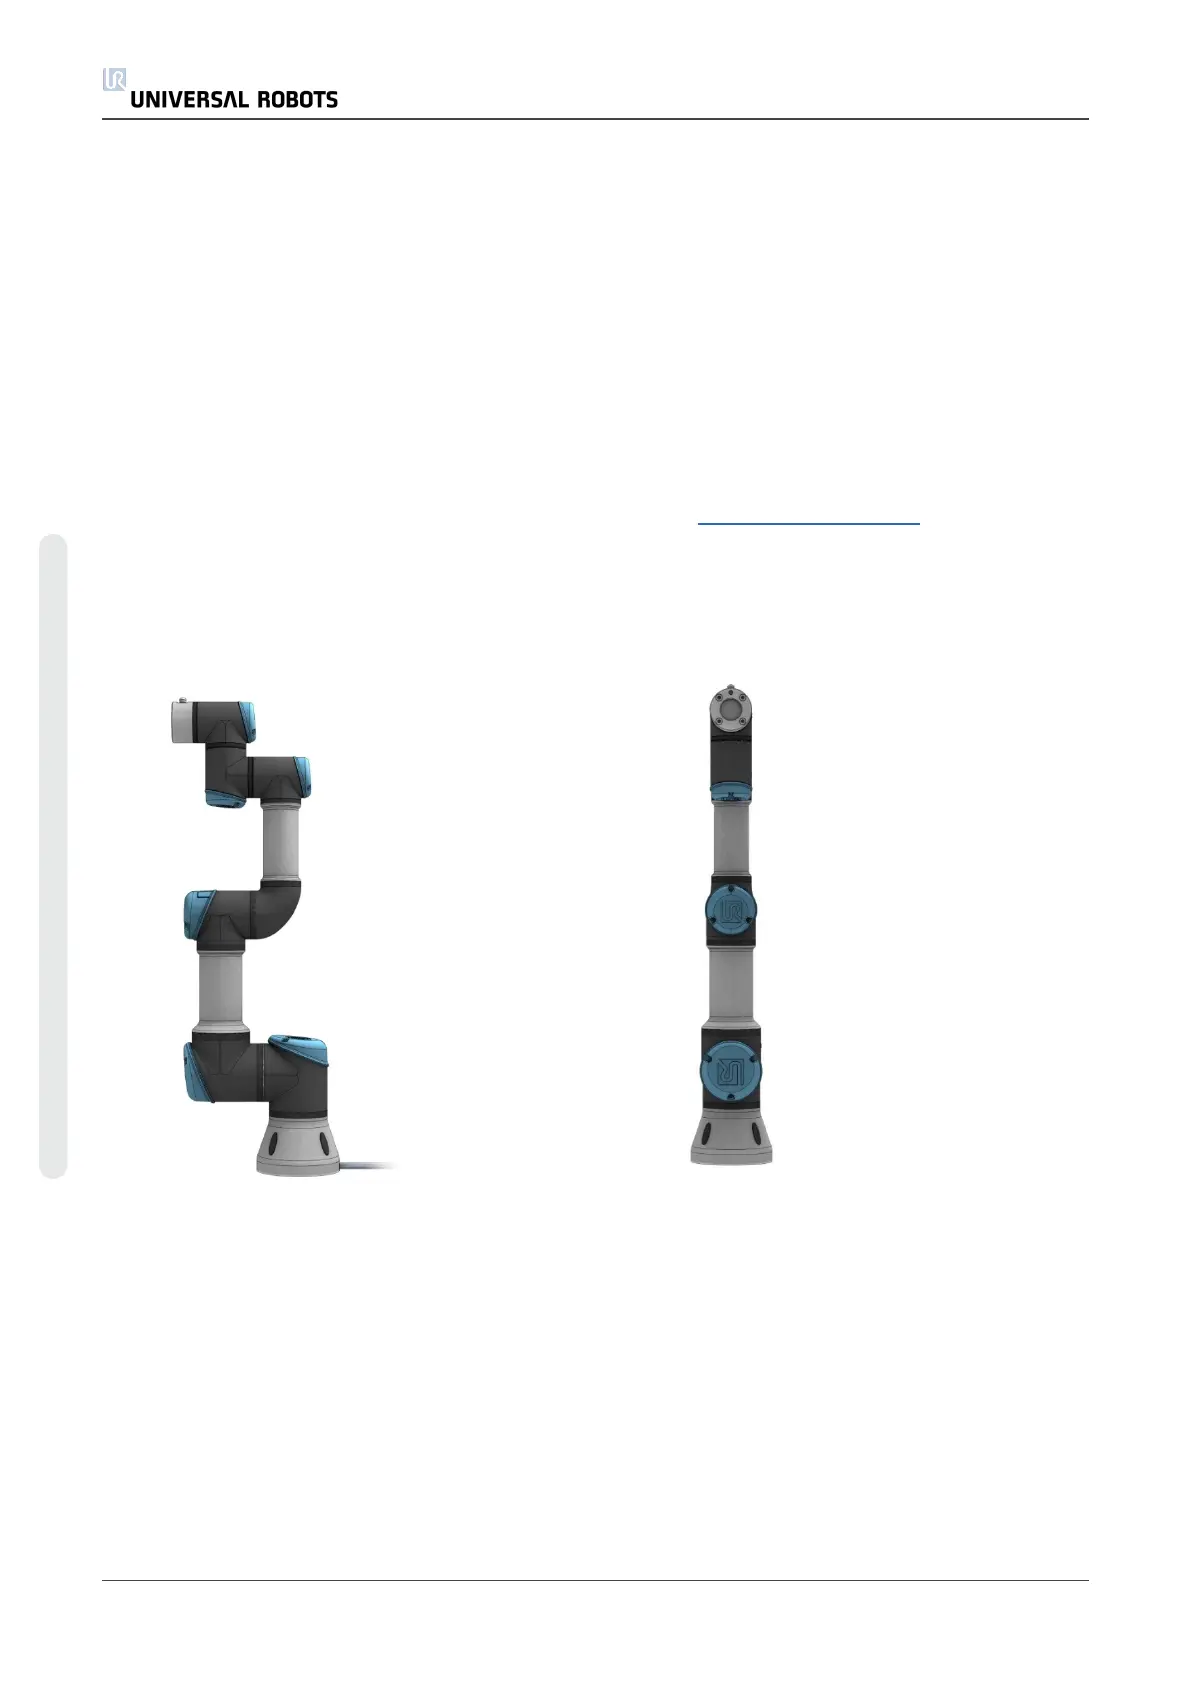
1. Jog robot to HOME position
Illustration shows the HOME position, which is defined as zero position of all joints.
2. Swipe from left to right across the UNIVERSAL ROBOTS logo on main screen of PolyScope.
UR3 40 Service Manual
5.Service and Replacement of Parts
Copyright © 2009–2021 by UniversalRobotsA/S. All rights reserved.