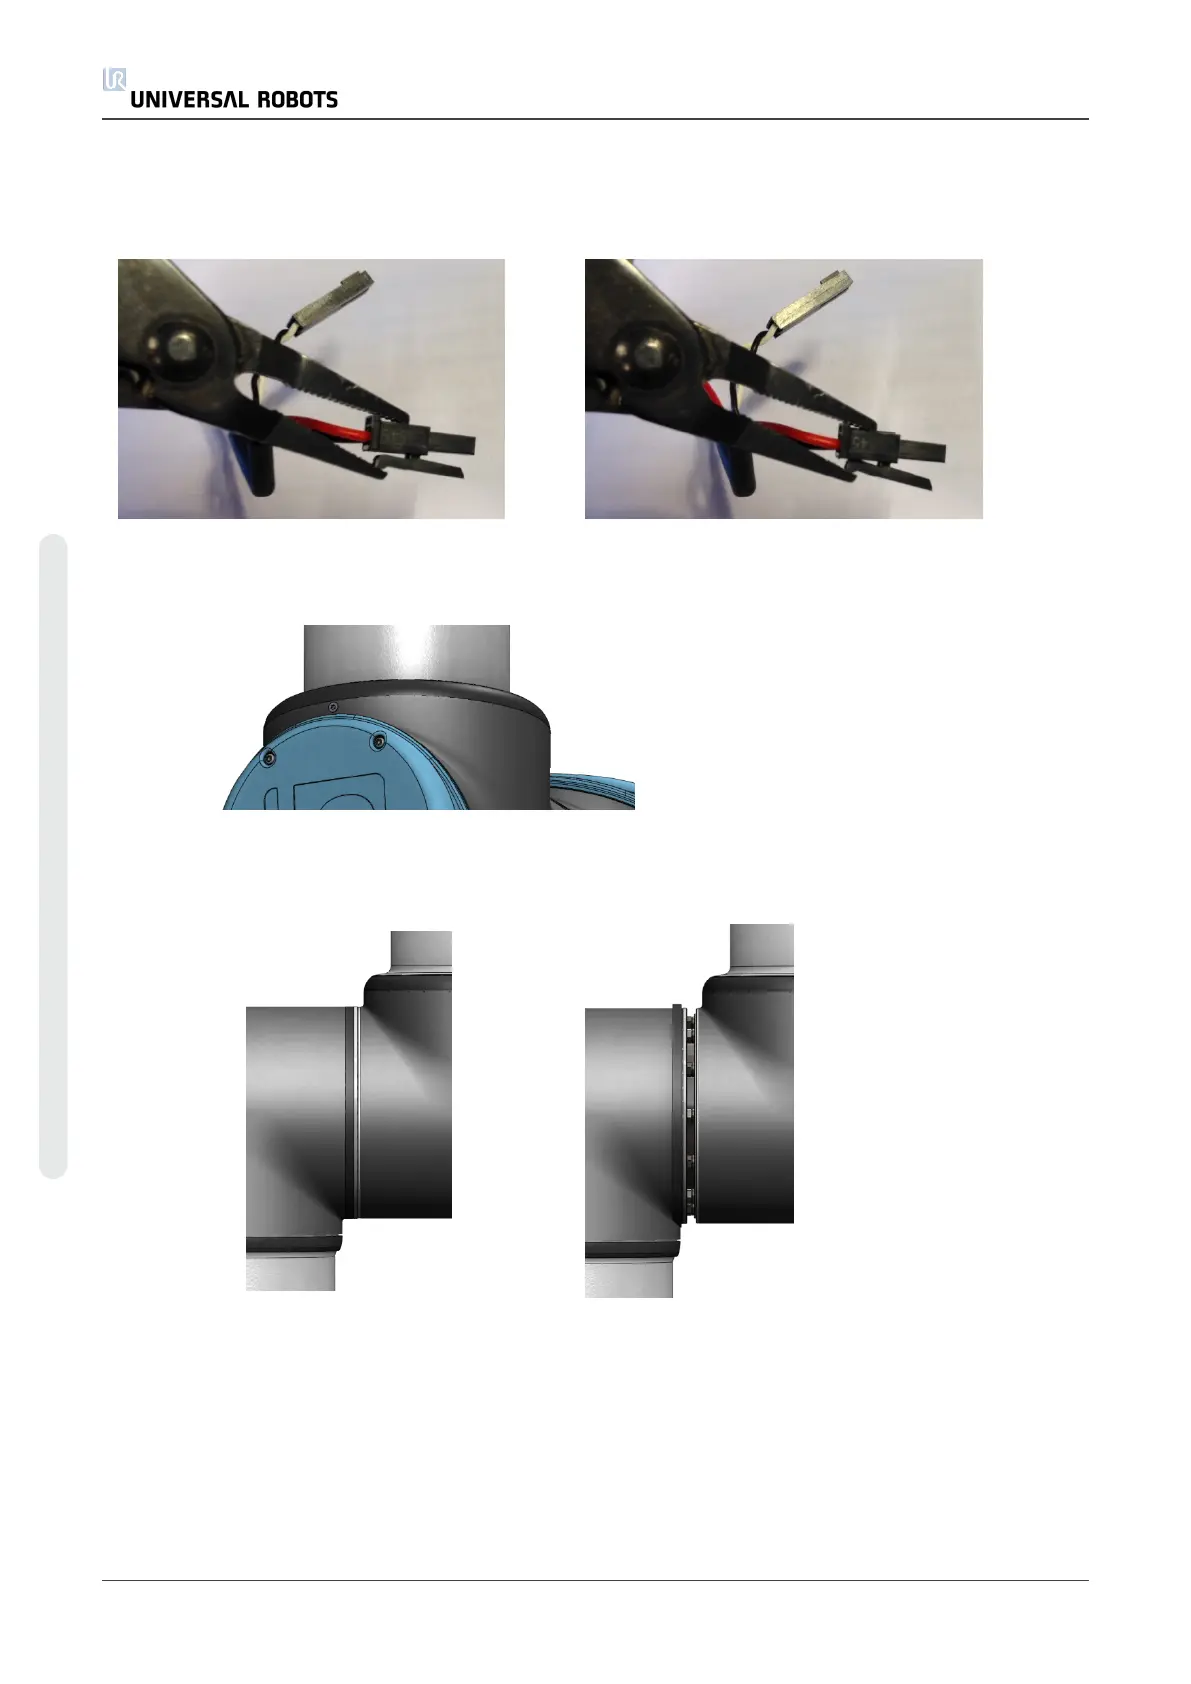
6. Gently unplug the cable connectors without bending the printed circuit board.
Some connectors have a lock that must be engaged before it is pulled out of the printed
circuit board. Example below.
7. Disconnect wires.
8. Remove alignment screw (Not present on newer joint housings).
9. Gently remove black flexible flat ring with a small flathead screwdriver or similar tool and
pull it back over joint housing away from its original position.
10. Slide the grey Teflon ring back.
10 screws become visible, 5 on each side of joint.
Loosen the screws with an open-ended spanner approximately two full turns each.
11. Pull the two parts apart and gently twist them counter-clockwise around 5 degrees, until a
mechanical stop is met (holes are keyhole-type). They can then be completely separated.
UR5 20 Service Manual
5.Service and Replacement of parts
Copyright © 2009–2021 by UniversalRobotsA/S. All rights reserved.