Service vacon • 47
24-hour support +358 (0)201 212 575 • Email: vacon@vacon.com
4
4
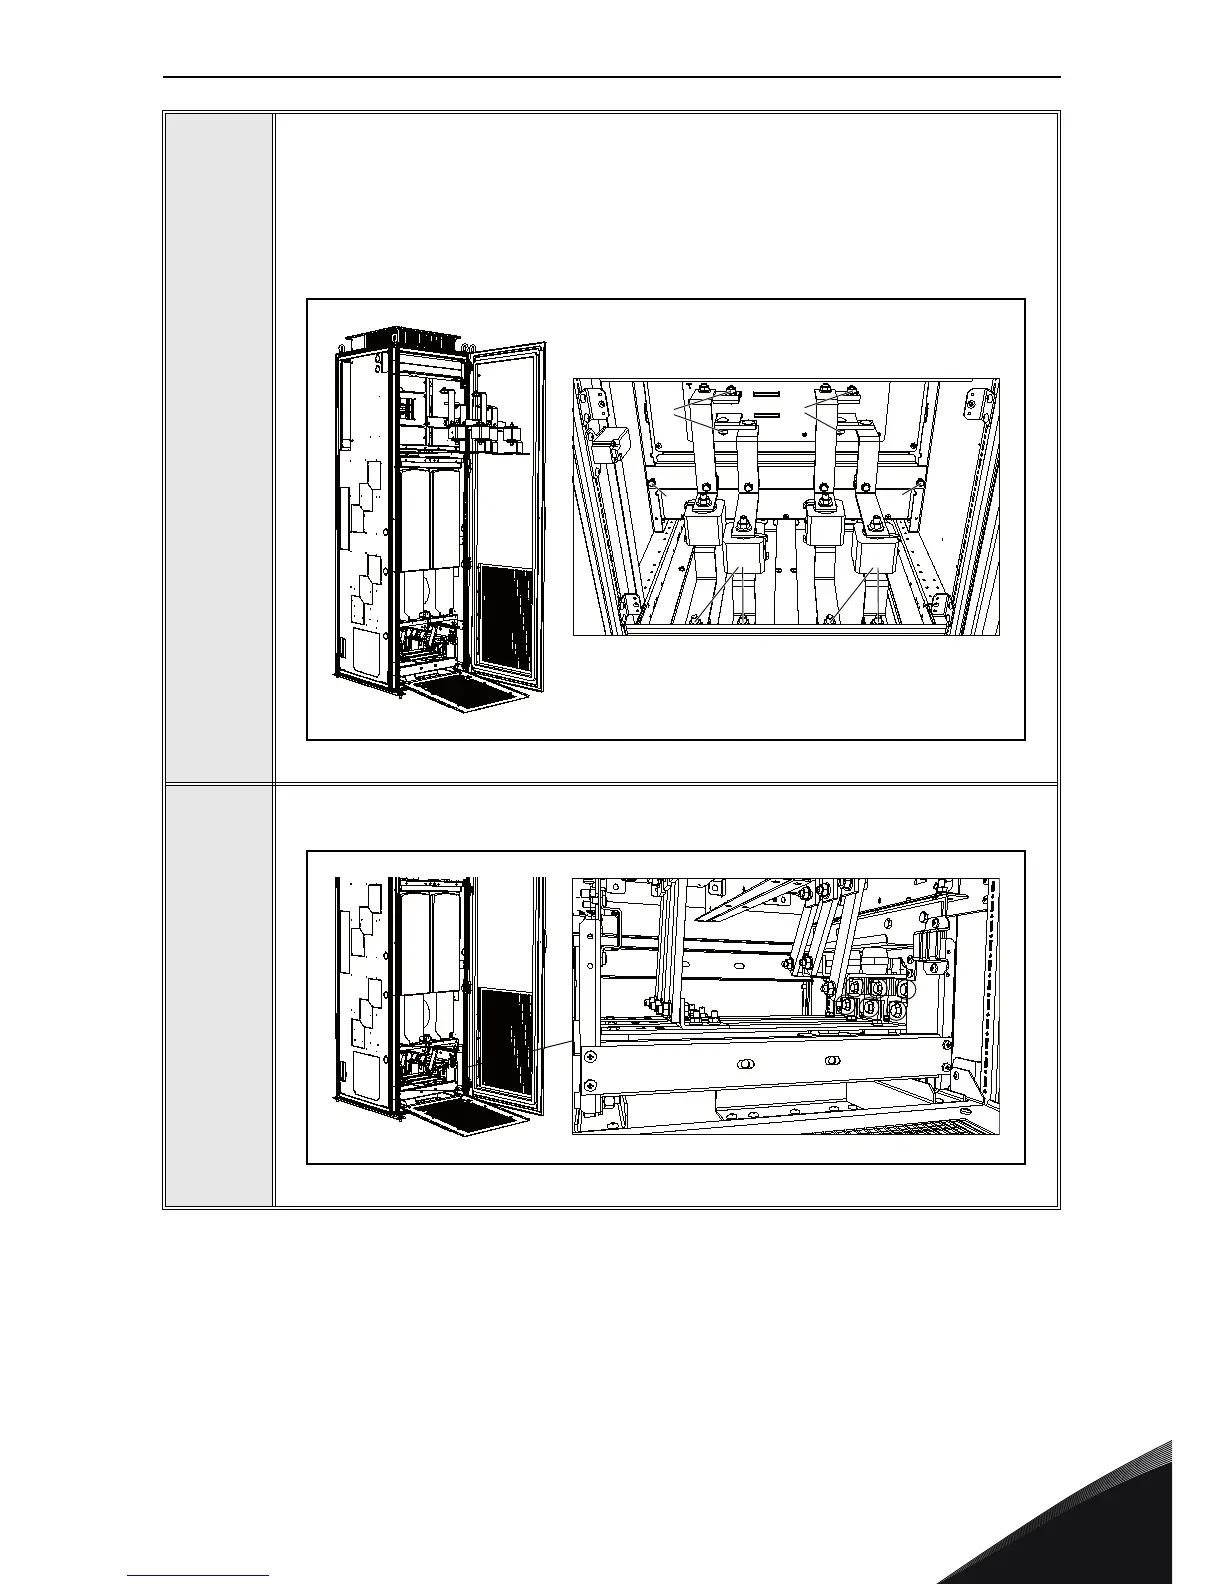
Release the input busbar assembly. Remove:
1. four M10 nuts and M10x30 bolts (torque 40Nm) from the upper busbars,
2. four M12 nuts and M12x40 bolts (torque 70Nm) from the lower busbars,
3. two M8x20 screws (torque 20Nm) from the back plate.
Take out the busbar assemblies, including the fuses.
Figure 36. Releasing the input busbar assembly
5
Release the output busbars. Remove six M10 nuts/bolts (tightening torque 40Nm).
Figure 37. Output busbar mounting screws
13935_00
1
3
3
1
2
2
 Loading...