4.2.3 Installation procedure
All numbers in brackets refer to chapter: «Connection overview».
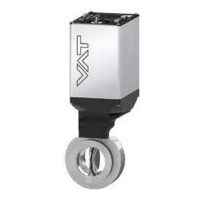
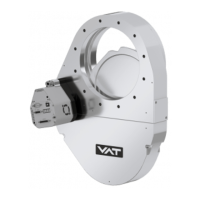
1. Remove protective covers from body flanges.
2. Install [1] valve into the vacuum system. Valve seat side must face process chamber.
The valve seat side is indicated by the symbol « » on the valve flange.
Do not tighten the flange screws stronger than indicated under chapter «Tightening
torque».
Do not admit higher forces to the valve than indicated under chapter «Admissible
forces».
Make sure that enough space is kept free to do preventive maintenance work. The
required space is indicated on the dimensional drawing.
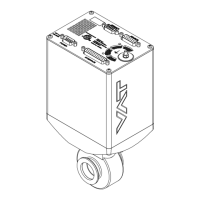
Control unit of valves with ISO-KF (612 . . – K . . .) needs support when mounted
on horizontal piping and control unit does not hang.
3. Install the ground connection cable at controller. Refer to chapter «Electrical connection».
4. Install sensor(s) [4] according to the recommendations of the sensor manufacturer and directives
given under chapter «Requirements to sensor connection».
5. Connect sensor cable [5] to sensor(s) and then to valve (connector: SENSOR). Refer to chapter
«Electrical connection» for correct wiring.
61228-KAGG-0002 supports 1 sensor(s).
6. Connect valve with cable [7] to remote control unit (connector: INTERFACE). Refer to chapter
«RS232 connection» for correct wiring.
7. Connect power supply cable [8] to valve (connector: POWER). Refer to chapter «Electrical
connection» for correct wiring.
 Loading...