3
4. DAILY ACTIVITIES
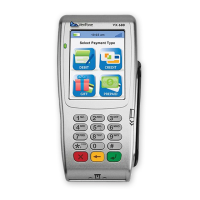
Check daily if all is in order with the POS device.
Tap the ‘information bar’ to see the device’s ‘batch transactions count’.
See Batch Number eld: Batch number 0001 (0 transactions)
To view banking totals:
Select ‘menu’
Select ‘banking’
Select ‘view current batch’
Tap ‘OK’ (O) once completed
STEP 4
STEP 2
STEP 3
The POS device will settle all transactions.
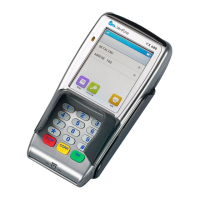
5. CHARGING THE POS DEVICE
A charger is supplied for the POS device. Plug in the charger cable to the POS device and into
the power plug. The POS device can also work on battery
6. REBOOTING THE POS DEVICE
To shut down the POS device, hold down the green circular button (O) for eight seconds. To
reboot the POS device, hold down the green circular button (O) for about eight seconds.
If the POS device is connected to power, holding the green circular button (O) down will restart
the POS device.
If the POS device is stuck and cannot reboot as per the above steps, press 1, 5 and 9
simultaneously. The ‘User APDV’ screen is displayed. On the top banner, swipe the screen to
the left- or right-hand side. Select ‘reboot’ and the POS device will reboot.
7. SUPERVISOR PIN
The supervisor number and PIN will be provided by our eld technician when the POS device is
installed.
STEP 1