2. Click the Blink Receptacle LED icon, then click OK on the pop-up window to confirm to blink the LED on a
selected receptacle.
-or-
Click Cancel to return to the Device Explorer window without causing the LED to blink on a receptacle.
3. From the pop-up window, click OK to acknowledge that the process completed successfully.
3.5.1 Device Explorer - receptacle groups
An administrator can create customized groups of rack PDU receptacles. The group appears in the side navigation tree and
a summary of the parametric data from the group's receptacles is displayed in the window.
You can group receptacles on rack PDUs for management and monitoring purposes. When you group receptacles, it allows
you to apply the same changes to all the receptacles in a group by performing a single operation. For example, you can turn
all the receptacles on or off with one action, instead of performing this operation on each receptacle. Up to 64 receptacle
groups, including non-critical groups, are possible. All group names, except for the standard Noncritical group name, can be
changed.
NOTE: No receptacles are grouped in the factory-default setup of the RPC2 communications module.
Noncritical group
The Noncritical group is intended for linking receptacles powering non-essential equipment. This receptacle group can be
shut down for power conservation and similar purposes, such as when utility power fails and a UPS is powering rack
equipment.
All receptacles are critical by default. No receptacles can be in the Noncritical Group unless they are added by a user with
administrative privileges.
To create a receptacle group:
1. Navigate to the Device Explorer window and click Groups from the side navigation tree.
2. In the list of 64 empty groups, click the Edit icon next to the group you want to create.
3. In the list of receptacles, click to add a checkmark beside each receptacle to be added to the group.
4. Name the group or use one of the default group names.
5. Click the Save icon.
6. Repeat as needed for additional groups.
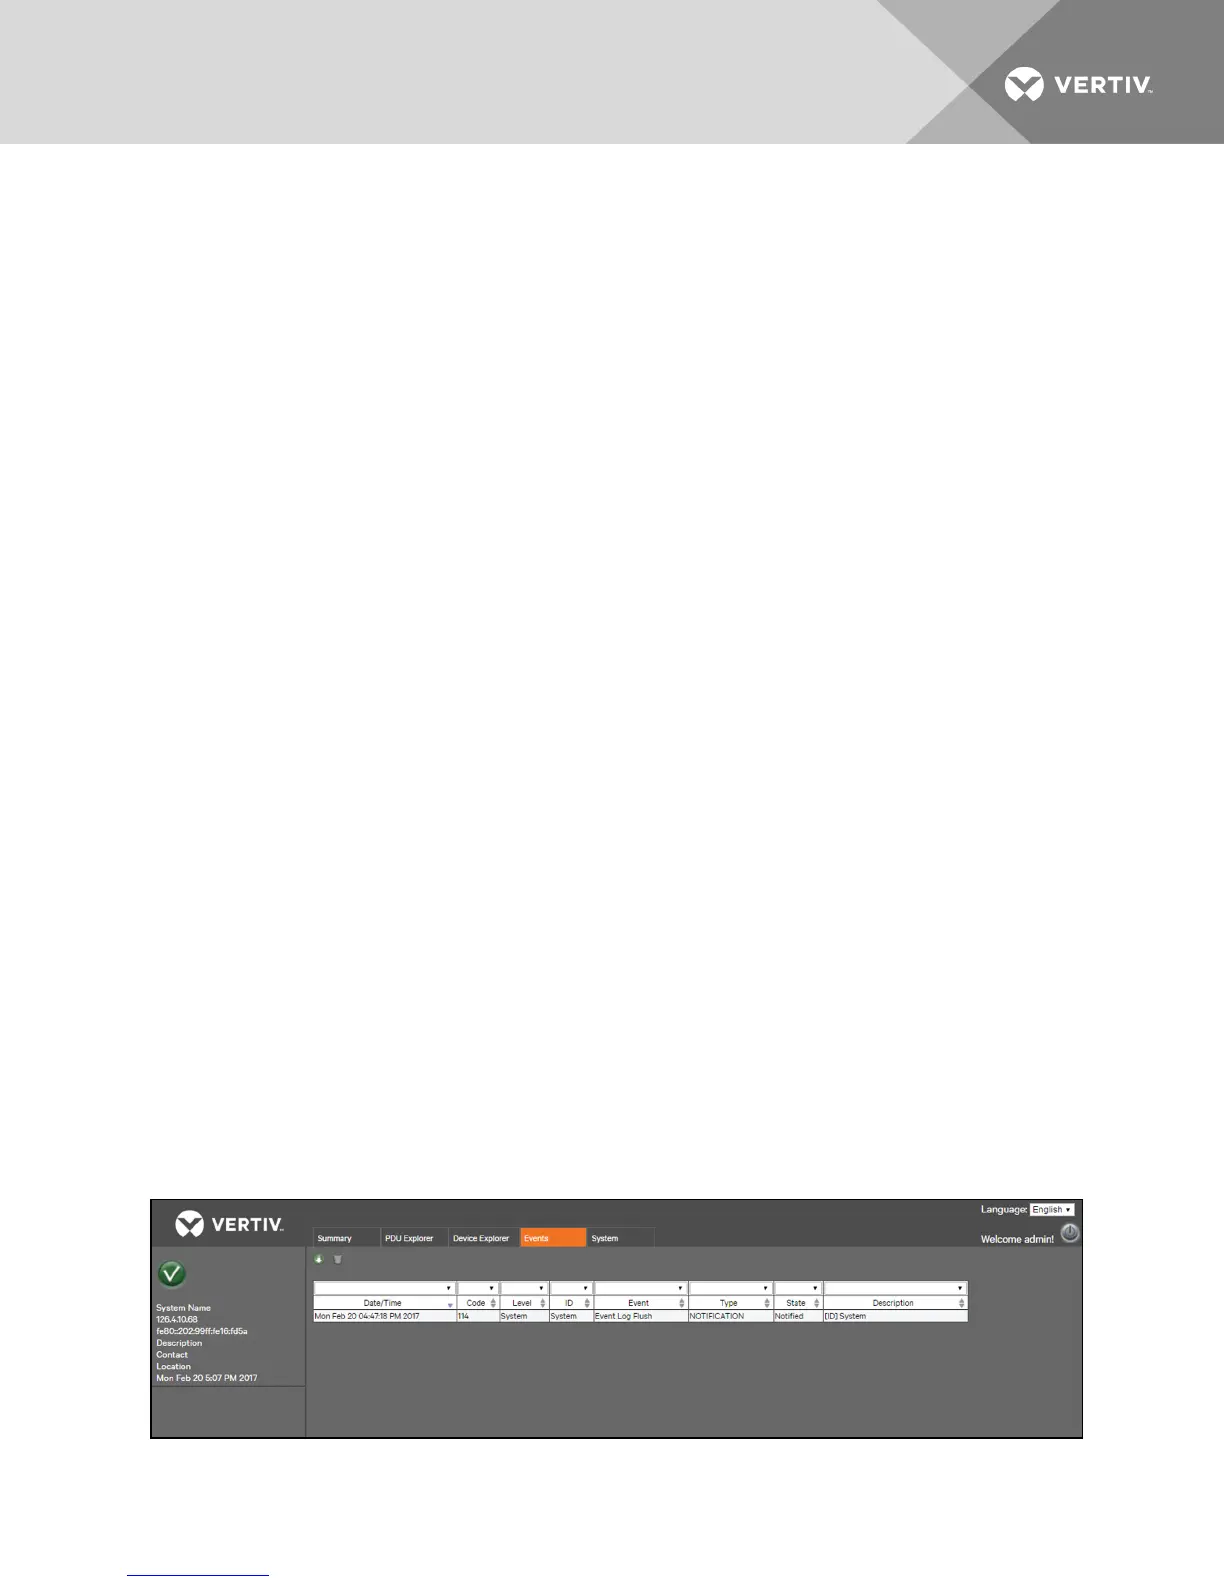
3.6 Events Tab
The Events window displays a list of events that have occurred on the MPH2 rack PDUsystem, with more recent events at
the top of the list. When the number of events exceeds the limit of 6,000, the oldest events are removed first. Use the drop-
down menus to filter events. Events can be configured for SNMP Traps, Syslog, Email and SMS in the System Tab.
Information available includes the date and time of occurrence, the event code, receptacle or branch where the event
occurred, name or description of the event, severity level and the event status (active, notification sent, clear and so on).
Figure 3.7 Events Tab
Vertiv | RPC2™ Communications Module Installer/User Guide | 20