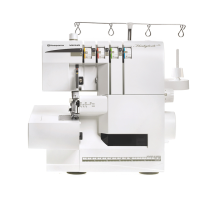
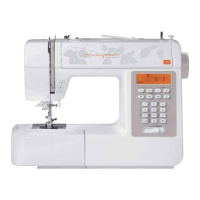
SETTINGS & FUNCTIONS 3:5
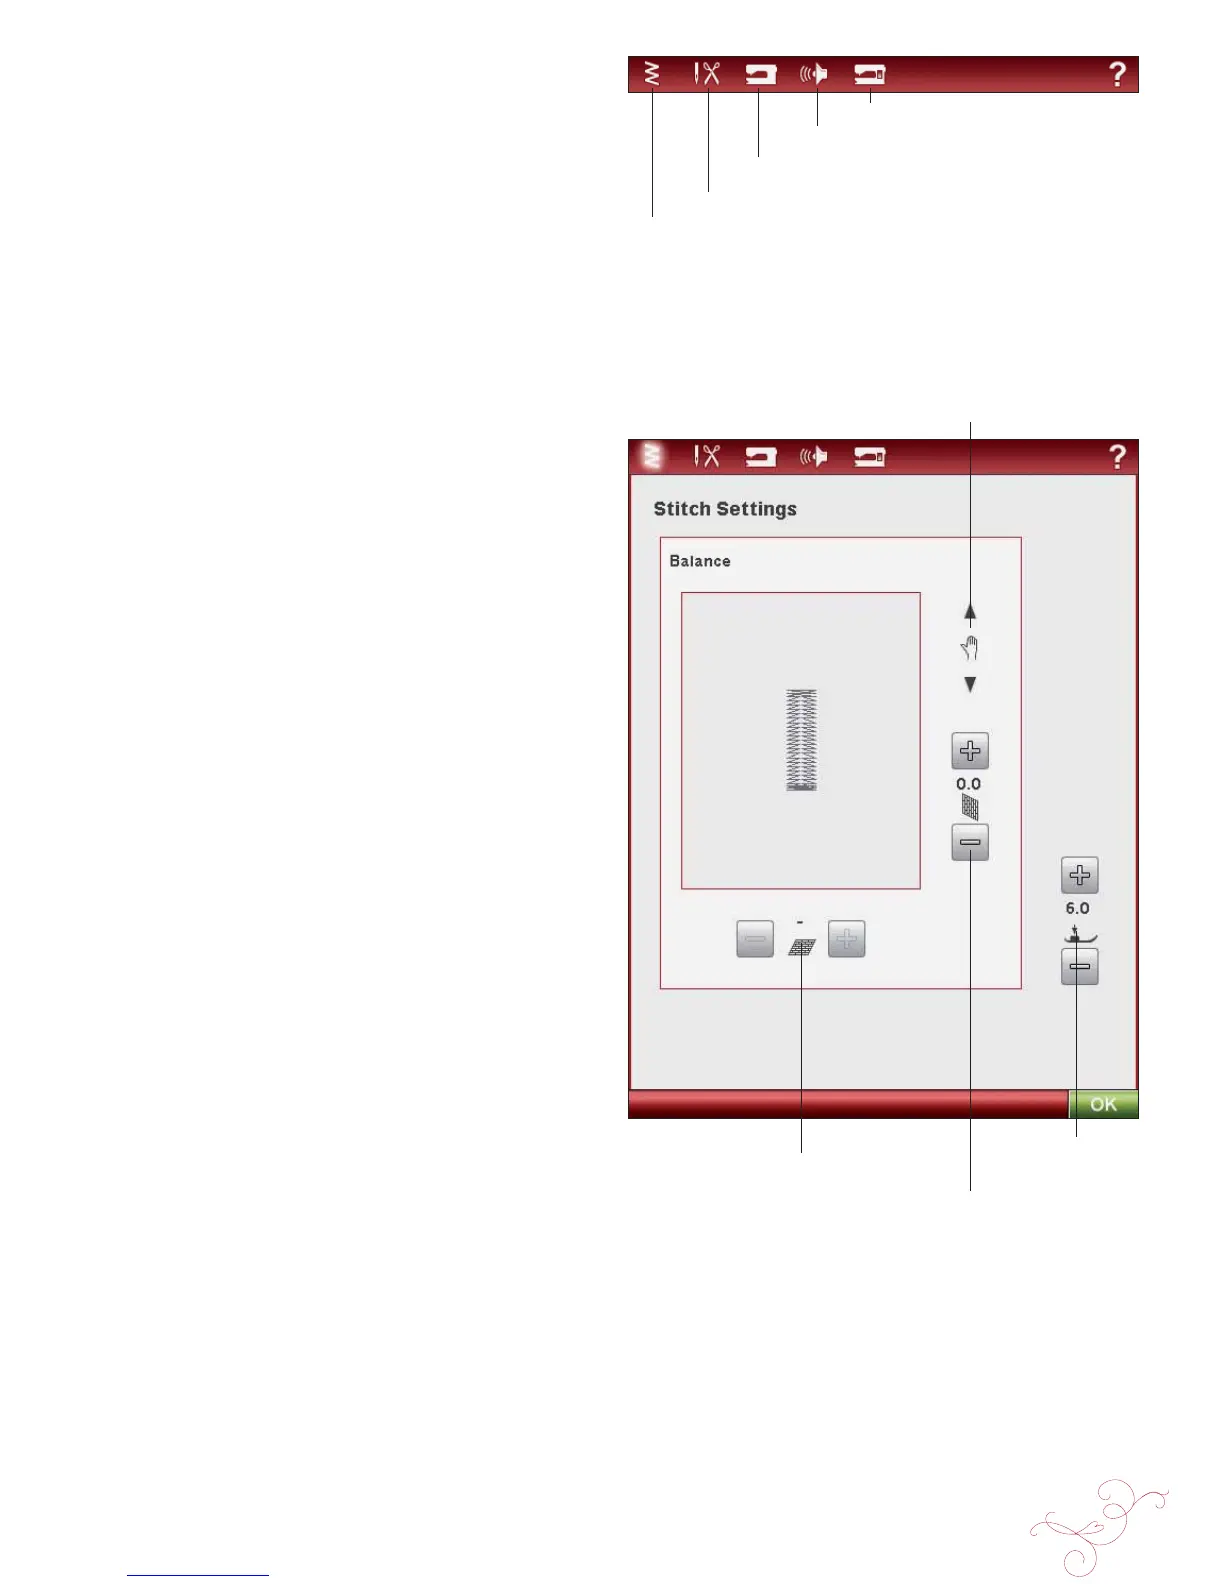
Stitch Settings
Machine Settings
Sound Settings
Screen Settings
Sewing Settings
Pan
Balance Length
Balance Width
Sensor Foot
Pressure
SET MENU
In the SET Menu, you can override automatic settings and
make personal adjustments to the Stitch Settings, Sewing
Settings, Machine Settings, Sound Settings and Screen
Settings.
Touch the icons to activate a function or open a list of
choices. When changing the Sewing, Machine, Sound or
Screen Setting, the settings are saved after turning off the
machine, except for Feed Teeth Options in Sewing Settings
which is always set to Auto when turning on the machine
(see Feed Teeth Options, page 3:7). If you make changes to
Stitch Settings, the changes will not be saved after turning
off the machine.
STITCH SETTINGS
(only active in Sewing mode)
In the Stitch Settings screen, you can set the presser foot
pressure and balance a stitch or buttonhole. These settings
will only be valid for the stitch that is currently selected.
If another stitch is selected or the same stitch is selected
again, the stitch value is reset to the default value. Default
number is black.
EXCLUSIVE SENSOR SYSTEM™ Feature - Sensor
Foot Pressure
Thanks to the Sensor Foot Pressure, the machine actually
senses the thickness of the fabric, embroidery or stitching
to sew over it smoothly and evenly with perfect, even fabric
feed.
Touch + to increase or - to decrease the pressure of the
presser foot on the fabric.
Balance Controls
When sewing on special fabrics or doing a specialty
technique, the balance of the stitch may need to be
adjusted.
Start by sewing a stitch on a piece of scrap fabric with
stabilizer underneath. In the SET Menu, select Stitch
Settings. Change the picture of the stitch on the screen to
match your sewn sample, using the + and - icons. Make the
stitch on the screen look like your unbalanced stitch-out.
Now when you sew again on the same fabric, the balance will
be corrected. The machine will balance the stitch for you.
Note: Use the Pan icons. The Pan feature lets you see the whole stitch.