3 Assembly and installation guidelines
3.1 Overview
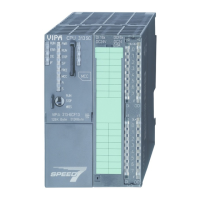
This CPU is provided with a parallel SPEED-Bus that enables the
additional connection of up to 10 modules from the SPEED-Bus
periphery. While the standard peripheral modules are plugged-in at
the right side of the CPU, the SPEED-Bus peripheral modules are
connected via a SPEED-Bus bus connector at the left side of the
CPU.
VIPA delivers profile rails with integrated SPEED-Bus for 2, 6 or 10
SPEED-Bus peripheral modules with different lengths.
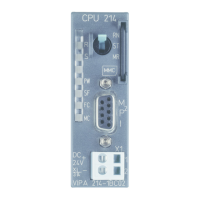
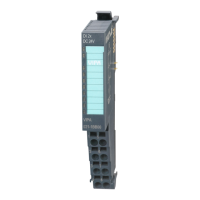
The single modules are directly installed on a profile rail and con-
nected via the backplane bus coupler
. Before installing the modules
you have to clip the backplane bus coupler to the module from the
backside. The backplane bus couplers are included in the delivery of
the peripheral modules.
With SPEED-Bus the bus connection happens via a SPEED-Bus rail
integrated in the profile rail at the left side of the CPU. Due to the par-
allel SPEED-Bus not all slots must be occupied in sequence.
You may assemble the System 300 horizontally, vertically or lying.
Please regard the allowed environment temperatures:
1 horizontal assembly: from 0 to 60°C
2 vertical assembly: from 0 to 50°C
3 lying assembly: from 0 to 55°C
3.2 Installation dimensions
2tier width (WxHxD) in mm: 80 x 125 x 120
General
Serial Standard bus
Parallel SPEED-Bus
Assembly possibilities
Dimensions Basic
enclosure
VIPA System 300SAssembly and installation guidelines
Installation dimensions
HB140 | CPU | 314-6CF03 | GB | 16-43 18