MC-302 PG2
32 D-302758
3. INSTALLATION
3.1 Mounting (Fig. 3a and 3b)
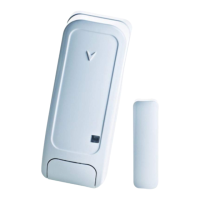
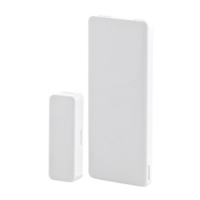
It is highly recommended to attach the transmitter to the top of the door/window on the fixed frame and the
magnet to the movable part (door or window). Make sure that the magnet is located not more than 6 mm (0.25
in.) from the transmitter’s marked side.
Note: Once the cover is removed, a tamper message is transmitted to the receiver. Subsequent removal of the
battery prevents transmission of "TAMPER RESTORE", leaving the receiver in permanent alert. To avoid this,
during the enrolling process, press the tamper switch while you remove the battery.
Attention! The unit has a back tamper switch (optional) under the PCB. As long as the PCB is seated firmly
within the base, the switch lever will be pressed against a special break-away base segment that is loosely
connected to the base (Figures 2 and 3a). Be sure to fasten the break-away segment to the wall. If the
detector unit is forcibly removed from the wall, this segment will break away from the base, causing the tamper
switch to open.
MOUNTING HOLES
FLEXIBLE
RETAINER
PLASTIC
STANDOFF
FOR CASE
CLOSURE
SCREW
WIRING INLET
P.C. BOARD
EDGE
SUPPORTS
BREAK-AWAY BASE SEGMENT (FOR BACK TAMPER)
Figure 2. Base with P.C. Board Removed
MARK & DRILL 2 HOLES
IN MOUNTING SURFACE.
FASTEN BASE WITH 2
COUNTERSUNK SCREWS.
4
3
1
REMOVE
SCREW
FLEX CATCH AND
REMOVE BOARD
2
SEPARATE BASE
FROM COVER
*
ENROLL
BUTTON
Figure 3a. Mounting
Note: 868 MHz device is illustrated in the above example. The
same mounting procedure should be performed for 433 MHz and
915 MHz devices.
* This screw is used for back tamper only.
 Loading...
