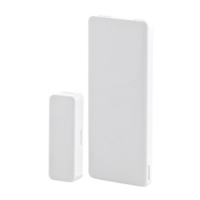
MC-302 PG2
D-302758 33
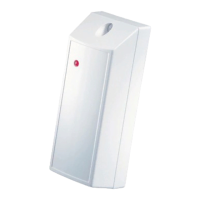
FIXED FRAME
MOVING PART
MOUNT THE MAGNET NEAR ITS
LOCATION MARK WITH 2 SCREWS
5
Figure 3b. Mounting
4. ENROLLMENT
Refer to the PowerMaster-10 Installer Guide for the device enrollment procedure.
5. MODIFY DEVICE SETTINGS
This section describes how to configure the parameters of contact sensors from the PowerMaster-10 control
panel.
To Modify the Contact Sensor Settings
Refer to the PowerMaster-10 Installer Guide and perform the procedure for Adding A Wireless Device (section
4.5.2), or, Modifying a Device (section 4.5.5). Then continue below to modify the device settings.
1.
Here you determine whether or not the alarm LED indication will be
activated.
2.
3.
or
Select between "LED ON" and "LED OFF".
4.
When exiting "
ZONES / DEVICES
" menu, the PowerMaster-10 system
displays the number of devices that need to be updated, as follows: DEV
UPDATING NNN.
For detailed instructions on Adding Devices, Deleting Devices, Replacing
Devices and Defining Defaults see the PowerMaster-10 Installer Guide.
6. LOCAL DIAGNOSTICS TEST
Before testing, separate the base from the cover (see Fig. 3a).
A. Press the tamper switch once and release it.
B. Put back the cover to return the tamper switch to its normal (undisturbed) position, and then secure the front
cover to the base with the case closure screw.
C. Momentarily open the door or window and verify the red LED blinks, indicating detection.
larm LED
larm LED
EV SETTINGS
ED ON