4. PROGRAMMING
22 D-305735 PowerMaster 360 Installer's Guide
4.4.5 Replacing a Device
Use this option to replace a faulty device that is enrolled in the system with another device of the same type number
(i.e. same first 3 digit of the ID number – see section 4.4.2.A) while keeping the same configuration of the original
device. There is no need to delete the faulty device or to reconfigure the new device. Once enrolled, the new device will
be configured automatically to the same configuration of the faulty (replaced) device.
To Replace, a device proceed as follows:
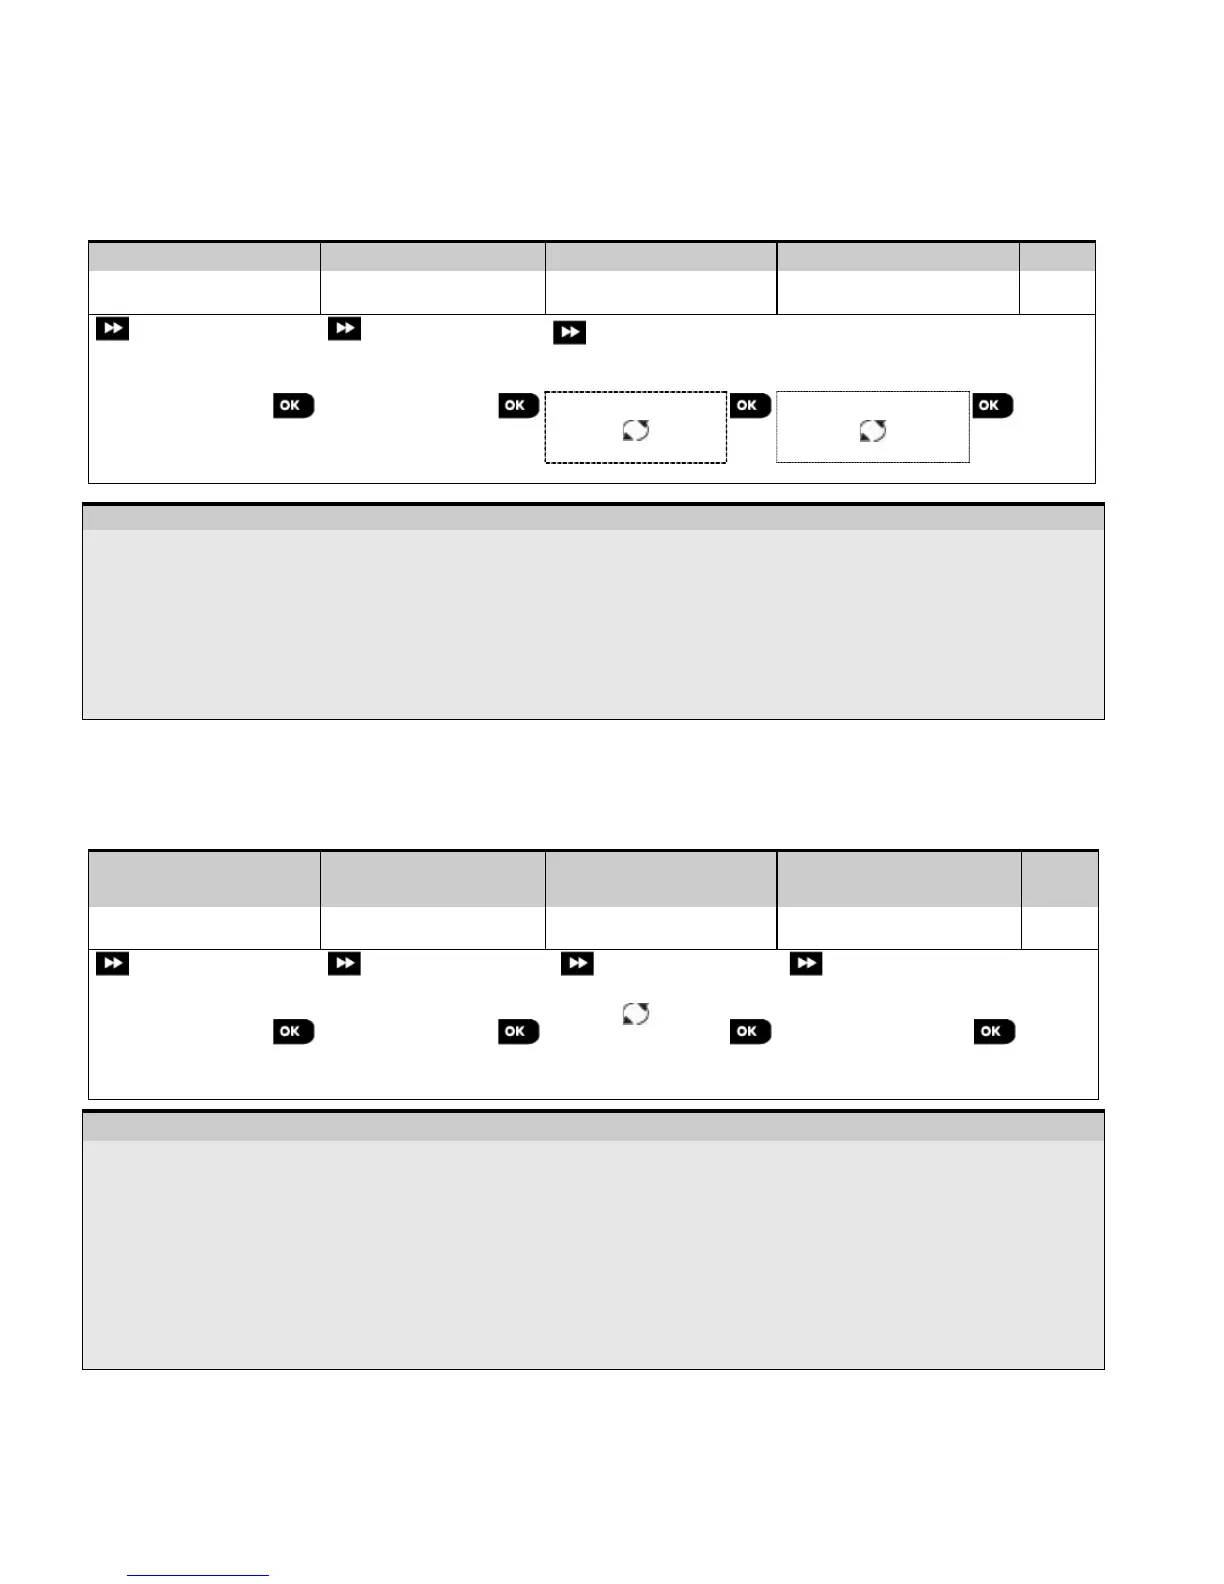
Step 1
[1] Select the respective
[3] Enroll the new device
[4]
Enter the Installer Mode menu, select the "02:ZONES/DEVICES" option (see section 4.2) and then select the
"REPLACE DEVICES" option.
Select the respective group of the device you wish to replace. For example, "KEYFOBS".
Scroll the Device Group, identify (by zone and/or ID number) the exact device you wish to replace, for example:
"K03: Keyfob > ID No. 300-0307".
If you try enrolling a new device of a different type than the replaced device, the PowerMaster 360 will reject the
new device and the Virtual Keypad display will read "WRONG DEV.TYPE".
When done, the Virtual Keypad display shows the device details of the new device.
4.4.6 Configuring Soak Test Mode
This option enables you to enter device zones into Soak Test mode.
To Enable the Soak Test proceed as follows:
Step 1
Step 2
Step 3
Step 4
Step 5
Select "ADD TO
SOAK TEST" Option
[1] Select the respective
device Group
[2] Select device zone
number
[3] Select to enable or
disable the Soak Test
– Enabling Soak Test mode
Enter the Installer Mode menu, select the "02.ZONES/DEVICES" option (see section 4.2) and then select the "ADD
TO SOAK TEST" option.
Select the respective Group of the device you wish to add the Soak Test. For example, "MOTION SENSORS".
Scroll to select the specific device zone number.
Select between “Disable test” (default) or “Enable test”.
If set to “Enable Test” you must set the duration of the Soak Test before the Soak Test will start (see section
4.5.8). You can stop the test for the relevant zone by changing the setting to "Disable test" at any time during the
testing period. All Soak test zones will be reset to start a new test upon occurrence of one of the following:
1) Power up of the system; 2) Setup of Factory Default; 3) Change in system Soak Time.

 Loading...


