PowerMaster 360 Quick User Guide
PowerMaster 360 Quick User Guide
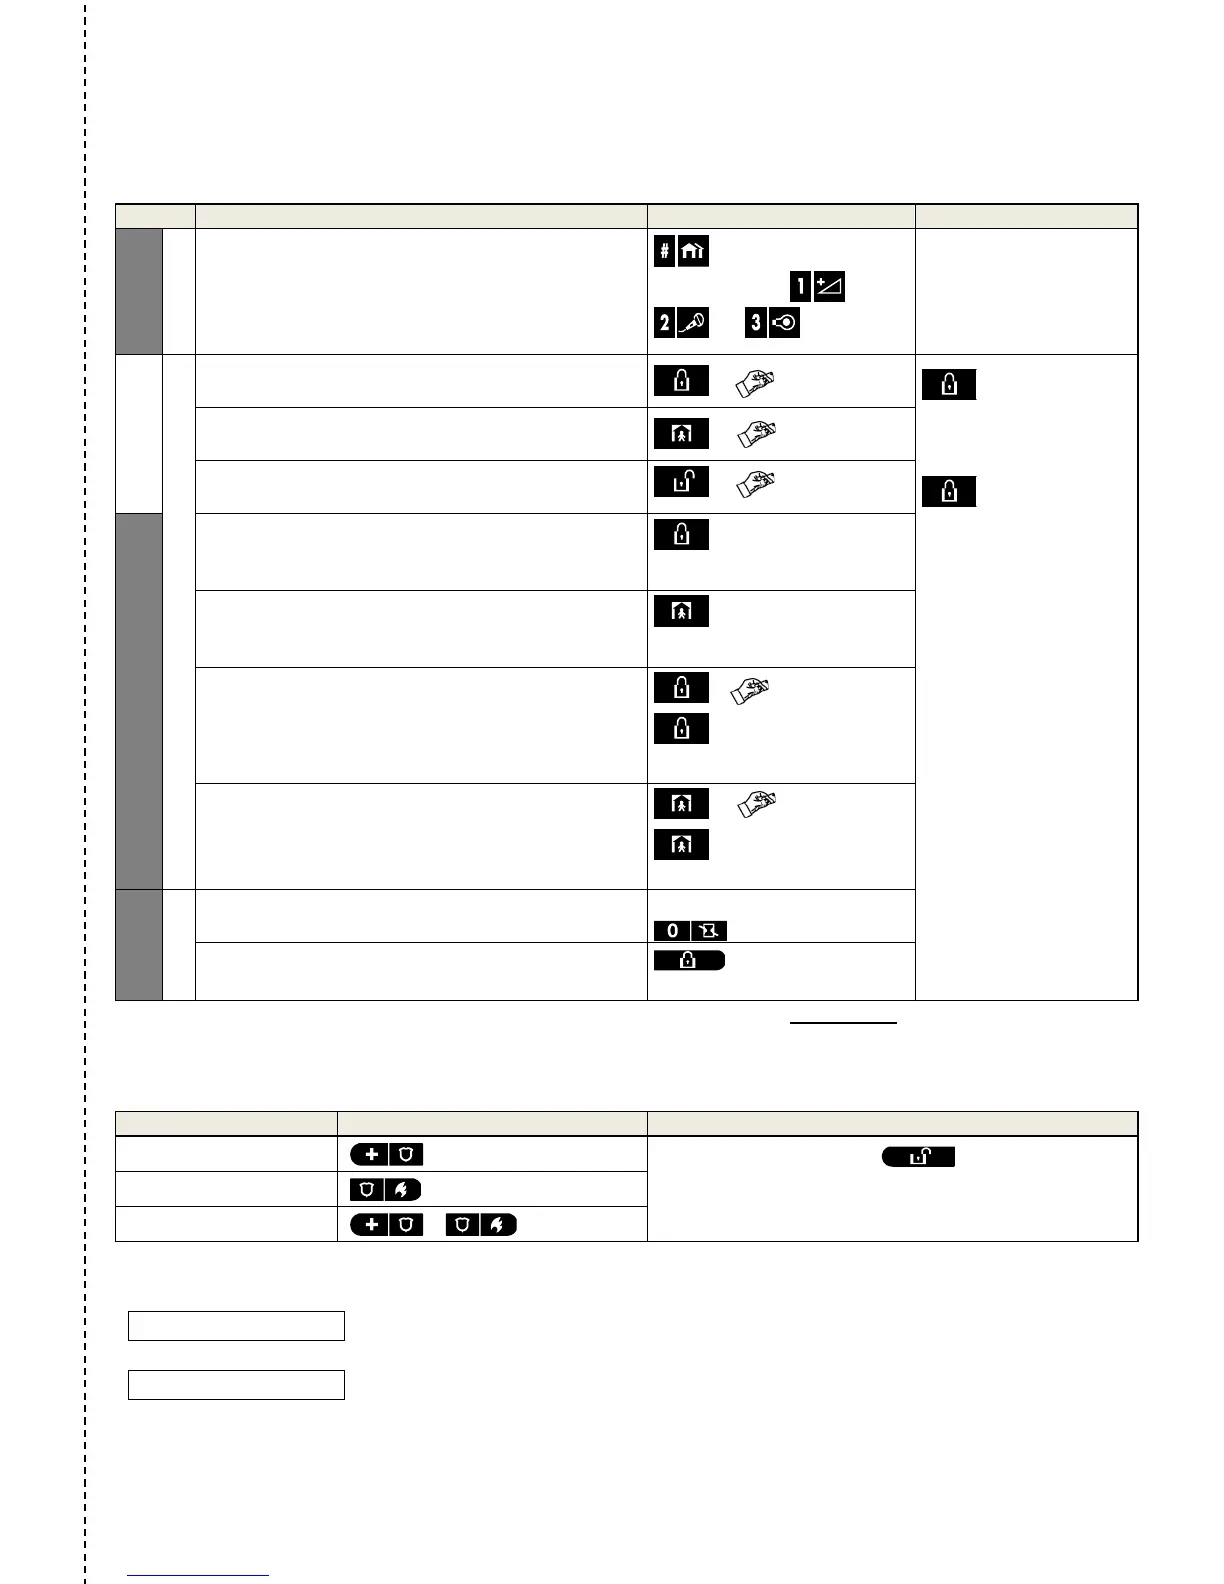
Arming and Disarm ing the Syste m
Optional
1 Press the Partition Selection button and then
select a PARTITION
(if Partition is enabled) –
used to divide the alarm system into three
independently controllable areas
followed by any
combination of ,
, or
A “protest” beep will be
heard when selecting a
partition to which no
sensors / peripherals
2
Arm AWAY - used to arm the system when the
protected site is vacated entirely.
+ [ ] or enter code
ARM indicator
lights steadily during
the armed state.
ARM indicator
extinguishes during the
disarmed state.
Disarming the system
also stops the siren
alarm, irrespective of
whether the alarm was
initiated during the
armed or the disarmed
state.
Arm HOME – used to arm the system when
people are present within the protected site.
Disarm (OFF) – used to restore the control panel
to the normal standby state
+ [ ] or enter code
Optional
Quick arm AWAY (If Quick Arm is enabled) –
used to arm in the AWAY state without a user
Quick arm HOME (If Quick Arm is enabled) –
used to arm in the HOME state without a user
Forced arming AWAY (system not ready) – used
to arm the alarm system in the AWAY state when
any of the system zones is disturbed
+ [ ] or enter code
to silence the “protest”
Forced arming HOME (system not ready) – used
to arm the alarm system in the HOME state
any of the system zones is disturbed
+
[ ]
or enter code
to silence the “protest”
Optional
3 INSTANT – used to arm in the Instant mode,
LATCHKEY – used for keyfob transmitters 5
through 8
Note: The factory default master user code is 1111. The code is not required if quick arming has been permitted by the
installer. Change the factory default code to a secret code without delay (see section Chapter 4, section B.4 of the
PowerMaster 360 User’s Guide).
Initia t ing Alarms
To stop the alarm, press and then key in
your valid user code.
Fire alarm
Preparing t o Arm
Before arming, make sure that READY is displayed.
This indicates that all zones are secured and you may arm the system as desired.
If at least one zone is open (disturbed) the display will read:
This indicates that the system is not ready for arming and in most cases that one or more
zones are not secured. However, it can also mean that an unresolved condition exists
such as certain trouble conditions, jamming etc., depending on system configuration.

 Loading...


