21-6 Crank Mechanism
Con Rods, Inspection
1 Check the
connecting rods for cracking, straight-
ness and twist before any piston pin bush
replacement.
Scrap the connecting rod if it is cracked, bent or
twisted.
Check the wear in the "small end" with a piston pin.
When the clearance is correct, an oiled piston pin
should slowly slide through the bush under its own
weight.
2 Use a new piston pin and measure connecting
rod straightness
in a fixture. Max. deviation: 0.15
mm (0.0059") per 100 mm (3.9") measured
length.
3 Measure connecting rod twist. Max. deviation:
0.20 mm (0.0079") per 100 mm (3.9") measured
length.
4 Check the end float between the connecting rod
and crankshaft. Change the connecting rod if the
end float exceeds 0.035 - 0.085 mm (0.0014–
0.0033").
Also check the connecting rod bushes. For per-
missible clearance between the piston pin (A)
and the connecting rod bush (B), refer to Group
21: Engine page 14.
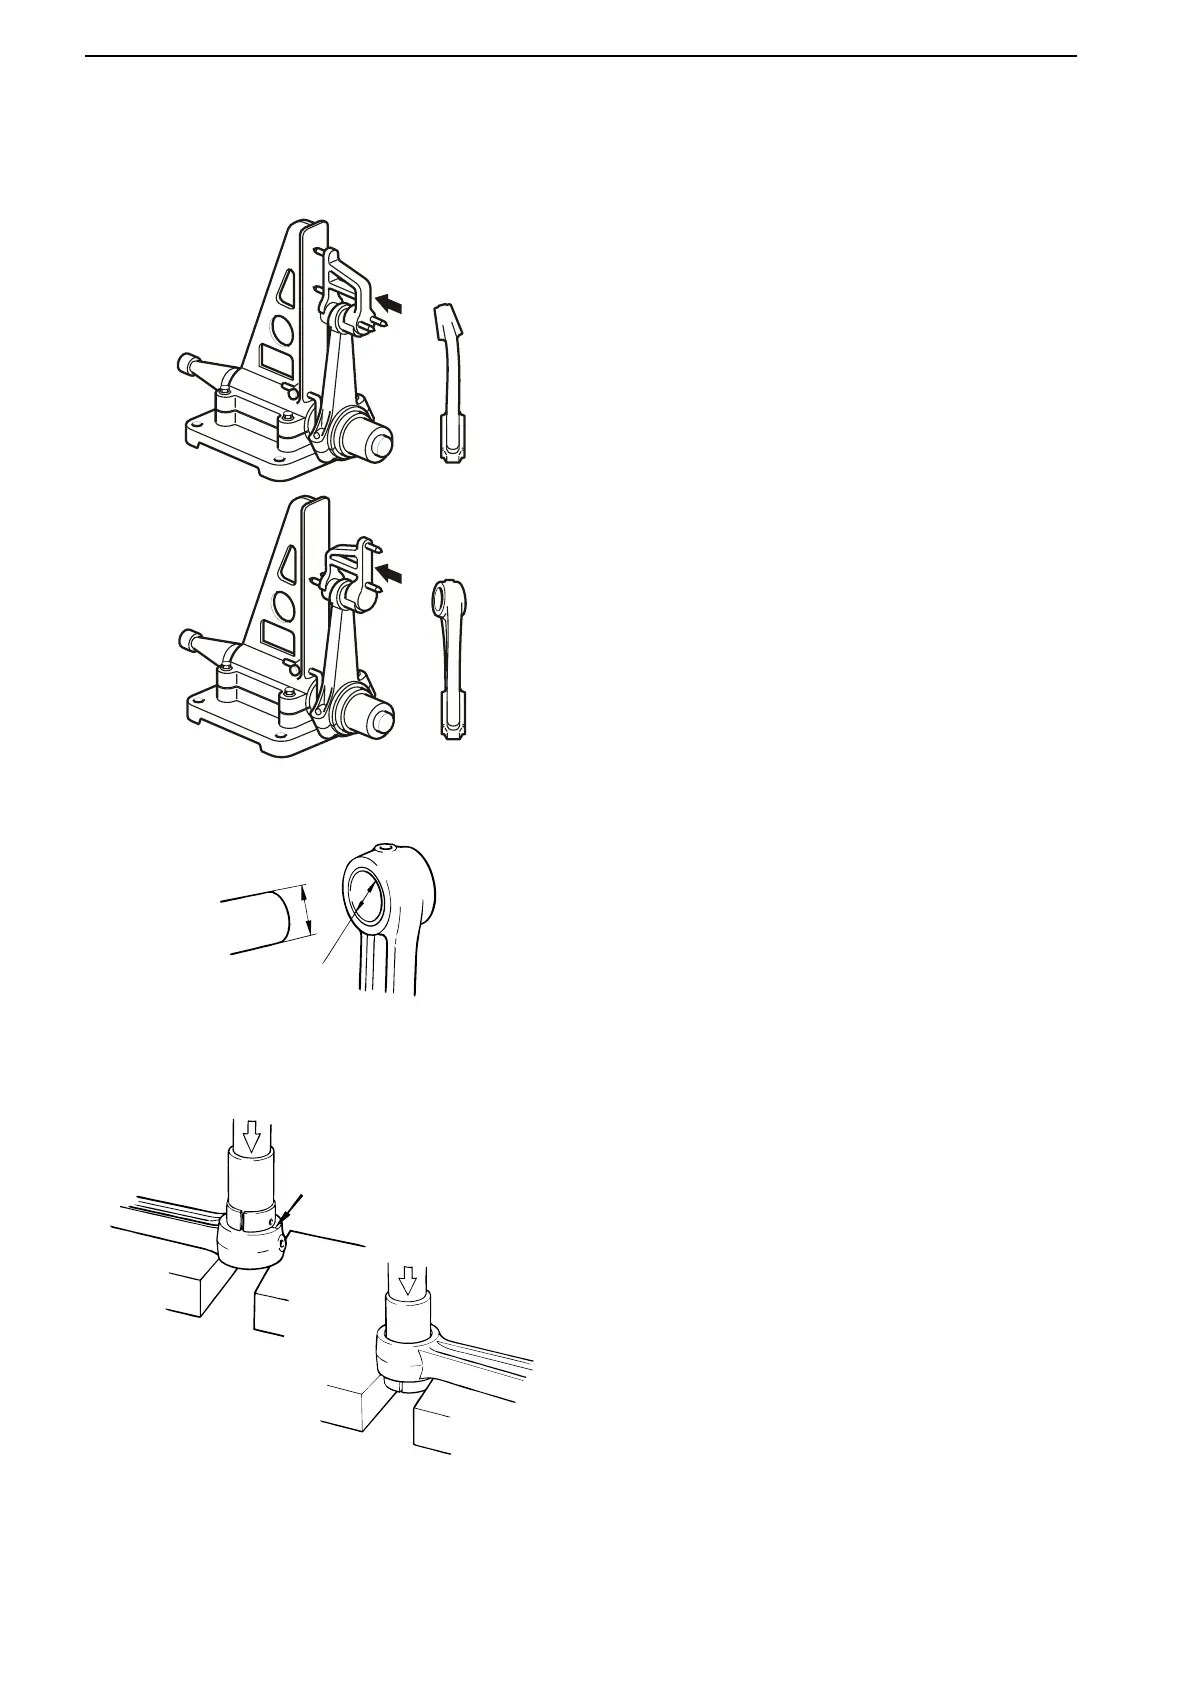
Changing the piston pin bushing
1 Press the old bush out.
2 Press the new bush in.
NOTICE! Make sure that the oil hole in the bush
lines up with the drilling in the connecting rod.
Using a felt tip pen, draw a line across the hole in
the connecting rod and the bush. Check that the
oil duct is open after pressing in the new bush.
3 Ream the bush and measure the connecting rod
with an internal dial gauge.
21-6 Crank Mechanism
88 47701798 05-2013 © AB VOLVO PENTA