61
Start-up
"Moduleconguration"tab
– Enter IDs of the sensors and tire pressure values (according to vehicle manufacturer) in list of axes
and wheels.
The following options are available for entering the IDs:
First option: Manual entry of the IDs
– Enter the number code on the barcode directly at the corresponding wheel position.
Second option: Barcode scanner
– If you have stuck the barcode label onto a sheet of paper in accordance with the vehicle
conguration, you can scan in the values directly using a barcode scanner.
Third option: Sensor assignment and stimulation
The modules can be assigned by means of a free or sequential assignment. For this purpose a
diagnostic message is stimulated for the selected sensors and the corresponding ID is inserted
automatically at the selected position:
– Under Module assignment, click the Execute button.
– Select Sequential (complete installation of a vehicle) or Free module selection (replacement of a
wheel or sensor).
– Select the Assign check box.
– Click on Start.
– Stimulate the rst sensor within ve minutes.
Ö The background colour changes to green and the sensor ID is placed here.
– Stimulate the next sensor after at least three seconds.
– When all assignments are complete, click OK.
9.2.3 Stimulating the sensors
Stimulating the external sensors
– Select an external sensor (WM 2.2 TRIG or WM 2.4 TRIG from year of manufacture 2017) in the
READ SENSOR menu of the WABCO TPMS Manager (WABCO part number: 300 200 001 0).
– Hold the WABCO TPMS Manager close to the external sensor.
The adjacent wheel may interfere with the radio signal, in which case the respective wheel must be
turned.
Alternative
– For this purpose, touch the housing of each wheel module below the sticker "OptiTire" for 5
seconds using a magnet (2 kg retention force) or using a bar magnet parallel to the OptiTire logo.
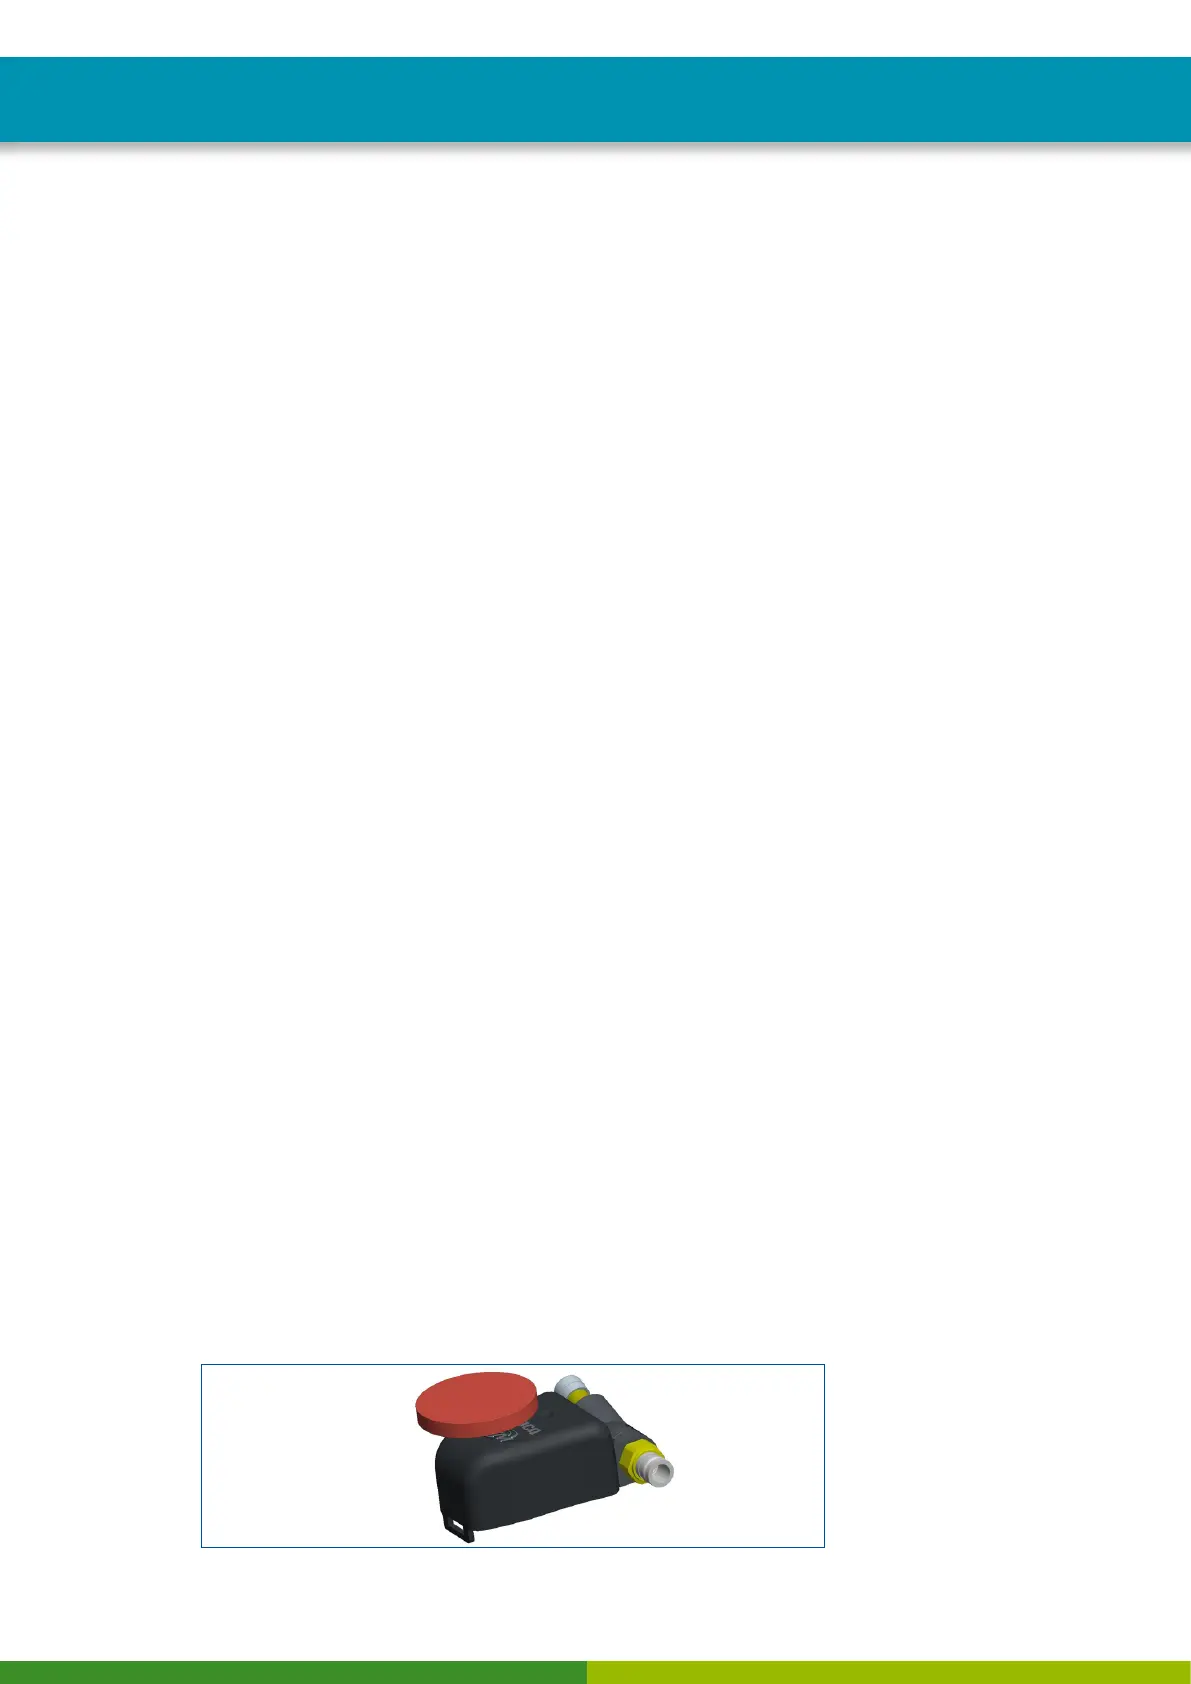
External sensor with solenoid for simulating the external sensors