35
PC 1025 PRO
EN
COMMISSIONING
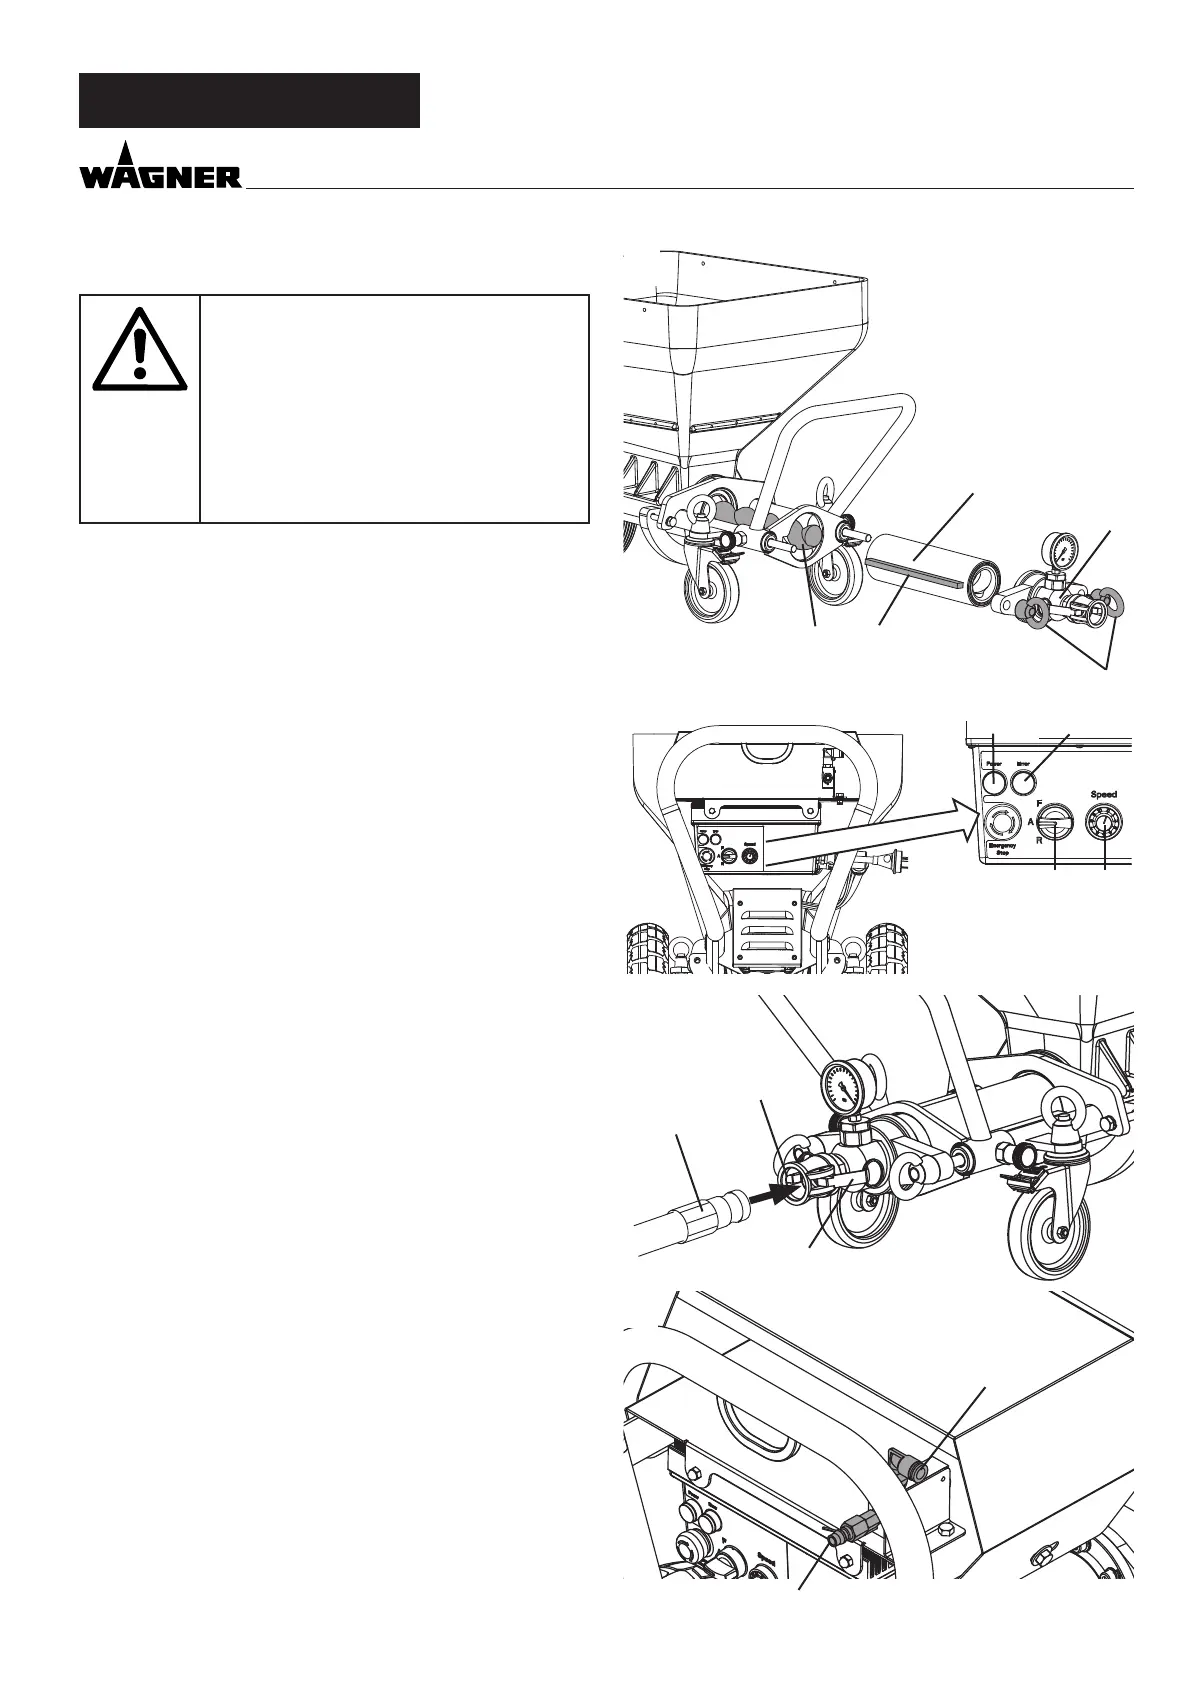
6.2.2 ASSEMBLY FIG. 5
Disconnect external controls. Assembly
may only be carried out by the person
who controls the machine.
Never operate mortar spraying machine
with an exposed rotor.
Do not reach into the rotor when it is
moving. Risk of crushing.
Caution if you have long hair. Only wear
close-tting clothes at work.
Loosen the ring bolts (1) and remove the outlet unit (2).
Spray the stator (3) and rotor (4) with a suitable pump lubri-
cant (order no. 9992 824).
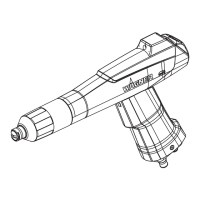
Move selector switch (6) to “A” and set delivery volume con-
troller (7) to „0“.
Connect mains plug to mains power supply.
The operation light (8) shows operational readiness.
The red indicator light (9) ashes during the function check for
about 30 seconds.
Set delivery volume controller (7) to 1 or 2.
Push the stator (3) over the tip of the rotor (4) (guide rail (5)).
Set the selector switch (6) to „R“ to push the stator automati-
cally on to the rotor.
As soon as the stator is in end position, set the selector switch
(6) to „A“.
Re-assemble the outlet unit (2) and tighten the ring bolts (1).
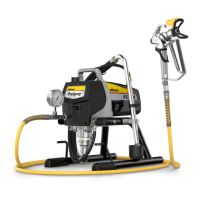
6.3 CONNECTING THE MORTAR HOSE
• Check that the pump unit is seated rmly.
• Check the seal (Fig. 6, 1) in the outlet unit.
• Connect the mortar hose (Fig. 6, 2) and secure it with the
clamping levers (3).
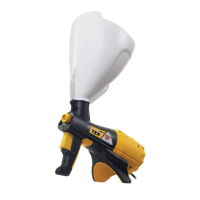
• Connect the atomizing air connection on the mortar hose to
the front connection of the ow switch (Fig. 7, 1) and the air
hose of the compressor (accessory) to the rear connection
of the ow switch (Fig. 7, 2).
6.4 COMPRESSOR ACCESSORY
Place the compressor at a secure location next to the mortar
spraying machine and connect it to the mains network.
Note:
Only operate the compressor in accordance with the enclosed
operating manual.
2
1
4 5
3
76
9
8
1
2
3
2
1