39
PC 1025 PRO
EN
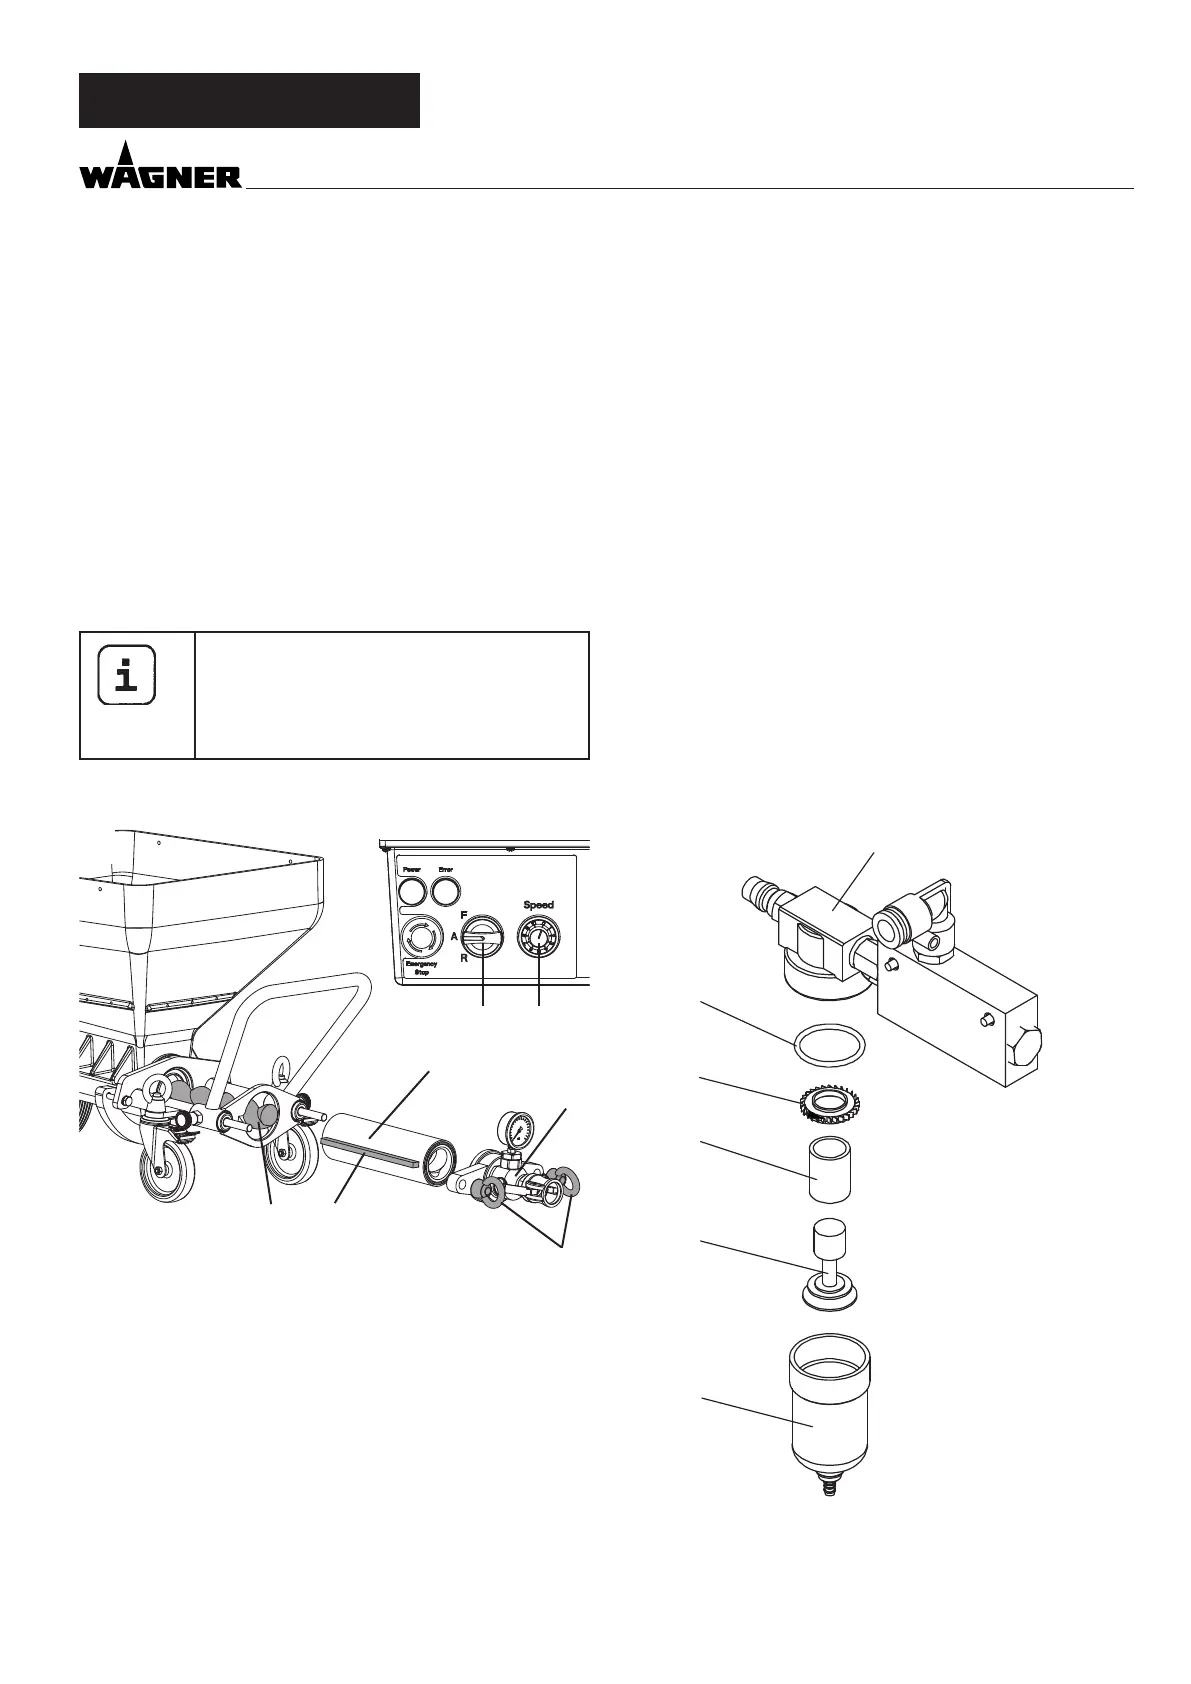
Clean the outlet unit
Clean the outlet unit (4) with a jet of water and a suitable bot-
tle brush.
Clean the container (7) with a jet of water and a suitable brush.
Clean the protective grid with a radiator brush.
Also clean the rotor (6) and stator (5) thoroughly with water
and, if necessary, using a brush.
Then spray rotor (6) and stator (5) and with a suitable pump
lubricant.
Keep the thread of the pump housing and the pump tube
clean so that leaking after the assembly is avoided.
SHUTTING DOWN AND CLEANING
Mounting
If the machine is down for a longer period of
time, the stator can become set at the rotor.
Therefore, if the stator has been in storage for
a longer period of time, do not mount it until
you are about to begin work.
Assembly, see chapter 6.2.2
1 2
4
3
6 7
5
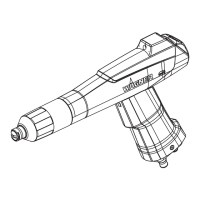
8.3 CLEANING THE SPRAY LANCE
• Clean the texture tip.
• Use cleaning needles to clean the air holes in the texture
tip.
• Clean the spray lance and material tube on the inside using
a bottle brush (0342 329).
• Clean all threads thoroughly.
• Rinse the spray lance with clear water. Open and close the
material tap three times as you are doing this.
8.4 AIR FILTER ACCESSORY
• Remove the air hose.
• Unscrew the lter cover (1) from the lter housing (6) (take
care to ensure that none of the components 2 - 5 are lost).
• Check the lter (3) and if necessary clean with warm soapy
water or replace.
• Turn the lter housing (6) around by 180°.
• Reinsert all of the components and screw the lter cover (1)
back into the lter housing.
• Turn the lter housing back to the starting position.
5
4
3
2
1
6