38
PC 1025 PRO
EN
8 SHUTTING DOWN AND CLEANING
Do not clean the motor and control unit of
the mortar spraying machine moistly. And
certainly do not spray down the unit with
high-pressure cleaners or high-pressure
steam cleaners. Danger of short-circuits
caused by water ingressing.
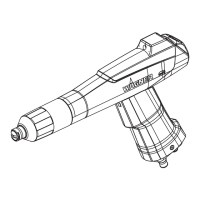
8.1 CLEANING THE MORTAR HOSE
• Pump until receptacle is empty.
Important: Do not let the mortar spraying
machine run dry. Switch the device o im-
mediately if no more material comes out of
the tip or if the spray line becomes irregu-
lar. Possible reasons for the problem and
how to correct it can be found in the chap-
ter called „Eliminating faults“.
• Switch o mortar spraying machine and compressor.
• Close material tap on spray lance.
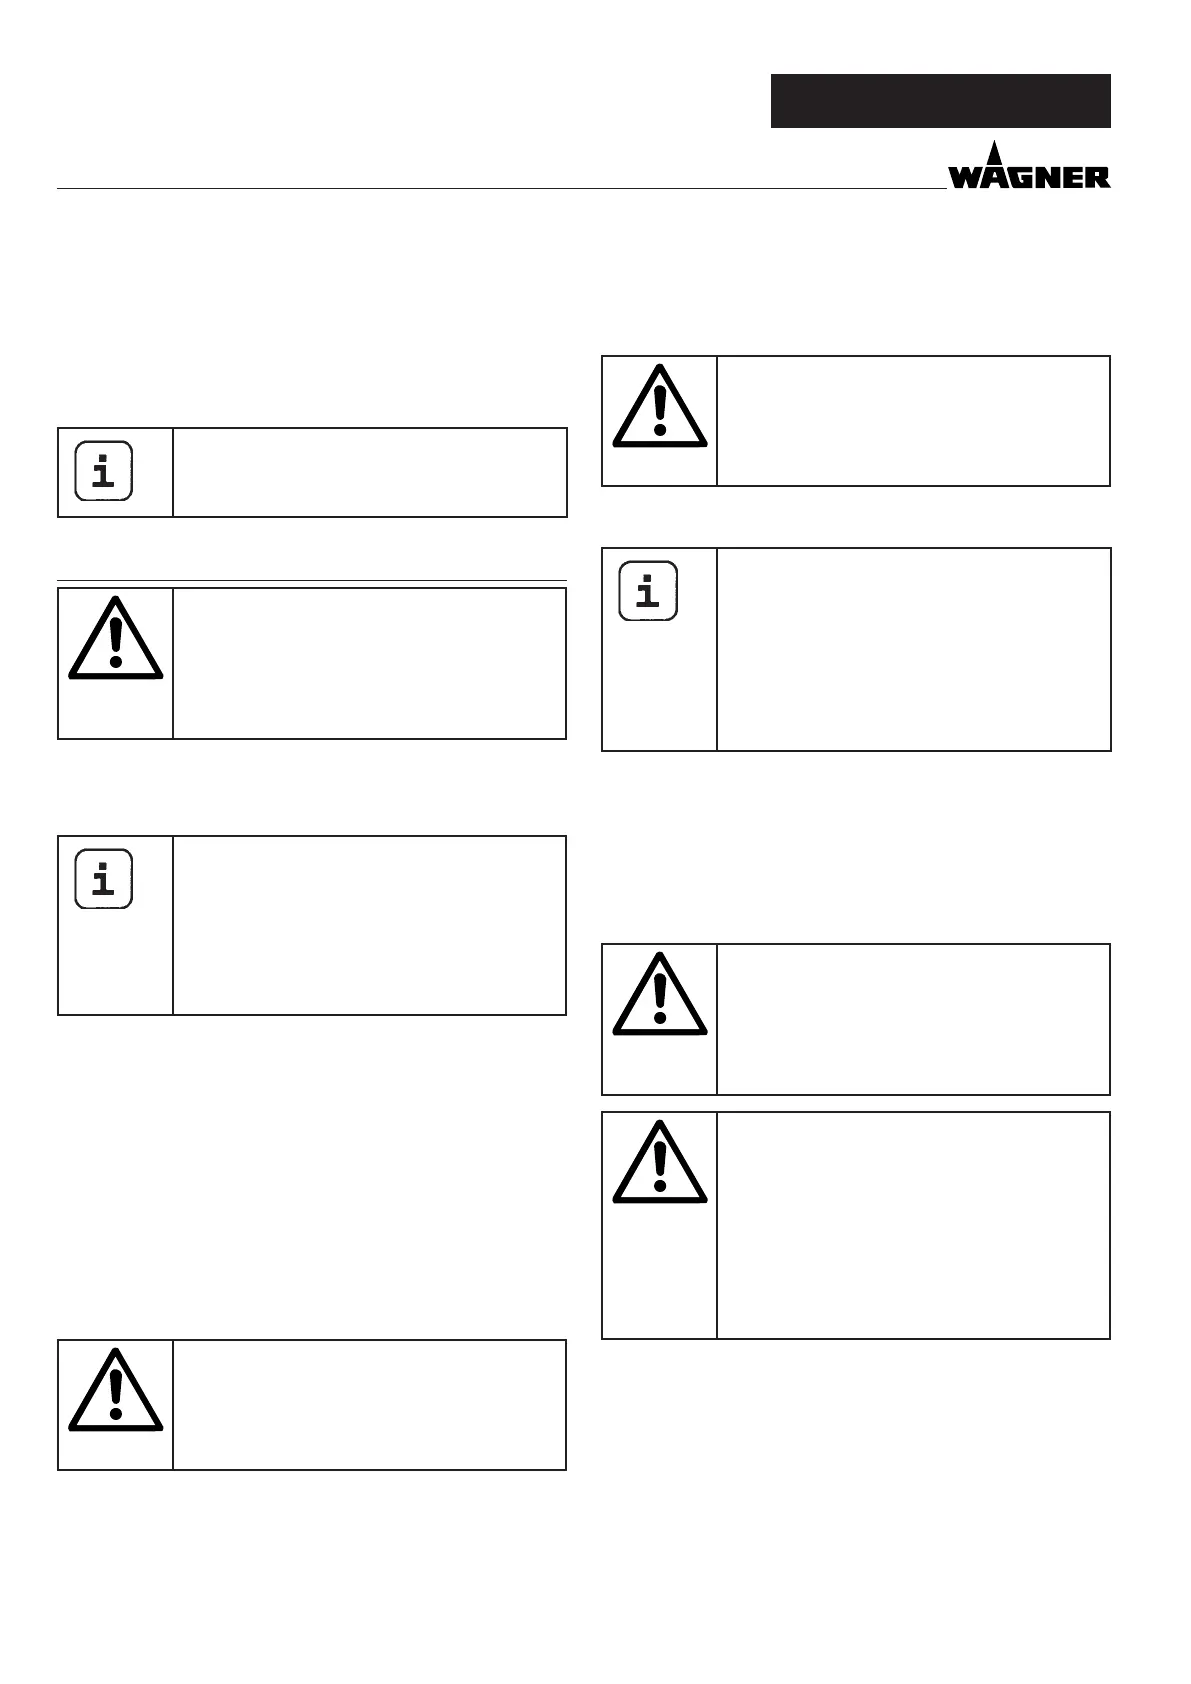
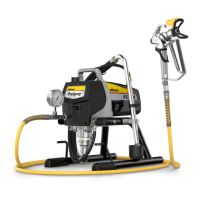
• Remove the texture tip from the spray lance and clean it.
• Put water in the container and hold the spray lance over
an empty bucket.
Important: Do not let the mortar spraying machine run
dry. During the cleaning process, ensure that there is al-
ways enough water in the container.
• Set delivery volume controller to „5“.
• Open material tap on spray lance.
• Pump material out of hose into container until the material
exiting the hose is just a thin liquid.
• Close material tap on spray lance.
The mortar hose must be pressureless.
If necessary, set the selector switch briey
to “R” (reverse).
Watch the manometer ––> 0 bar.
Wear safety goggles.
• Decouple mortar hose from pump unit.
• Decouple spray lance from mortar hose.
• Insert cleaning ball into mortar hose and reconnect mortar
hose
• Set selector switch to “F”.
8.2 CLEANING THE DEVICE AND REPLACING THE
STATOR
• Clean mortar spraying machine.
To do so, pump a suitable pump lubricant or water mixed
with washing-up liquid through the pump.
GENERAL INFORMATION ABOUT THE APPLICATION TECHNIQUE
• After a few seconds the cleaning ball is emitted from the
spray lance.
• Depending on the processed coating material, repeat the
cleaning process 3 – 4 times.
The mortar hose must be pressureless.
If necessary, set the selector switch briey
to “R” (reverse).
Watch the manometer ––> 0 bar.
Wear safety goggles.
• Set selector switch to “A”.
• Decouple mortar hose from pump unit.
A further cleaning option is to use the clean-
ing adapter (accessory).
This cleaning adapter can be connected to a
water hose or a tap by means of the claw cou-
pling.
Insert cleaning ball into the mortar hose. Cou-
ple the mortar hose to the cleaning adapter
and rinse through with water.
Dismantling
Mortar spraying machine must be depres-
surised.
If necessary, set the selector switch briey
to “R” (reverse).
Watch the manometer ––> 0 bar.
Wear safety goggles.
Disconnect external controls. Disassembly
may only be carried out by the person
who controls the machine.
Never operate mortar spraying machine
with an exposed rotor.
Do not reach into the rotor when it is mov-
ing. Risk of crushing.
Caution if you have long hair. Only wear
close-tting clothes at work.
• Move selector switch (g. 12, 1) to “A” and set delivery vol-
ume controller (2) to „0“.
• Disconnect mains plug.
• Loosen the ring bolts (3) and remove the outlet unit (4).
• Set delivery volume controller (2) to 1 or 2.
• Connect mains plug to mains power supply.
• Move the selector switch (1) to position „F“. As soon as the
stator (5) is released from the rotor (6), set the selector
switch to „A“.
• Remove the stator (5) completely.
• Disconnect mains plug.
The spray edge should be gradual in order to facilitate over-
lapping of the next coat.
If the spray lance is moved parallel and at an angle of 90° to
the surface to be coated, the paint mist is minimized.
Note:
Grains and pigments with a sharp edge result in a high rate of
wear of the pump, mortar hose, material tap and tip.
When using the mortar hose while working
on scaolding, it is best to always guide the
hose along the outside of the scaolding.