26 Lexa PLUS| Instructions for Use |RIS-311 ENG Rev03 |29/08/2022 |© W&H Sterilization Srl
Getting started
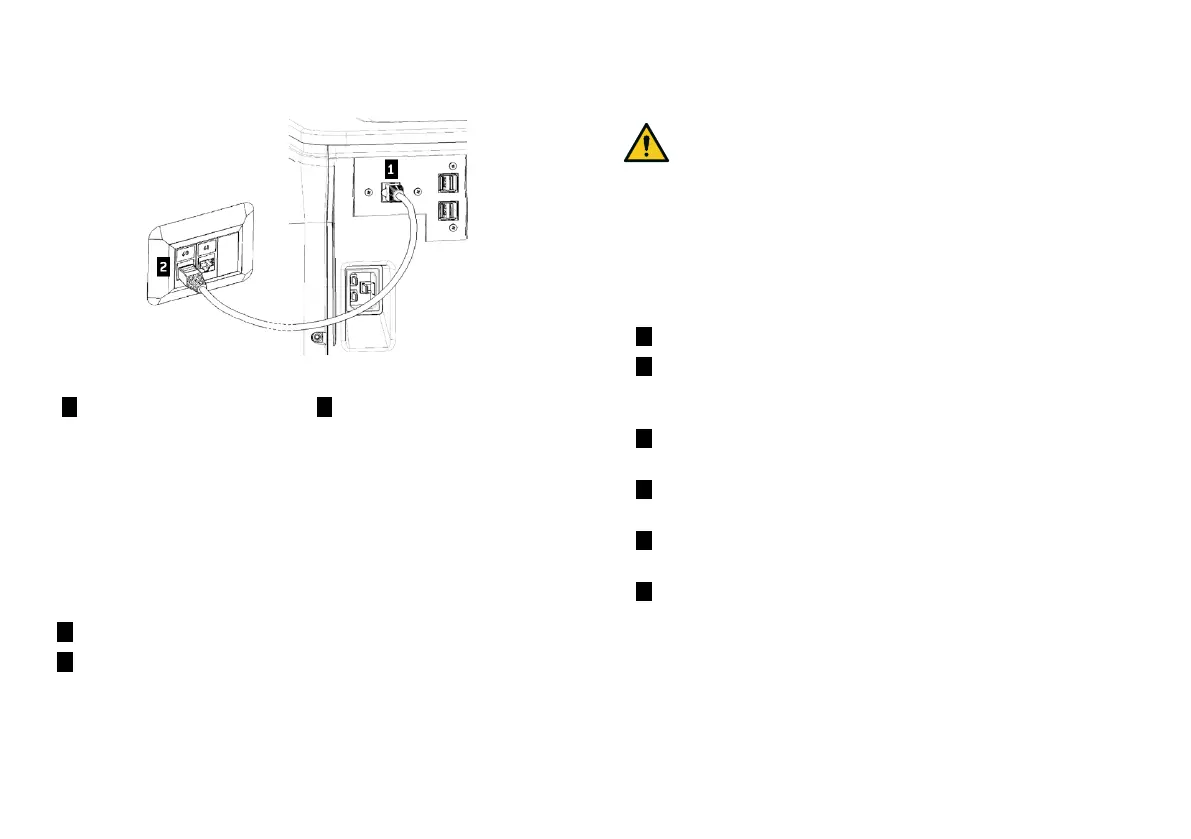
LAN CONNECTION
1 Insert a standard Ethernet
cable in the LAN port of the
sterilizer.
2 Insert the other end of the
cable in the LANport of your
computer or computer
network: when the sterilizer
will be switched on it will
connect automatically to the
LAN.
WI-FI CONNECTION
For the Wi-Fi connection proceed as follows:
1 Insert the Wi-Fi dongle key in the USB port.
2 Read the Instructions for Use provided with the Wi-Fi dongle key.
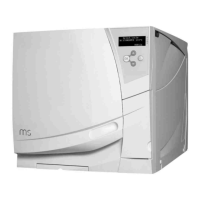
INSTALLING THE STERILIZER
WARNING! In case of sterilizer malfunctions immediately
unplug the sterilizer and call for service. Do not attempt to
repair the sterilizer by yourself.
Notice:
Please ensure that all installation requirements are met before
plugging the sterilizer. See "Connection diagrams" on page99.
No other devices should be connected to the sterilizer power panel
circuit.
1 Place the sterilizer on a sturdy, flat and level surface.
2 Open the chamber door, remove all items from the sterilizer
chamber except the chamber rack. Remove all plastic covers
from trays.
3 Connect the auto-fill and auto-drain tubes in the rear of the
sterilizer.
4 Connect the Ethernet cable or the Wi-Fi dongle key in the rear of
the sterilizer.
5 Attach the power cord to the socket in the rear of the sterilizer
and route the cord through the cable guides.
6 Connect the power cord to a wall outlet. For power supply
requirements, see "Technical data" on page97.