Fitting
Ferrule
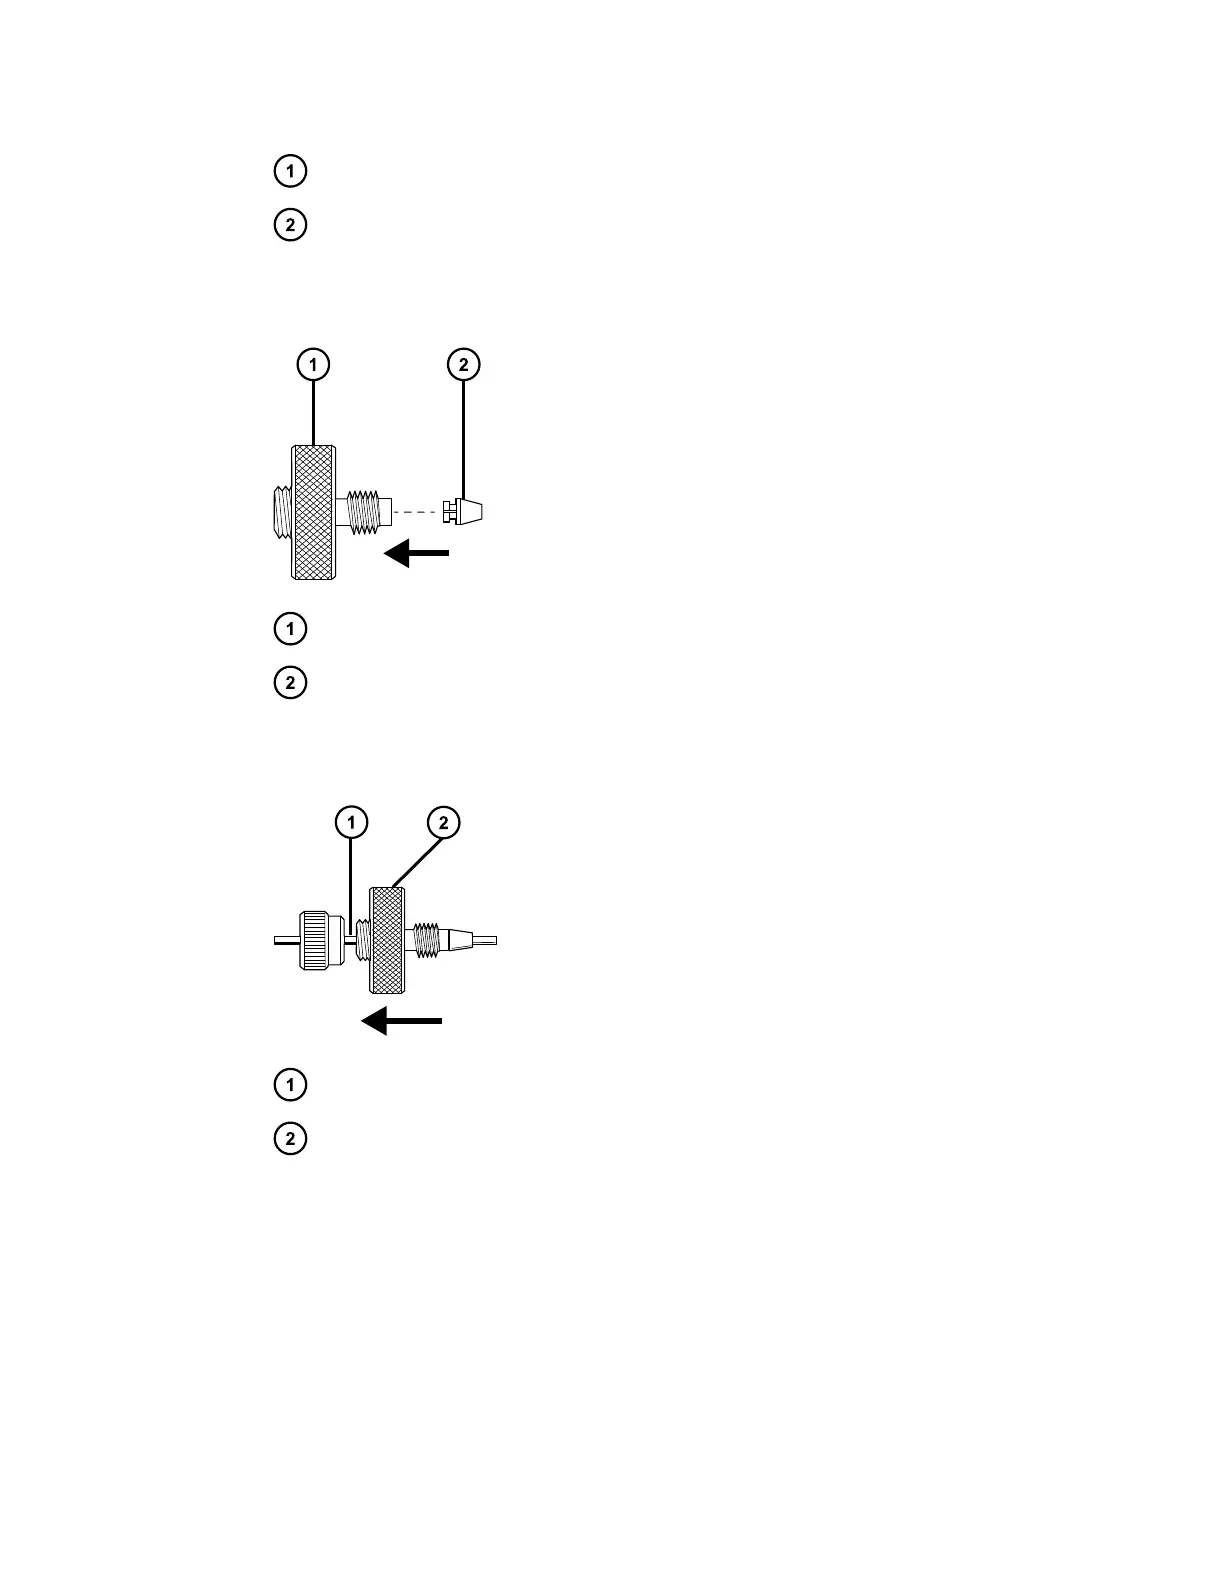
4. Install the new ferrule on the fitting.
Figure 3–5: Installing new ferrule on fitting
Fitting
Ferrule
5. Slide the fitting and ferrule back onto the tubing.
Figure 3–6: Sliding fitting and ferrule onto tubing
Tubing
Fitting
Result: The ferrule locks onto the fitting.
6. Screw the cap nut back onto the fitting
December 5, 2017, 715004751 Rev. C
Page 59