3-50 Troubleshooting, Testing, and Maintenance
below the transducer. Turn it to the center position.
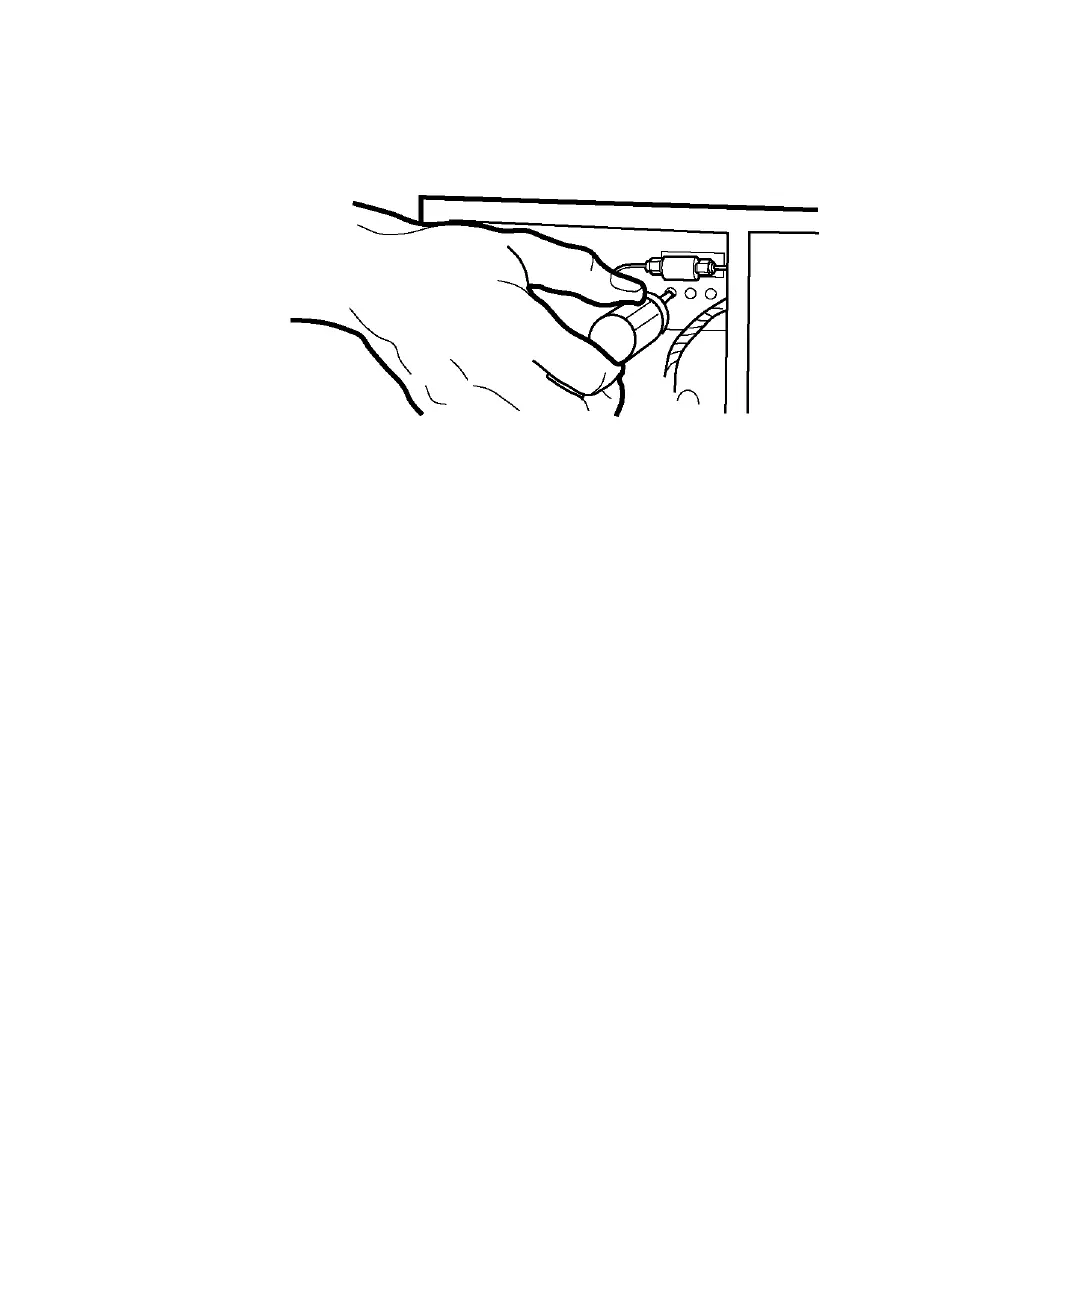
Adjusting the transducer
c. Move the screwdriver to the left hole (course adjustment). Turn the
screwdriver slowly until the Pressure display reads 0 to 100.
d. Move the screwdriver to the center hole. Turn the screwdriver
slowly until a small positive value appears.
e. Replace the cover screw in the left hole.
Cleaning and replacing check valves
These are three types of check valves in the Waters Prep system pump:
• Inlet valves, located under the pump head
• Outlet valves, located on top of the pump head
• Dual outlet valves, located above the pump head (1000-mL only)