3-66 Troubleshooting, Testing, and Maintenance
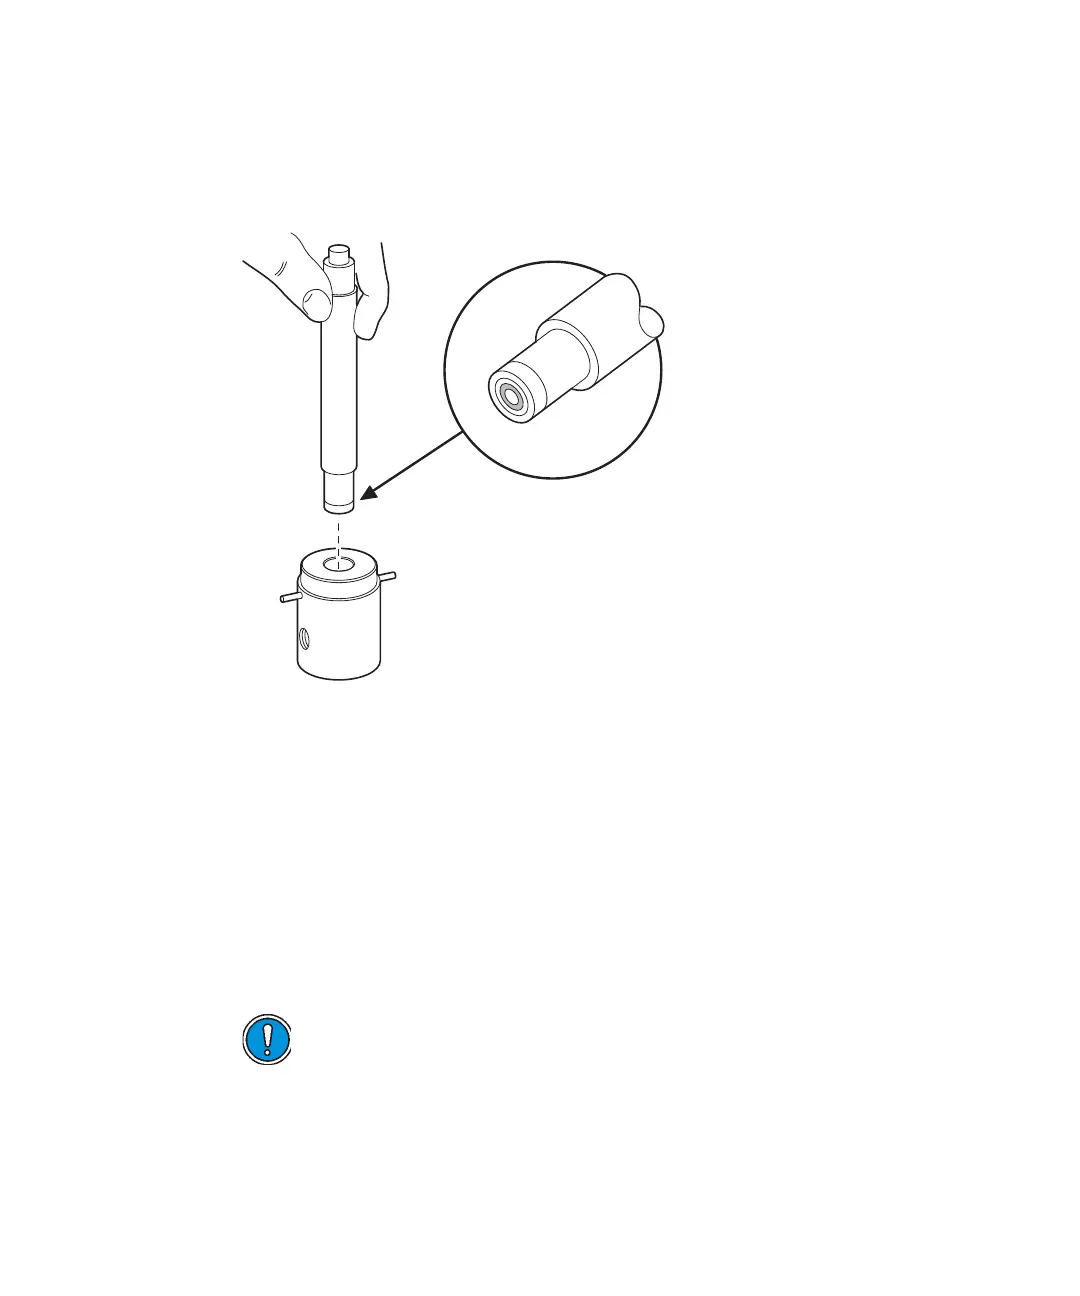
2. Mount the new wash seal on the end of the insertion tool with the
smooth side of the seal flush as shown below.
Wash seal insertion tool
3. Push the seal into the head support assembly, making sure it firmly
seats. Remove the insertion tool and guide.
Tip: Wet the seal with a small amount of solvent before continuing with
step 4.
4. Replace the retainer on the front of the head support assembly.
5. Insert the indicator rod into its hole in the back of the head support
assembly. Make sure the spring and PTFE washer are on the rod.
6. With the front of the head support assembly facing you, use both hands
to replace the head support assembly on the pump casting.
7. Replace the four hex-head screws that hold the head support assembly
in place. Alternately tighten them, but avoid overtightening.
Caution: Do not push from side to side or wiggle the assembly back
into position. This can damage the plunger.
TP0205