18 Repair information and repair instructions
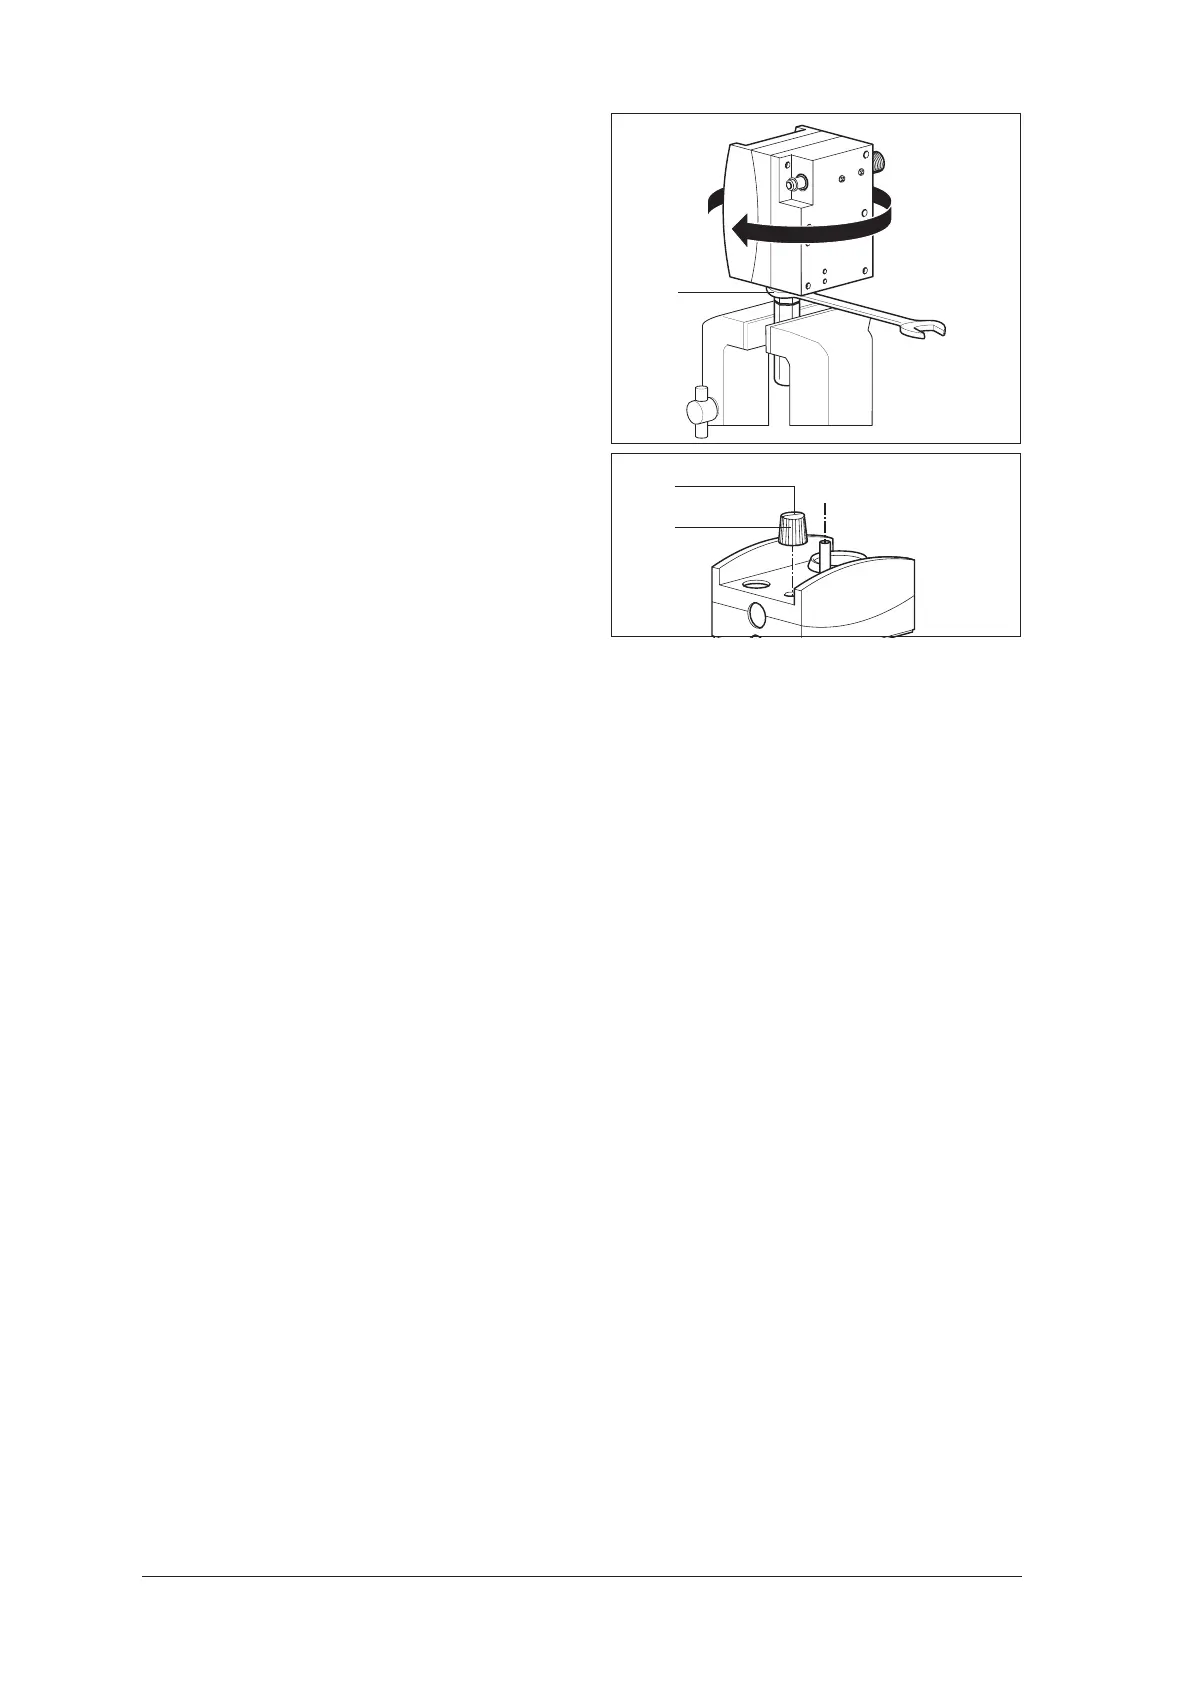
18. Clamp the special locknut tool in a vice.
19. Loosen the nuts of the special locknut tool using
an open-ended spanner (SW 22).
20. Remove the module from the vice and unscrew
the special locknut tool.
21. Fasten the knob 45 onto the front of the device:
– Slide the knob onto the spindle as far as it
will go.
– Twist the knob so that it is pointing to the
lowest value for "l/min".
– Hold the knob steady with the special tool
and screw it tight.
22. Check the display of the knob. At the left limit,
the white line must be pointing to the lowest
value of the arrow.
If this is not the case, loosen the screw on the
control knob, and align the knob.
23. Place the lid 46 on the control knob 45.
24. If your module is equipped with an AGA cou-
pling, please tighten it using the open-ended
spanner (SW 19).
25. Perform a final check (see “3. Final Check” on
page 7).
11
45
46