CMP100 User Guide
9
Section 2 Installation
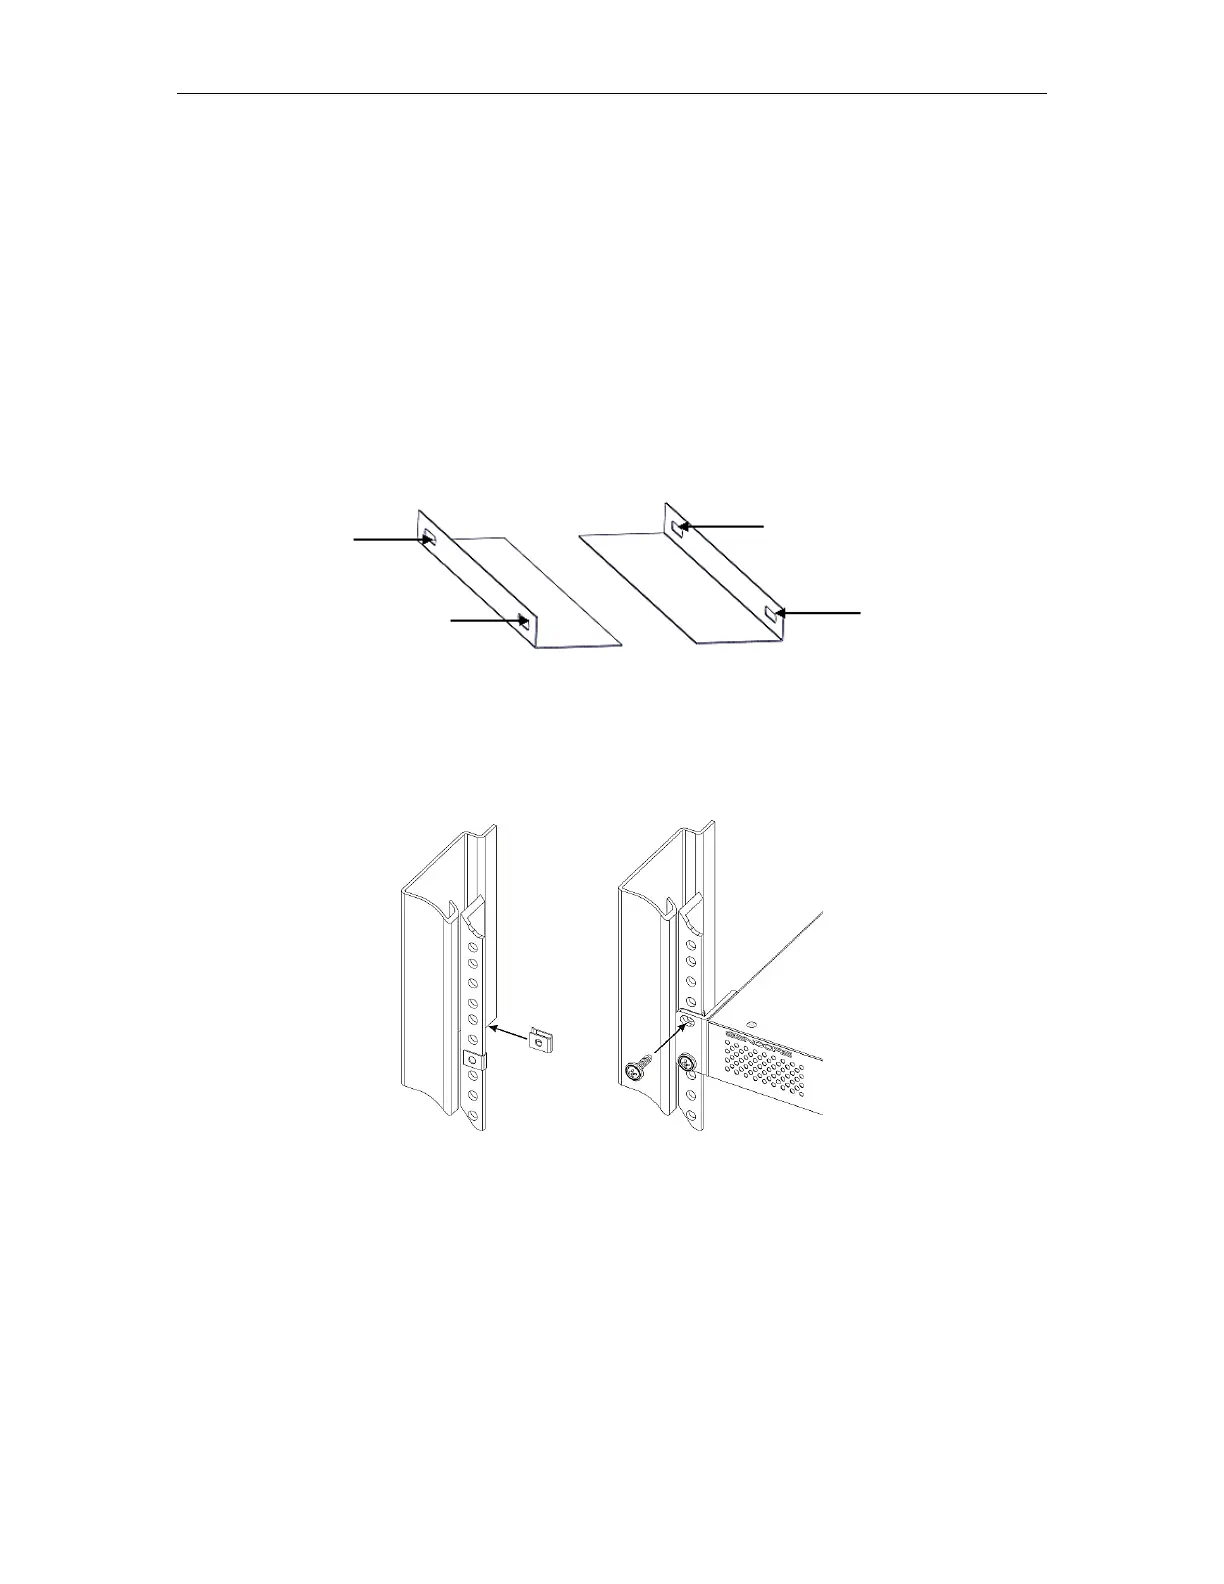
2.1 Rack Installation
The OMP150 is designed to be mounted in a standard 19” rack. It takes 1RU of rack
space. To install it into a rack, please use the following steps:
• Determine the desired position in the rack for the OMP150. Make sure that the air
intake on the front of the unit and the exhausts on the back of the unit will not be
blocked.
• Install the brackets at desired position if there is no supporting plate in the rack.
• Insert the rack mount clips into place over the mounting holes in the rack.
• Slide the OMP150 into the position in the rack.
• Secure the chassis to the rack by installing the four supplied screws through the
front mounting holes and tightening.
2.2 AC Power Connection
The OMP150 is to be powered by supplies with operating 120V or 240V systems. The
power supply will automatically detect the system it is connected to. To hook up the
power, use the following steps:
• Locate the power cords that are contained in the box. Please only use the
supplied 3-prong power connector or one with equal specifications. NEVER