2.11
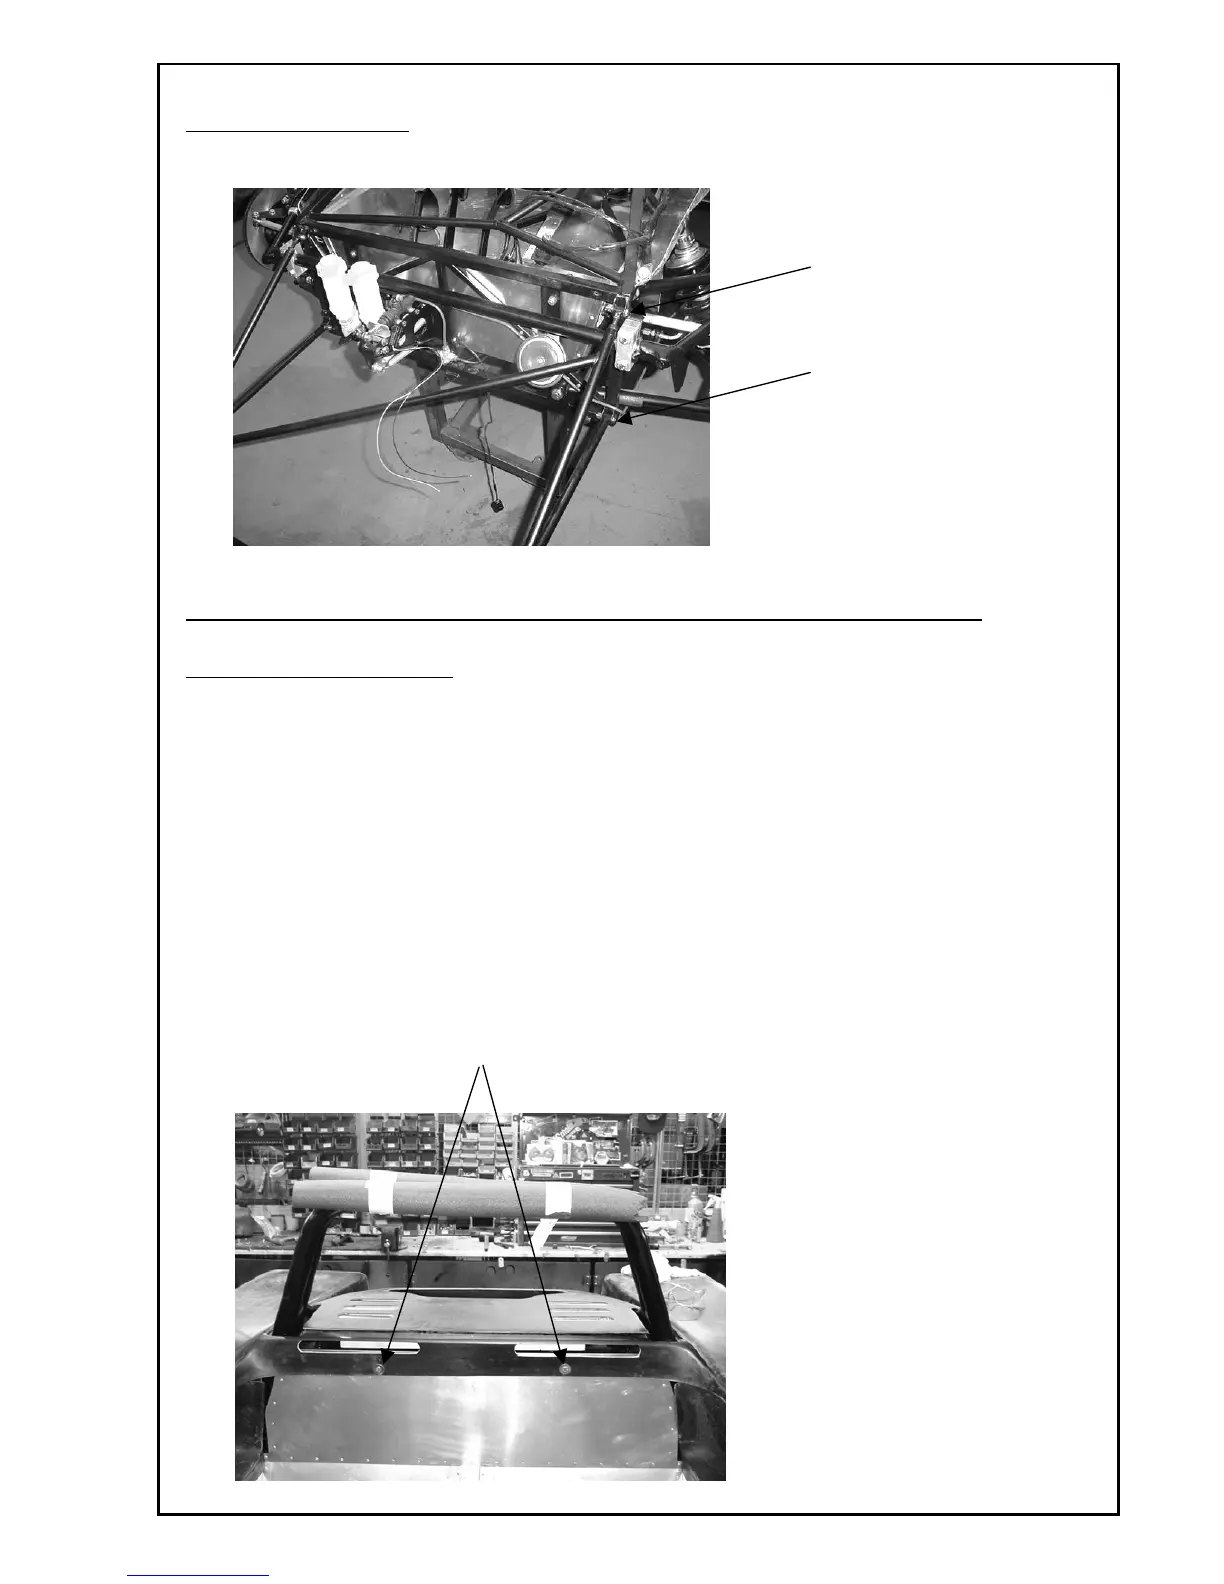
Step2; Fit Splitter Frame
Mount the splitter frame
from the four “U” brackets
welded to the chassis. The
two top fixings on the frame
are adjustable so that when
fitting the nose and splitter
board the correct fit can be
obtained.
YOU ARE NOW READY TO PRE-FIT THE MAIN BODY SECTION AND THE NOSE
Step 3; Main Body Pre-Fitting
Placing the bodywork onto the chassis will require at least two people. Before lifting the body
make sure you have covered the roll bar with some protective material so as not to damage the
coating. Lift the body over the chassis and lean it to one side and feed it over the outrigger down
the cockpit side and then do the same on the other side. The bottom edge of the side sections
needs to be placed onto the 25mm section of aluminium floor that protrudes outside the lower
chassis rails. Then push the body section backwards as far as it will go so that the seatback
section is up against the seatbelt mounting rail. Drill two holes through the panel just below the
seatback rail and retain using two M6 countersunk screws with special seat washers from the
bodywork side.
M6 countersunk screws with special seat washers
hold the bodywork back to the chassis