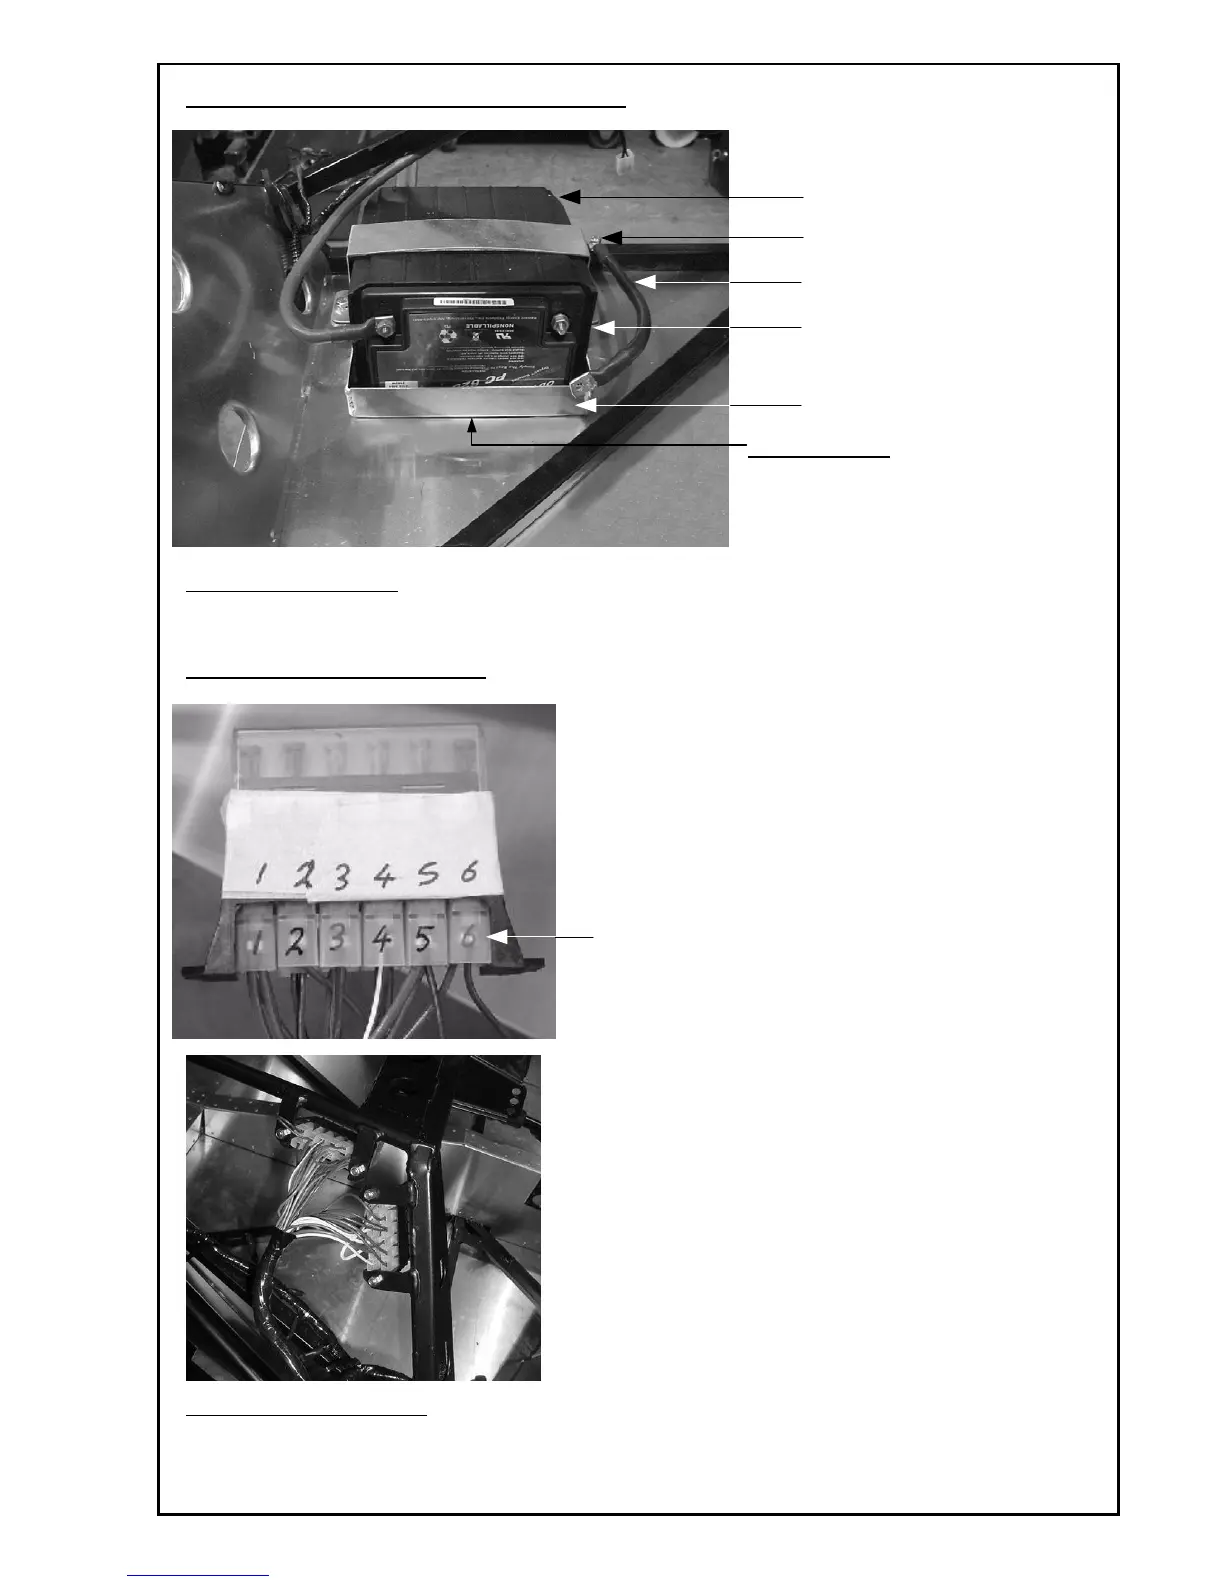
Step 7: Battery Tray & Battery Installation
View From Drivers Side
(Engine Bay Area Of Chassis)
Step 8: Fuse Box Installation
Before fitting the fuse boxes to the chassis the wires
/ connectors must be removed, as the fuse boxes will
not pass through the 1 ¾” hole in the panel. The
fuse boxes and the connectors MUST be labelled
before removing them. Label fuse boxes and
connectors either 1 – 24 or A – X to avoid confusion
Place fuse boxes in required location with the fuses
facing into the car using M6 x 16 button head screws
and nuts.
View From Passenger Side
(Top Frame Section Of Chassis)
4.9
Fixing Details
- Drill 4 Holes Through Battery Tray &
Floor Panel
- Run A Bead Of Silicone All Around
The Bottom Of The Tray
- Fix Tray To Floor Panel Using Rivets
Battery Strap
Battery
Battery Tray
Battery