11.4
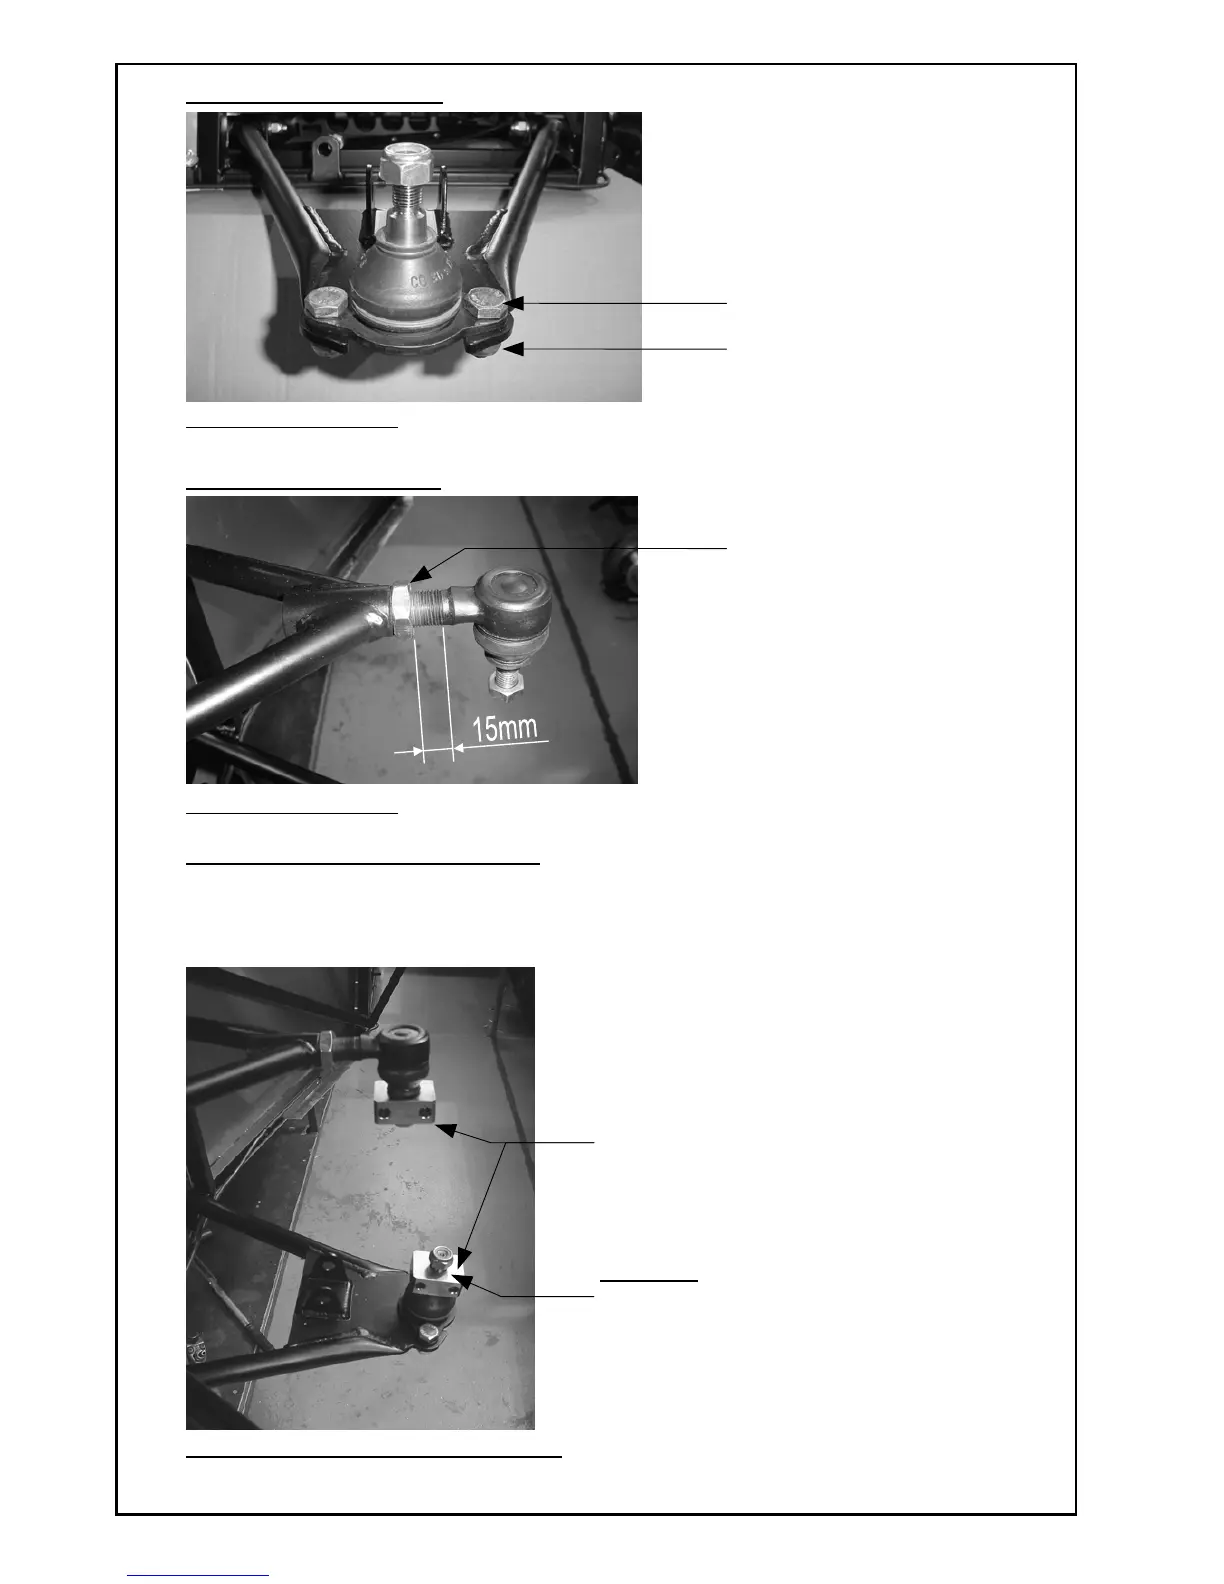
Step 3: Lower Ball Joints
View From Drivers Side
M10 Setscrews x 25 Long
M10 x Nyloc Nuts
Step 4: Upper Ball Joints
View From Drivers Side
1 x M18 Thin Locknut
Note: For a start point set the
ball joint with about 15mm of
thread exposed.
Step 5: Ball Joint Mounting Blocks
The Mounting Blocks are supplied Bolted into the Top and Bottom of each Front Upright.
Remove the Blocks from the Upright then Fix them to the Tapered Bolt on the Top and Bottom
Ball Joints using the special Nuts provided with the Ball Joints.
Note: All the tapers are the same so you can use any block on any joint.
View From Front Of Car (Passenger Side)
Mountin
he Top and Bottom Ball Joint
Blocks Must be Assembled with
the Special Nuts provided on
the Ball Joints.