2. After it has nished cutting, remove the matboard from the CMC. The second mat has been cut. 2. After it has nished cutting, remove the matboard from the CMC. The second mat has been cut.
3. Click on the “X” button once to return to the New Openings screen. Continue clicking on the “X” button to 3. Click on the “X” button once to return to the New Openings screen. Continue clicking on the “X” button to
return to the Main Screen.return to the Main Screen.
4. Remove the matboard from the CMC. The mat is now complete. If something doesn’t look quite right, 4. Remove the matboard from the CMC. The mat is now complete. If something doesn’t look quite right,
please see please see “Troubleshooting” on page 28“Troubleshooting” on page 28 for more information.for more information.
Blade Depth Settings
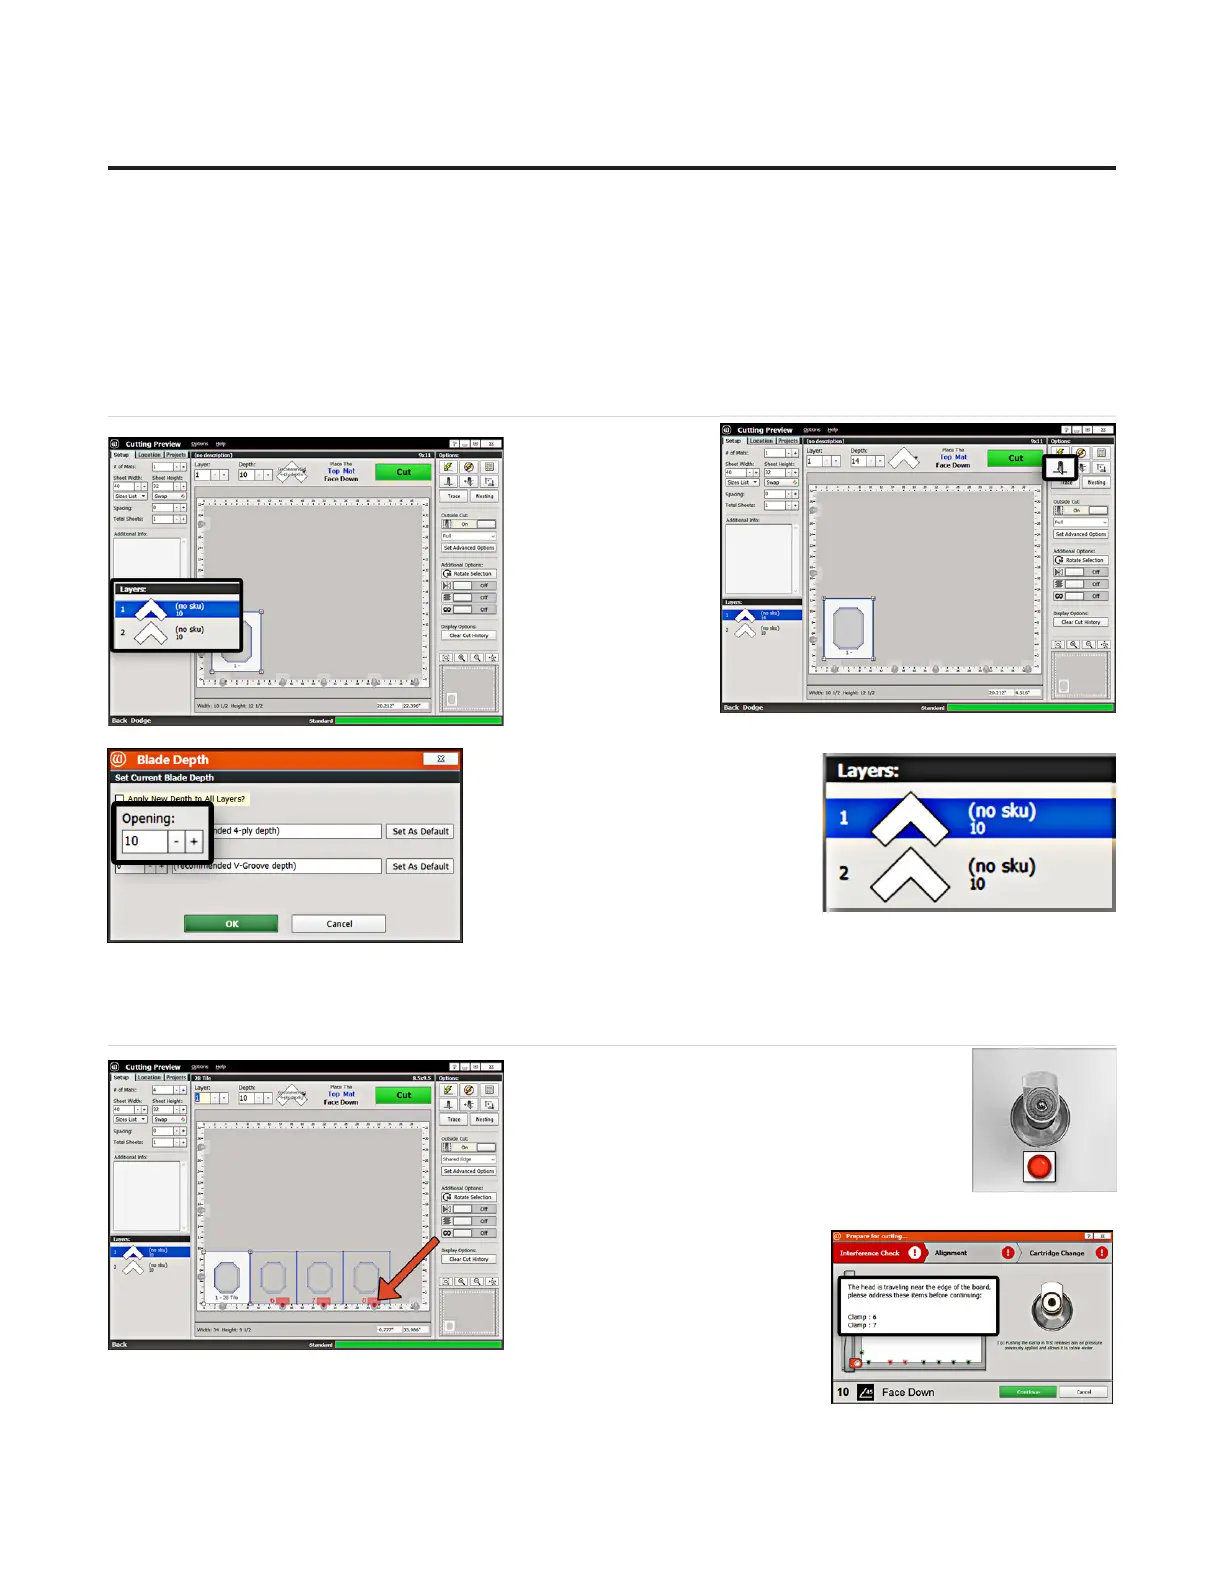
1. To change the 1. To change the
blade depth in the blade depth in the
software, select the software, select the
desired desired LayerLayer on the on the
Cut Preview Screen.Cut Preview Screen.
2. Click on the 2. Click on the Blade Blade
DepthDepth button. button.
3. On the Blade 3. On the Blade
Depth screen, select Depth screen, select
the new blade the new blade
depth number under depth number under
OpeningOpening. .
For this rst mat, leave it at the For this rst mat, leave it at the
default setting.default setting.
4. Click 4. Click OKOK. .
5. If we had changed the Blade 5. If we had changed the Blade
Depth, the new blade depth number Depth, the new blade depth number
would be listed next to the current would be listed next to the current
Layer.Layer.
NOTE: NOTE: Returning to the Editor then back to the Cut Preview reloads the default blade depth.Returning to the Editor then back to the Cut Preview reloads the default blade depth.
Adjusting the SmartClamps™ for Zero Waste
The zero-waste SmartClamps™ system featured The zero-waste SmartClamps™ system featured
by Wizard Z-Series cutters allows you to cut by Wizard Z-Series cutters allows you to cut
all the way to the edges of the matboard—all the way to the edges of the matboard—
eliminating the edge waste that is typical with eliminating the edge waste that is typical with
bar style clamps. This is especially useful when bar style clamps. This is especially useful when
tiling a design to cut multiple mats at the same time out of a full tiling a design to cut multiple mats at the same time out of a full
sheet of matboard.sheet of matboard.
1. The Cut Preview screen will 1. The Cut Preview screen will
indicate whether any of the indicate whether any of the
clamps will interfere with the clamps will interfere with the
current cutting path.current cutting path.
The Z1’s unique IntelliClamps™ collision detection and avoidance system The Z1’s unique IntelliClamps™ collision detection and avoidance system
will detect and identify any interfering clamps by illuminating the LED lights will detect and identify any interfering clamps by illuminating the LED lights
in red adjacent to each clamp. This indicates which clamps may have a potential collision.in red adjacent to each clamp. This indicates which clamps may have a potential collision.
22
Wizard™ International, Inc., 4600 116th St. SW, Mukilteo, WA 98275 888/855-3335 Wizard™ International, Inc., 4600 116th St. SW, Mukilteo, WA 98275 888/855-3335 wizardcutters.comwizardcutters.com
20-36070-1 GettingStartedManualZ1-70FrameShop
04/03/24
Wizard™ CMC Model Z1 Hardware and Software Getting Started Guide