30 World Precision Instruments
the sequence. Press the foot switch to take a measurement and advance to
the next well (Fig. 54).
2. Repeat the sampling process. Press the
Preview
button to see the measurements
that have been taken (Fig. 54).
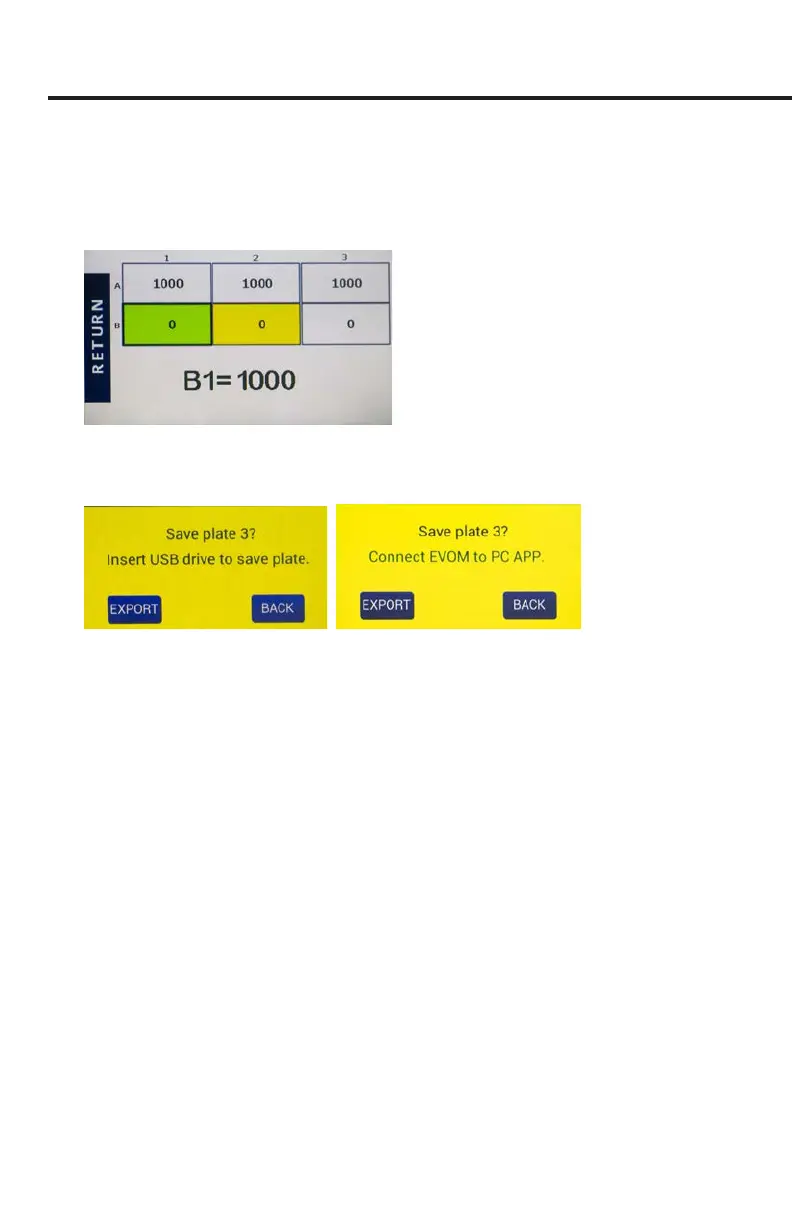
Fig. 54—The preview screen for a 6-well plate show the A1-A3 cell data taken (1000).
3. Once the last well has been recorded, the le storing selection notication appears
prompting you to take an action (Fig. 55 and Fig. 56).
Fig. 55—(Left) After the last cell measurement is taken and you are saving to the USB drive,
this message appears.
Fig. 56—(Right) If you are saving to the EVOM™ Companion Application, the message
changes a little.
Select one of the options as follows:
•
Export
starts the storage of all the plate les. When you select it a message
appears describing which plate is being stored (Fig. 57). The number of plates
could be one, two or three, depending on how many were collected before
exporting.
•
Next
is available on plate 1 and 2, but not on plate 3. It returns you to the
main screen so you can take measurements of the next plate which starts
from a clear state. The note above the
Setup
button on the main screen
indicates which plate data is being collected (Fig. 5).
NOTE: If you are on plate 3, the
Next
button does not appear, because EVOM™
Manual’s memory only holds data from three plates.
•
Back
returns you to the main screen (Data Collection). You go back to the
rst well of the current plate being collected and can acquire data again.