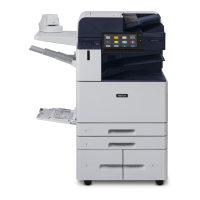
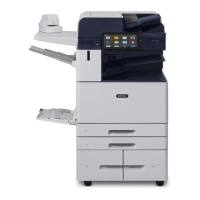
1. At the printer control panel, press the HHoommee button.
2. To clear previous app settings, touch RReesseett.
3. Load your original documents.
• For single pages or paper that cannot be fed using the duplex automatic document feeder, use the
document glass. Lift the duplex automatic document feeder, then place the original document face down in
the upper-left corner of the document glass.
• For multiple, single, or 2-sided pages, use the duplex automatic document feeder. Remove all staples and
paper clips from the pages. Insert the original documents face up in the duplex automatic document
feeder, with the top of the page entering the feeder first. Adjust the paper guides so that they fit against
the original documents.
4. Touch the app required, then select the job settings.
5. To enable preview, touch PPrreevviieeww.
6. If you are scanning from 2-sided original documents, touch 22--SSiiddeedd SSccaannnniinngg, then select an option.
7. To start scanning, touch PPrreevviieeww.
The original documents are scanned, then preview images appear on the device user interface.
8. Scroll through and verify the preview images.
• To change the size of the preview image thumbnails, in the bottom-left corner, touch the large or small
thumbnail view options.
• To zoom in on an image, tap the image twice.
• To zoom out, tap the image twice.
9. To scan more original documents:
a. Load your original documents in the document feeder, or place a single document on the document glass.
b. Swipe to scroll to the end of the thumbnail images, then touch SSccaann MMoorree (++).
c. If you are using the document glass, touch the original document size, then touch OOKK.
The original documents are scanned and new preview images appear on the user interface.
d. Continue this procedure until you have scanned all the original documents.
10. To process the job and send the scanned images, touch SSuubbmmiitt. To discard the job, touch XX, then touch DDeelleettee
aanndd CClloossee.
11. To return to the Home screen, press the HHoommee button.
ADDING A SCAN TO DESTINATION TO AN ADDRESS BOOK ENTRY
You can create Address Book contacts using the Embedded Web Server. A contact is a user with an associated email
address, fax number, or scan to destination. If a contact has been set up to include a scan to destination, the
contact is available for selection in the Scan To App. Contacts can be marked as a Favorite.
To create an address book contact and add a scan to destination:
142
Xerox
®
AltaLink
®
C8130/C8135/C8145/C8155/C8170 Series Color Multifunction Printer User Guide
Xerox® Apps
 Loading...
