5 Scanning
74
<Original Type> button
Select the original document type.
For more information, refer to
<Original Type> button on page 32
.
<Lighten/Darken> button
Select the density of the scanned data.
For more information, refer to
<Lighten/Darken> button on page 30
.
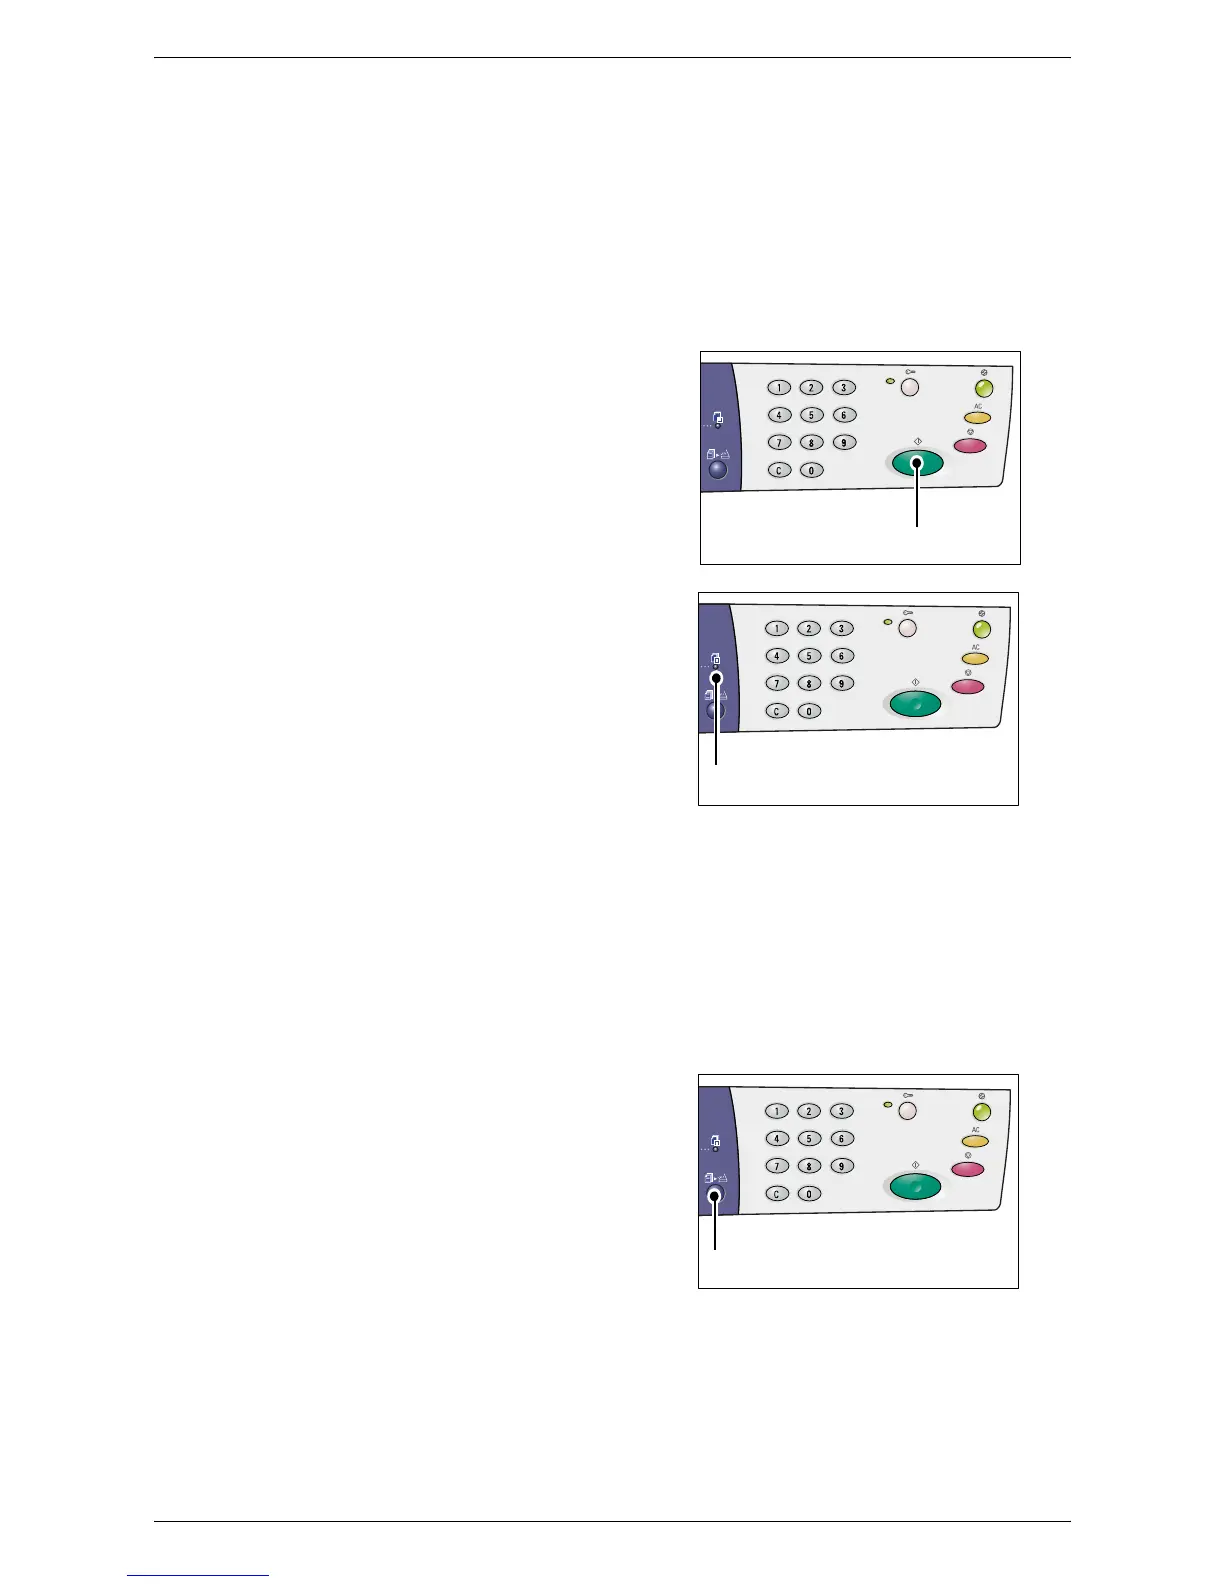
7.
Press the <Start> button to start the
scanning.
NOTE: When the scanned data is stored in
the mailbox, the <Job in Memory> indicator
lights up.
If you have more documents to scan
• When scanning from the Document Glass
When using the Document Glass, you can scan one page after another to create a
multi-page set of data.
To add the next document, Add Original must be set to [1] (Enabled) in the System
Setting Mode (menu number: 201). For more information, refer to the System
Administration Guide.
1) The indicator next to the <Scan
Completed> button blinks after the
first page of the document is
scanned.
2) Load the next page on the
Document Glass in the same
orientation as the previously
scanned page.
3) Specify the following scan features as necessary by referring to Step 6.
• <Original Type> button
• <Lighten/Darken> button
4) Press the <Start> button to scan the loaded page.
5) After scanning the last page, press the <Scan Completed> button.
<Start> button
<Job in Memory>
indicator
<Scan Completed>
button